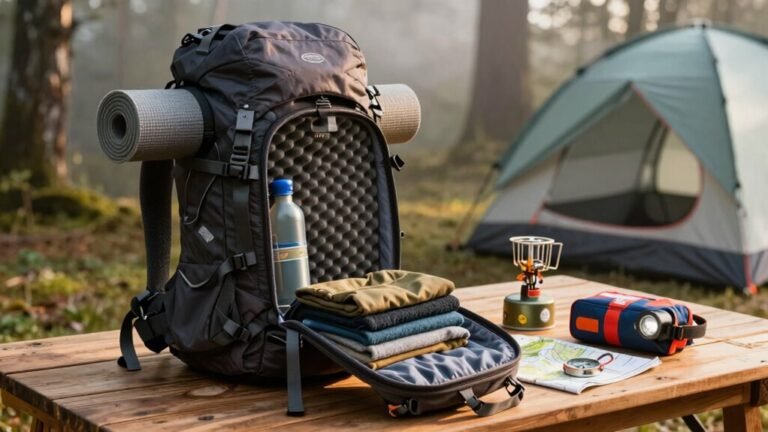
How to Use Packing a Backpack the Right Way
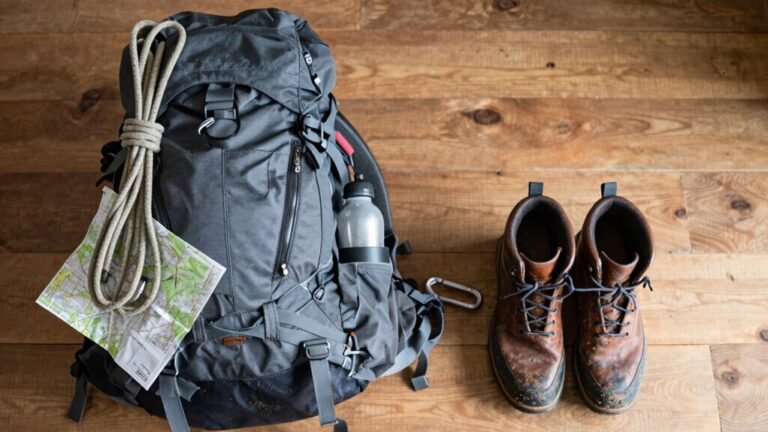
Packing a backpack the right way starts with choosing the right backpack for your needs. Make sure it fits well and has enough compartments to keep things organized.
Before you start packing, lay everything out and ask, “Do I really need this?” Packing a backpack the right way means being selective—only bring what’s essential to avoid unnecessary weight.
Place heavy items like books or laptops close to your spine to maintain proper balance. Lighter items should go toward the outer edges and pockets.
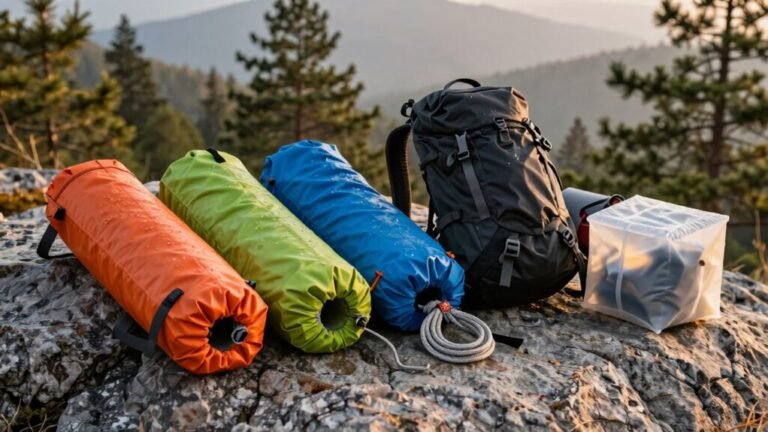
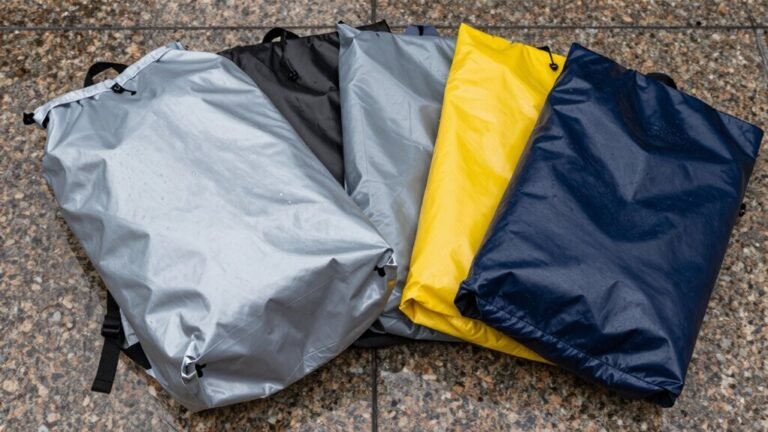
Use packing cubes, pouches, and internal pockets to separate and secure your belongings. This keeps your load organized and makes it easy to find what you need.
Store cables in small organizers to prevent tangles and damage. A well-packed backpack means everything has its place, including room for snacks.
Choose the Right Backpack for Your Needs

Ready to find your perfect pack? Let’s match your needs with the right size—carry-ons average 38.8 L, great for trips, while daypacks at 22.6 L keep your daily essentials close.
Hiking? Go big with 50+ L, over twice the space of a daypack.
For college, pick 20–35 L—light loads fit in 25 L, but heavy books need 28 L or more.
And never forget: your pack shouldn’t weigh more than 10–15% of your body weight—yes, that means drop the bricks (unless they’re textbooks).
Travel packs are sleek, often under 4 lbs, while hiking models trade a little weight for comfort.
Look for laptop sleeves, front access, and comfy straps—especially if you’re lugging it all day.
Pick a brand you trust, like Osprey or JanSport, and boom—you’re not just packed, you’re ready to roll.
The global backpack market is projected to reach 31.38 billion by 2030, driven by rising travel and digital nomad lifestyles.
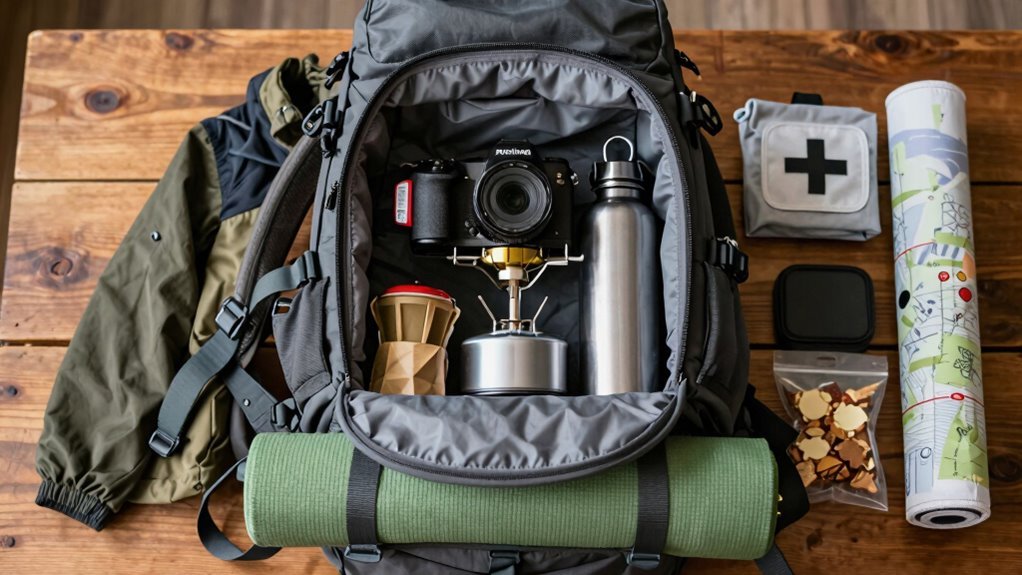
Sort and Categorize Your Items Before Packing
You’ve picked the perfect backpack, one that fits your frame and matches your mission—whether you’re hitting the trails, the classroom, or the road—but now comes the real magic: what you actually put inside it.
Start by laying everything out like you’re prepping for a picnic, not a parade.
Sort items into piles: heavy, medium, light, and “do I really need this?” Be honest—your back will thank you later.
Group similar things together so you can eyeball what’s essential and what’s just wishful thinking.
Think like a Tetris master: heavy stuff like food and bottles stay close to your spine, lighter gear like jackets float to the top.
Frequent-grab items? Toss those near the top or in easy pockets.
And no, your 10-pound novelty mug isn’t “essential.” Trust us.
Place the heaviest items against your back panel to help maintain balance and reduce strain, as this keeps the center of gravity aligned with your body’s natural posture.
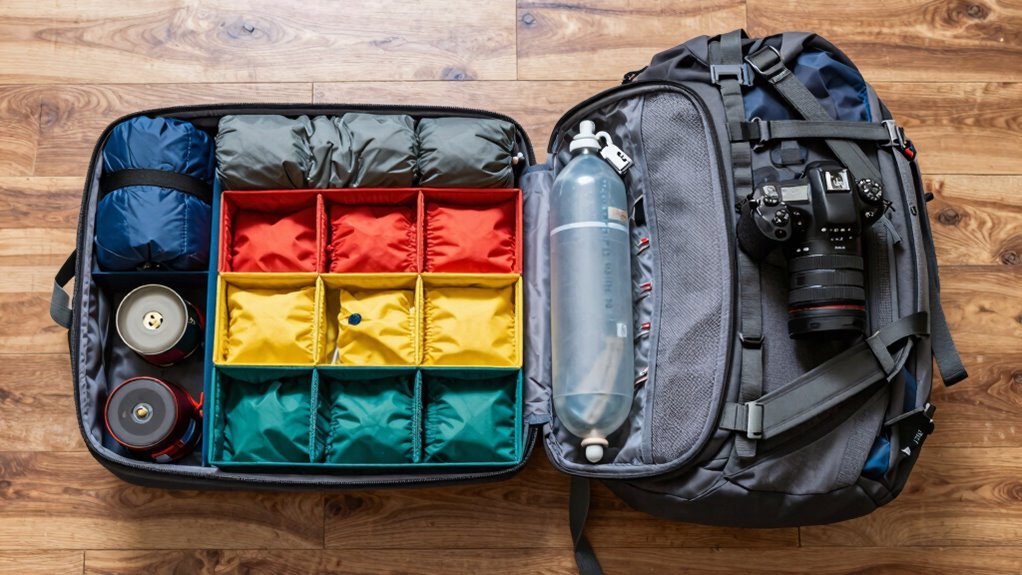
Use Compartments to Maximize Organization
Think of your backpack’s compartments as tiny rooms in a well-organized house—each one has a job to do.
Assign specific spots: main pockets for bulky textbooks, front pockets for your phone, keys, and wallet—because who wants to dig around like a treasure hunter during class?
Use small internal pouches to group chargers, pens, or snacks so they don’t pull a disappearing act.
Packing cubes? They’re like tiny bodyguards for your stuff.
Slide tech into padded sleeves—your laptop will thank you.
Keep daily must-haves in easy-reach caddies or kangaroo pockets, because speed matters when the bell rings.
Organize by subject with color-coded folders, so math doesn’t crash history’s party.
Zippered cases and Velcro pockets keep little things from staging a jailbreak.
And hey, compression straps aren’t just for looks—we stop everything from bouncing into chaos.
Heaviest items should be close to your back to maintain balance and reduce strain, promoting better weight distribution.
When every item has its home, your backpack becomes a masterpiece of efficiency.
Neat, fast, and seriously stress-free.
Place Heavier Items Close to Your Back
Tuck those heavy books right up against your back like they’re hiding from the rain—this keeps the weight centered and stops you from leaning forward like a tired turtle. You’ll stand taller, move easier, and protect your spine from unnecessary strain.
When heavy stuff sits close to your back, it stays in line with your body’s natural curve, so your muscles don’t have to work overtime. It’s like giving your back a high-five instead of a wrestling match.
Pack textbooks, laptops, or notebooks in the inner compartment—right near your spine—where they belong. Secure them so they won’t shift while you walk, because wobbly weight ruins balance fast.
Skipping this step could lead to achy shoulders, cranky nerves, or even long-term posture trouble. Keep it balanced, keep it smart, and your back will thank you every step of the way—no turtle impressions needed.
Pack Lighter Items Toward the Outer Edges
Loading up the outer edges with lighter gear keeps your pack feeling nimble and your body happy—like giving your backpack a balanced diet so it doesn’t wobble like a penguin on ice.
You’ll move easier, stay steady on rugged trails, and avoid that awkward lean-back struggle.
Keep the heavy junk close to your back (we covered that already!), and let the lighter stuff chill out on the edges where they belong.
It’s not just about space—it’s about smart balance.
- Slide pillows or jackets into side pockets or strap them outside
- Use packing cubes or ziplock bags to group small, light items
- Roll soft clothes tightly and tuck them into outer compartments
- Squeeze air out of plastic bags to save space and keep things dry
- Secure everything with external straps or gatekeeper clips so nothing flaps like a sail
Your pack will thank you—seriously, it might start walking itself.
Keep Frequently Used Items Easily Accessible
Ever fumble through your pack like you’re disarming a bomb when all you need is your water bottle or phone?
Don’t let your backpack turn into a treasure hunt every time you need something simple.
Keep your phone, wallet, and keys in front pockets or top caddies so they’re right where you expect them.
Toss your water bottle in the side holder—hydration should never be a workout.
Need your rain jacket or snacks?
Slide them into outer or front pockets, not buried under your laptop.
Use plush-lined sleeves for tablets, but keep them up top for quick grabs.
Pro tip: stand pouches upright—nobody’s got time to dig through a pancake pile.
With essentials high, light, and labeled, you’ll zip through access like a pro.
Pack smart, stay sane, and quit playing backpack bingo every time you need gum.
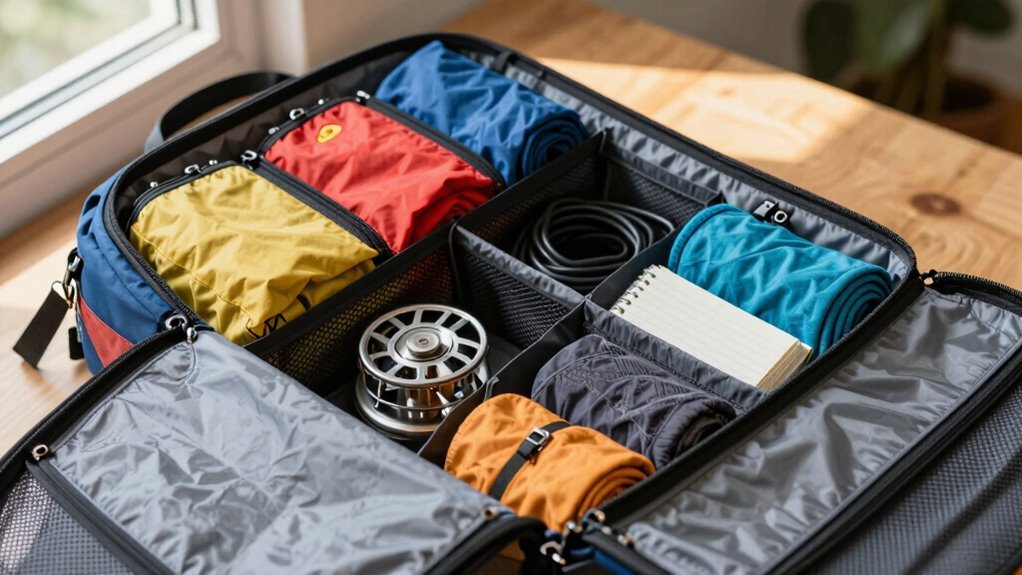
Utilize Packing Cubes or Pouches for Efficiency
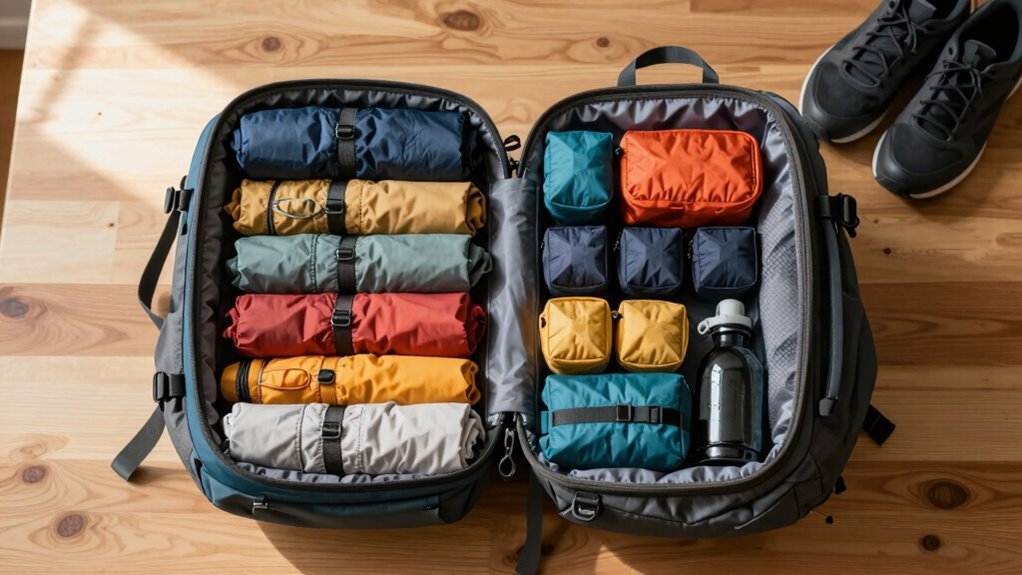
You’ve already got your phone, water, and snacks right where you can grab them without a scavenger hunt—now let’s bring that same clarity and calm to the rest of your pack.
Packing cubes or pouches are your secret weapon for a smarter backpack.
They keep things tidy, save space, and make unpacking a breeze—like magic, but real.
- Group clothes by type or day so finding outfits feels effortless, not like archaeology
- Squish down bulk with compression cubes and free up room, even in a snug 25L pack
- Shield delicates from spills and squishes, so your silk shirt doesn’t stage a revolt
- Keep clean and dirty clothes from mingling like awkward family members
- Save serious time packing and unpacking—no more suitcase avalanches on tight schedules
Toss in the right-sized cubes for jeans, tees, or socks, and seriously level up your backpack game.
Secure Loose Cables and Small Accessories
Tame the tangle monster before it turns your backpack into a cord jungle.
Roll thick cables neatly—no tight loops, they’ll damage wires over time.
Fold longer, delicate cords instead, and snug them with Velcro ties or rubber bands; they’re kind to your gear and easy to swap out.
Slide each group into mesh zipper pouches, color-code with reusable tags, or snag a magnetic organizer like MACO for one-click access.
Got a Kikkerland Bobino? Awesome!
Unspool just what you need and go.
Group cords by trip type—plane, hotel, daily—so you’re not digging like treasure’s buried deep.
Tuck dongles and batteries into separate mini-pouches or elastic loops to avoid a messy tangle.
Pick organizers with bright linings and pass-throughs, so charging’s a breeze.
Your future self will high-five you when you unzip calm instead of chaos.
Balance Weight for Optimal Comfort and Posture
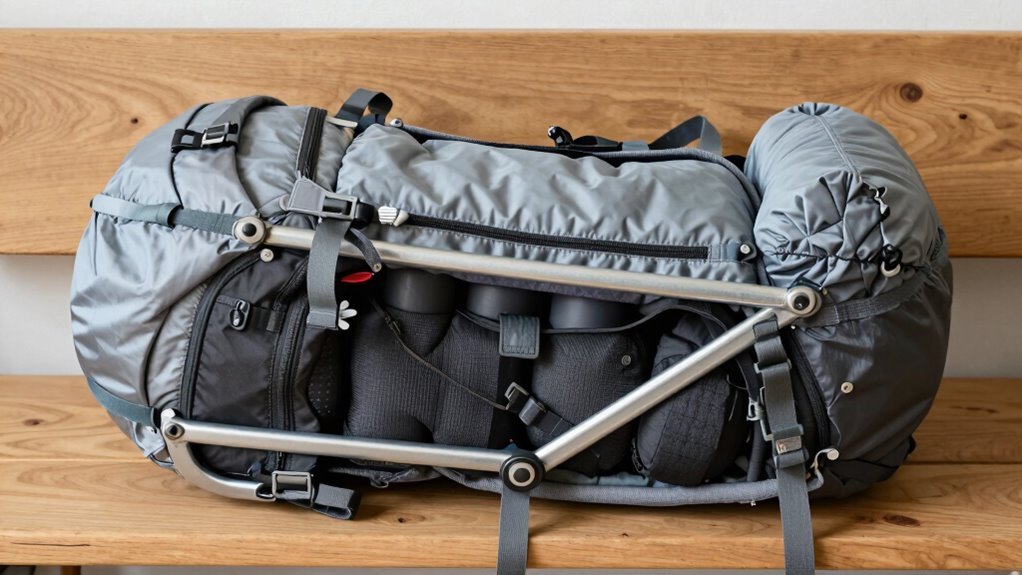
Now that your cords are tamed and every tiny gadget has a cozy spot, it’s time to think about how your pack sits on your back—because no one wants to lug around a lopsided brick that pulls like a misbehaving dog.
To keep your posture proud and your back happy, balance your load like a pro:
- Store heavy gear near your spine, between your shoulder blades
- Tuck lightweight, puffy stuff like sleeping bags at the bottom
- Slot quick-grab items and light layers on top or in pockets
- Place medium-weight gear you won’t need often lower down
- Match weights on both sides so you’re not leaning like a confused giraffe
Snug your hip belt around your hips (not your waist!), aim the sternum strap just below your pits, and tweak those load-lifters to 45-degree angles. When it’s dialed, you’ll walk tall, breathe easy, and feel like your pack’s floating—not fighting you. Weight balanced? You’re ready to crush the trail.
Perform a Quick Check Before You Leave
Before you bolt out the door like your boots are on fire, take a beat to run through a fast but thorough pre-adventure checklist—because showing up to a rainy trail in flip-flops might be a comedy sketch, not a hike.
Double-check gear: is it clean, charged, and ready?
Cameras need memory cards, headlamps need juice, and your GPS better know where it’s going.
Toss adapters in your kit and test those noise-canceling headphones—you’ll thank yourself on a noisy bus.
Got permits, maps, and park passes? Check.
Stashed travel docs and shared your itinerary? Check.
Pack food for the first few hours, seal it tight, and don’t forget the spork—nobody wants cold beans on their fingers.
Toss in meds, wipes, hand sanitizer, and a trowel for digging deep.
Charge everything, zip it all neatly, and boom—you’re not just ready, you’re adventure-proof.
Frequently Asked Questions
How Do I Clean My Backpack Without Damaging It?
You clean your backpack without wrecking it by starting simple—empty it, shake it out, and spot-treat grime with mild soap and a soft brush.
Skip the washing machine unless the tag says it’s safe, and never dunk waterproof gear.
Rinse well, towel-dry the moisture, then let it air-dry away from sunlight.
Voilà—fresh backpack, no fashion disaster!
Can I Bring a Separate Daypack on a Hiking Trip?
Yeah, you can absolutely bring a separate daypack on a hiking trip—think of it like having a trusty sidekick while your main pack’s the muscle.
It’s perfect for snacks, water, and that selfie stick you won’t admit you own.
Light, handy, and ready for quick adventures, a daypack lets you zip off without lugging your whole life.
Just don’t overstuff it—nobody wants a hunched turtle vibe.
What Should I Do if My Backpack Gets Wet?
You dry it fast, and you dry it smart!
Flip it upside down, shake out every drop, then hang it in the sun or breeze—tree branches or your tent pole work great.
Use a dry towel to wipe down the inside, and open all pockets so air flows through.
If it’s soaked, stash it in a sleeping bag overnight—your body heat’s a sneaky-good dryer.
Just don’t toss it in the washer unless you wanna see it cry.
Is It Okay to Carry a Backpack on One Shoulder?
Nope, carrying your backpack on one shoulder’s a no-go—it’s like playing Jenga with your spine!
You’re asking for trouble: neck strain, back pain, and wonky posture.
Keep it even, use both straps, and your body’ll thank you.
Slipping it over one shoulder might feel cool, but it’s not worth the ache.
Stay balanced, stay pain-free, and walk tall—like a pro, not a pretzel!
How Often Should I Replace My Backpack?
You should replace your backpack every 3 to 5 years, but hey, if it’s still kicking strong, why rush? Check for worn straps, busted zippers, or sad, flat padding—your shoulders will thank you.
With love and minor fixes, some packs last 10 years or more.
Spot fraying? Patch it!
Just don’t let your trusty companion turn into a holey mess—fashionably patchy is one thing, falling-apart sad is another.
Conclusion
You might think it’s just a backpack, but packing it right makes all the difference. Trust me, your shoulders will thank you. When you organize smartly, everything fits, feels lighter, and stays easy to find—no more digging like a raccoon in a trash can. You’ll walk taller, move freer, and actually enjoy the journey. So go ahead, pack it right and strut out the door like the travel pro you are. Adventure’s waiting!
References
- https://travelfreak.com/backpack-statistics/
- https://www.imse.iastate.edu/files/2014/03/EagleZoe-thesis.pdf
- https://www.alpineswiss.com/blog/backpack-types/
- https://www.outdoorgearlab.com/topics/camping-and-hiking/best-backpacks-backpacking
- https://www.jianglidabag.com/data-backed-2025-guide-what-backpack-do-most-college-students-use-5-key-features-for-wholesalers/
- https://ilequipment.com/pages/backpack-comparison-chart
- https://pubmed.ncbi.nlm.nih.gov/10833761/
- https://andrewskurka.com/how-to-pack-a-backpack-load-distribution-organization-canisters-video/
- https://topodesigns.com/blogs/in-the-wild/how-to-pack-a-backpack
- https://pangolinswithpacks.com/the-definitive-guide-that-you-never-wanted-packing-your-backpack-e2473e4b8f5