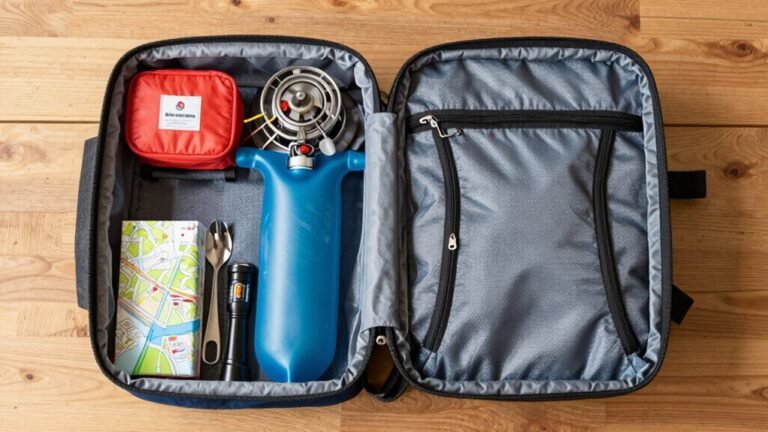
Pack Fit Checklist for Your Next Hike
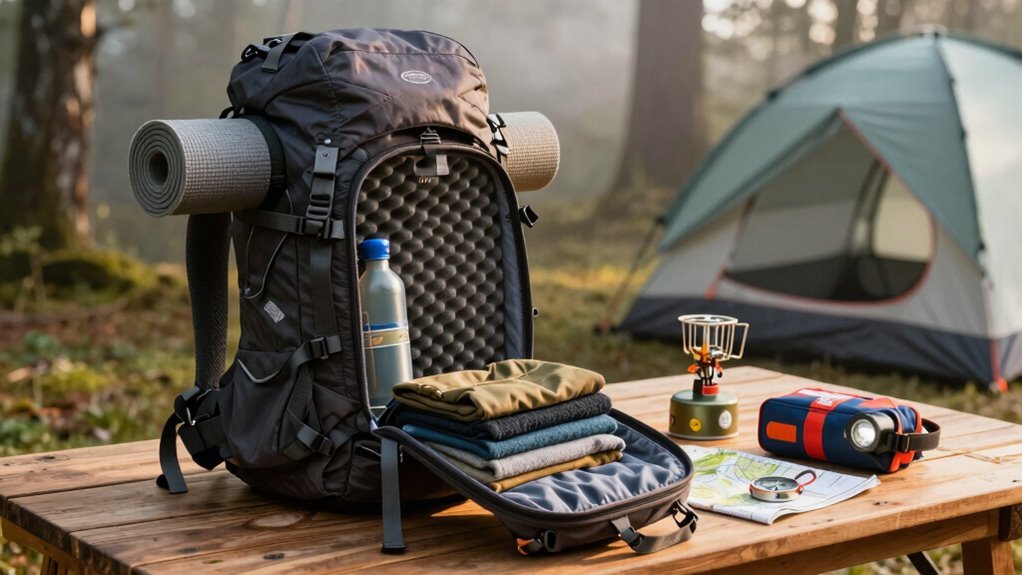
Grab that pack and start by measuring your torso from the bump at your neck to your hip bones—most folks are 16 to 20 inches. This measurement ensures a proper pack fit so your backpack supports you comfortably on every trail.
Snug the hip belt right over your hips, not your waist, and tighten those shoulder straps so the pack hugs your back like a cozy backpack-hug. The hip belt should carry the majority of the weight, keeping pressure off your shoulders.
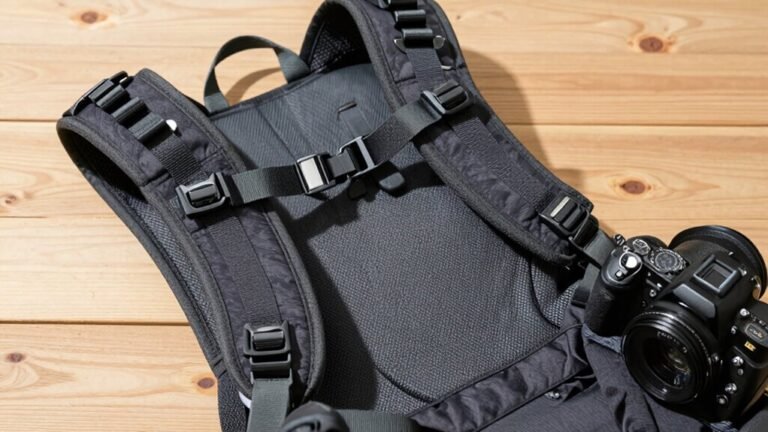
Don’t forget the load lifters and chest strap; they’re your secret weapons for comfort. These straps help stabilize the load and improve balance, especially on rugged terrain.
Balance the weight high and tight, and make sure 80% sits on your hips—your shoulders shouldn’t be doing the heavy lifting (literally). A well-fitted pack improves endurance and makes each hike more enjoyable.
Measure Your Torso Length for Proper Frame Sizing
How do you nail the perfect pack fit? Start by finding that bony bump at the base of your neck—yeah, the one that pops up when you tilt your head forward like you’re nodding “yes” to snacks. That’s your C7 vertebra, and it’s your starting line.
Now, slide your hands to the top of your hip bones—those sturdy ridges on your sides—and imagine a straight line between them across your back. That’s your finish line.
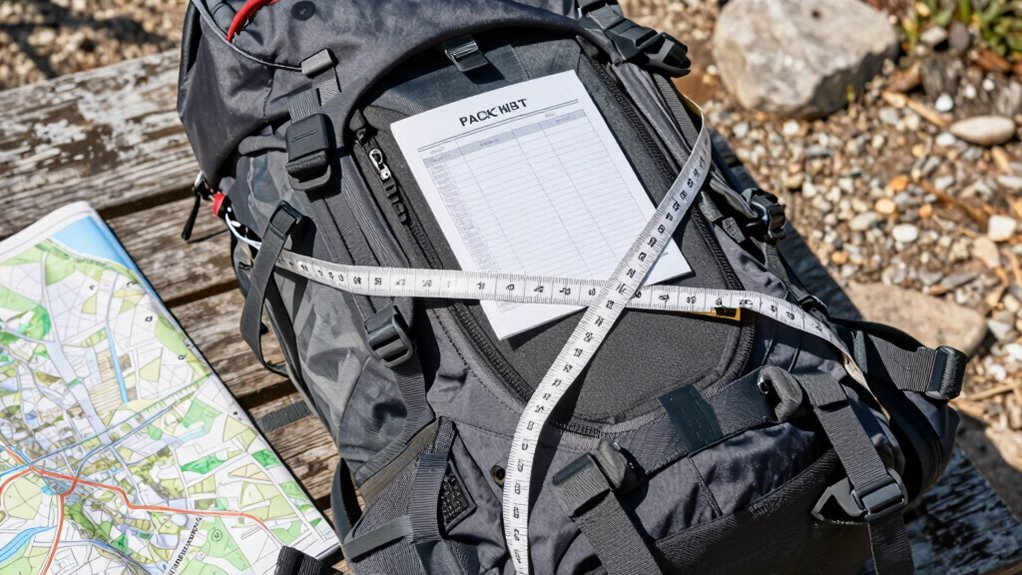
Grab a flexible tape and, with a buddy’s help, measure down your spine’s natural curve from C7 to that hip line. Keep it snug but not tight, like you’re measuring a sneaky present.
Most people end up between 16–20 inches—no, your height doesn’t call the shots here. Write it down, check brand charts, and remember: when in doubt, size down. Too long and your pack’s basically giving you a back hug gone wrong. For accurate results, use a flexible tape measure.
Position the Hip Belt to Support Most of the Load
Pop that pack on and get ready to hug your hips the right way—because your hip belt isn’t just along for the ride, it’s doing 90% of the heavy lifting.
Slide the belt so the padding centers right over your hip bones (iliac crest), with the top edge sitting 1–2 inches above them.
Make sure the front of your hip bones lines up with the middle of the padding—like a sandwich for your hips!
The belt should cover your bony bits completely, front and back, without spilling over or pinching.
Tighten it snugly, but leave room to breathe and move—no wrestling matches with your gear.
Keep the buckle centered on your stomach, not riding up like a belt trying to be a necklace.
When it’s right, you’ll feel the weight sitting low and stable, not tugging your shoulders.
It’s your pack’s way of saying, “I’ve got this.”
Measure around the top of the hips, hugging the iliac crest, to ensure proper hipbelt sizing.
Adjust Shoulder Straps for Comfort and Mobility
So, what’s the secret to hiking without feeling like your shoulders are in a tug-of-war with your pack?
Start by loosening everything — straps, hipbelt, the works — then load up with your real hiking weight.
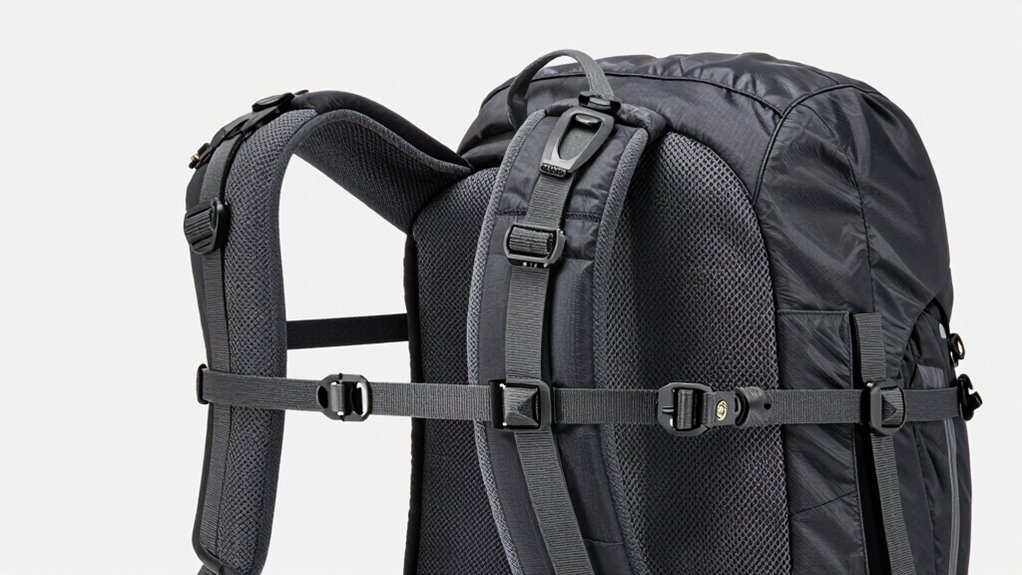
Once your hipbelt’s snug, tighten those shoulder straps until the pack feels balanced, not top-heavy.
Slide them between your shoulder blades, where they’ll hug your shape naturally — no sharp angles or digging in.
Pull down on the loose ends while leaning forward to tighten smoothly using your body weight.
Keep them snug but not tight; you still gotta move!
Dial in the chest strap across your upper chest, snug but breathable, holding the straps in place without squeezing.
Aim for that sweet spot at 30–45 degrees on the stabilizers — close enough to feel secure, loose enough to groove down the trail.
Proper torso length adjustment ensures the weight transfers efficiently to your hips and prevents strain on your shoulders.
Fine-Tune the Load Lifters to Reduce Shoulder Strain
Ever wonder why your pack feels like it’s trying to escape over your shoulders halfway up the trail?
That’s where load lifters come in—they’re your secret weapon.
These straps connect the top of your shoulder harness to the pack frame at about a 45-degree angle, pulling the load close to your spine and shifting weight off your shoulders.
After settling your hipbelt and shoulder straps, tweak the load lifters just enough to feel snug, not stiff.
Too tight and they’ll pinch; too loose and they’re useless.
You want them tight enough to lift the harness slightly off your shoulders—not floating, not digging in.
Proper tension keeps the pack stable, cuts strain, and makes breathing easier, especially with loads over 15 pounds.
Play with the ladder lock tabs until it feels balanced.
Done right, you’ll barely notice the pack’s even there.
Pretty neat trick, huh?
Set the Sternum Strap to Improve Stability and Breathing
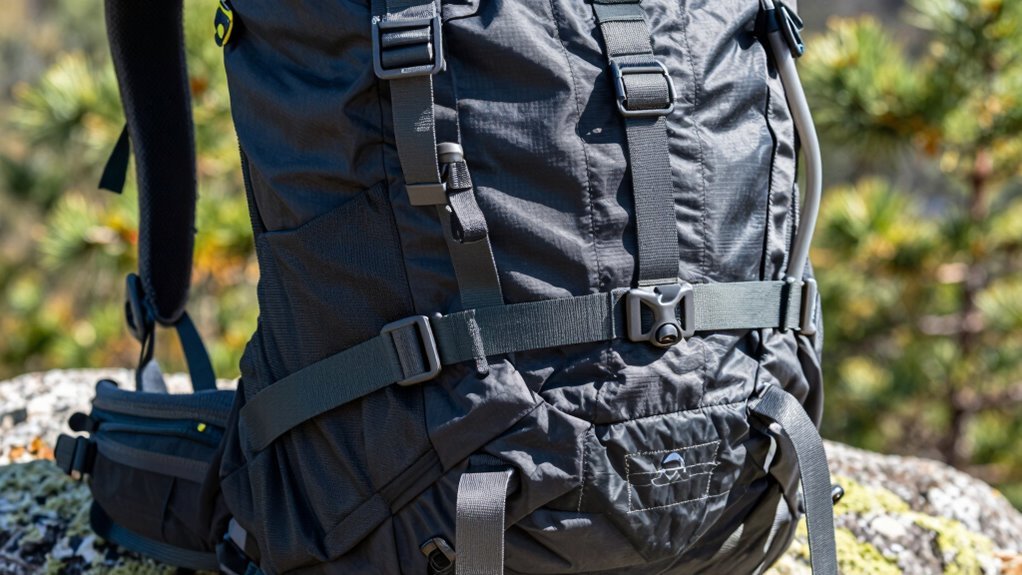
Now that you’ve dialed in your load lifters and taken the pressure off your shoulders, let’s make sure your pack stays put when the trail gets bumpy—enter the sternum strap.
Buckle it across your chest, just above your pecs, so it connects both shoulder straps and keeps them from slipping.
It’ll hug your pack close, cut down on bounce, and stop that annoying wiggle during steep scrambles.
But don’t crank it down like you’re lassoing a wild boar—keep it snug but loose enough to breathe deep.
Position it so your chest can expand freely; you’re hiking, not auditioning for a corset commercial.
Adjust it after the hip and shoulder straps, then tweak as you go.
If your arms tingle or your whistle gets squashed, ease up!
A well-set sternum strap boosts stability, supports posture, and keeps you moving comfortably—no circus acts required.
Organize Weight Distribution for Balanced Carrying
Slide that pack on and feel how it sways—yep, that’s your spaghetti tilting the whole rig like a poorly loaded donkey.
Stop the wobble by putting heavy gear—like your water, stove, and food—high and tight against your back, right between your shoulder blades.
That keeps the weight centered over your spine, where your body can handle it best.
No tossing heavy stuff at the bottom—it’ll pull you backward like an anchor.
Instead, stuff your sleeping bag and puffy clothes down low; they’re light but bulky, so they form a comfy, stable base.
Aim to pack 60–70% of the weight in the middle-upper zone for better balance.
Spread items evenly side to side—don’t let a lopsided snack ruin your stride.
And remember: your hips are the heroes, carrying most of the load, so pack smart and hike happy.
Check the Pack’s Center of Gravity on Uneven Terrain
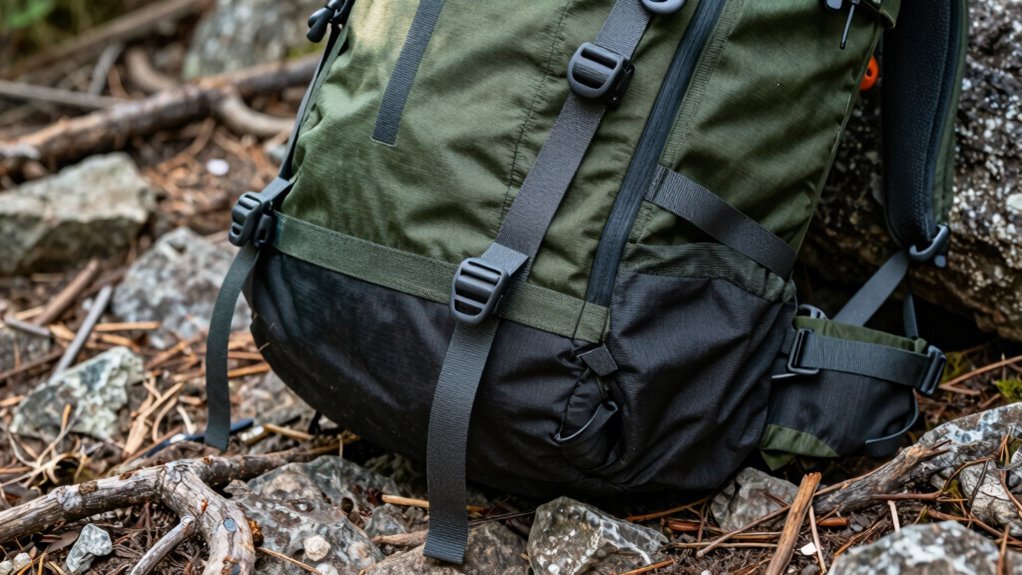
You’ve balanced your pack’s weight so it rides smooth across flat ground, but what happens when the trail turns lumpy, rocky, or downright mischievous?
On uneven terrain, a high center of gravity turns your pack into a top-heavy monster that wobbles with every step—like balancing a bowling pin on your shoulders!
Keep heavy gear low and close to your spine to avoid that tippy, energy-sucking sway.
Use compression straps to lock everything down tight—no pinballing allowed!
On downhills, loosen shoulder straps to shift weight onto your hips where your strong legs can handle it.
Climbing uphill? Tighten those load lifters to bring the pack higher and stay agile.
Think 80/20: 80% of the weight on your hips, not your shoulders.
A snug, spine-hugging pack won’t swing around like it’s dancing.
Stay stable, stay upright, and let the trail surprise you—with confidence!
Perform a Final Fit Check Before Hitting the Trail
Grab your pack and give it the final once-over—because nobody wants to discover a wobbly waistbelt or pinched pressure point halfway up a mountain!
Slip on your hiking pants, load it up, and buckle that waistbelt snugly over your iliac crest—about 80% of the weight should sit on your hips, not your shoulders.
Adjust the shoulder straps so they’re 1–2 inches below your shoulder tops, pulling the pack close without lifting it off your hips.
Clip the sternum strap at chest level, below the armpits, so it centers everything without squeezing.
Check for gaps between your back and the pack—mold the stays so it hugs your shape, then squat and walk around.
Make sure nothing pinches, rubs, or cuts circulation.
Look up—your head shouldn’t hit the pack.
Tiny tweaks now save big pain later.
You’ve got this!
Frequently Asked Questions
How Do I Clean My Backpack After a Muddy Hike?
You just trudged through mud, and now your backpack’s caked in gunk—no worries!
Start by dumping out loose dirt, then give it a gentle soak in lukewarm water with OxiClean.
Scrub light stains with a soft brush, focusing on grimy spots.
Rinse thoroughly until the water runs clear.
Hang it upside down in the shade to dry—never in direct sun!
Once dry, you’re golden.
Quick, easy, and your pack will thank you!
Can I Use a Hydration Bladder With Any Backpack?
Well, hold your horses—technically, you can sneak a hydration bladder into almost any backpack, but it’s not always smooth sailing.
If your pack’s got a sleeve or a sneaky little port, you’re golden.
No sleeve? You’ll be playing pack archaeologist every time you want a drink.
Modern packs usually play nice with bladders, but older or minimalist ones?
Not so much.
Pro tip: check for a tube slot—don’t end up sucking air like a confused goldfish.
What’s the Best Way to Store a Pack When Not in Use?
You should clean and dry your pack fully before tossing it in a big, breathable storage bin—no soggy surprises later!
Hang it on a sturdy hook or lay it loose in a closet, never squished under books or furniture.
Skip folding it to keep the fabric happy and crease-free.
Toss in a moisture absorber, label the bin, and hey—your pack’ll stay fresh, ready for its next adventure without turning into a moldy cave or rodent snack!
Are External Frame Packs Better for Heavy Loads?
Yeah, external frame packs are better for heavy loads—some handle over 100 pounds like it’s nothing.
You’d laugh seeing one tote a moose hindquarter like it’s groceries.
The rigid frame shifts weight to your hips, so your shoulders don’t scream.
They’re heavier empty, sure, but that toughness means they won’t quit on big expeditions.
Great airflow, huge capacity, and perfect for bulky hauls—just don’t plan on darting through dense brush.
How Often Should I Replace My Hiking Backpack?
You don’t replace your backpack often—most last ten years, maybe more if you treat ‘em right.
You’ll know it’s time when straps thin, zippers quit, or seams fray like old socks.
But hey, warranties can save a worn pack, and cleaning goes a long way.
Skip the upgrade itch unless tech truly wows you—your trusty pack’s probably got miles left!
Conclusion
You’ve measured, adjusted, and fine-tuned—now doesn’t your pack feel like it’s hugging you back? With the hip belt snug, straps set, and weight balanced, you’re ready to conquer trails with comfort and ease. Who knew gear could feel this good? So go ahead, hit the path with confidence, a smile, and both hands off your shoulders—happy hiking, trailblazer!
References
- https://www.outdoorsgeek.com/backpack-torso-size/
- https://hyperlitemountaingear.com/pages/hiking-backpack-size-chart
- https://www.ula-equipment.com/2025/01/15/how-to-measure-for-the-perfect-torso-and-hip-belt-fit-on-your-backpack/
- https://www.rei.com/learn/expert-advice/backpacks-adjusting-fit.html
- https://www.youtube.com/watch?v=e_uai12Gjx0
- https://www.bigagnes.com/blogs/support/backpack-fit-guide
- https://www.youtube.com/watch?v=3PJRZkjvTPY
- https://www.alpenglowgear.com/blogs/adventureawaits/how-to-properly-fit-and-adjust-your-backpack-for-m/
- https://alpenglowsports.com/blogs/ultralight-backpacking/backpack-fit-guide
- https://www.youtube.com/watch?v=xsVJwVKfg-k