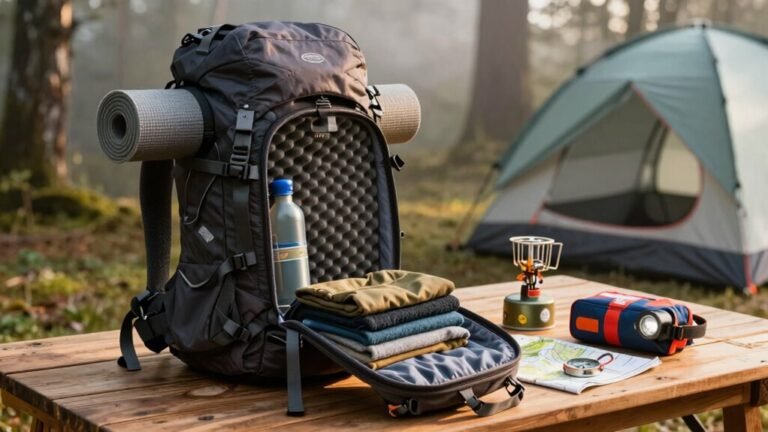
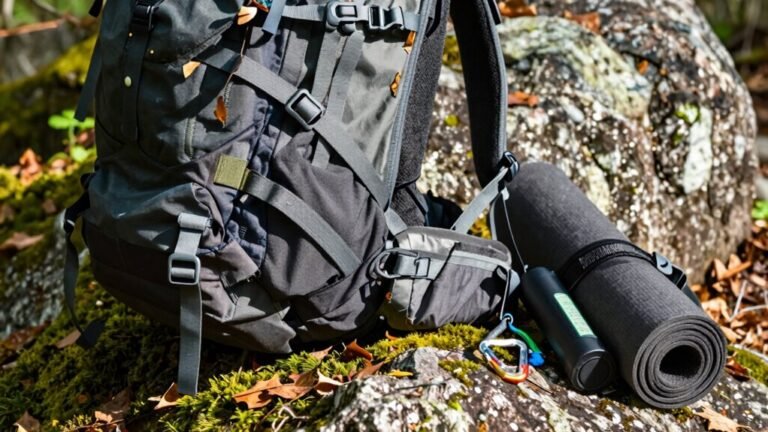
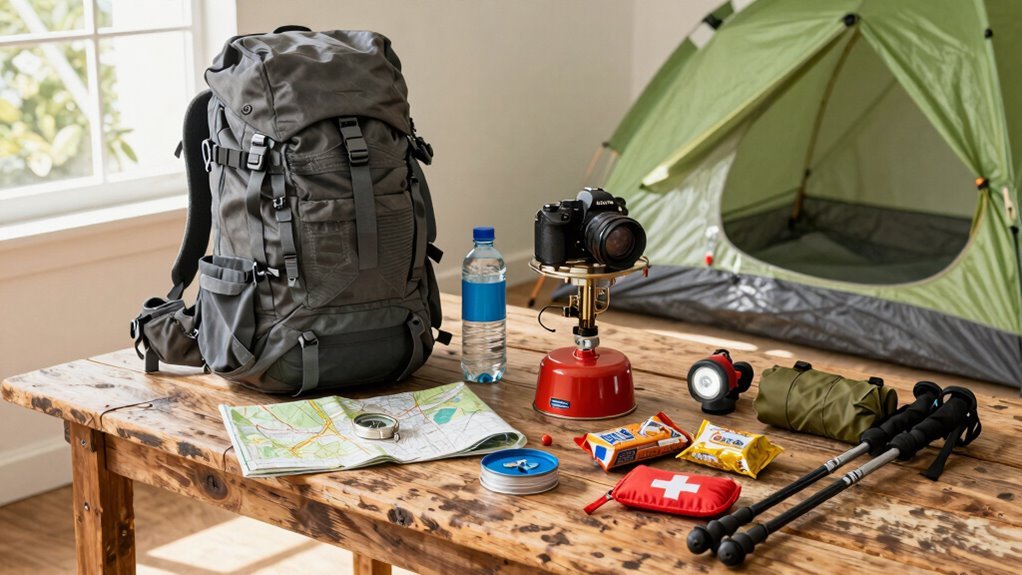
Packing a Backpack Checklist for Your Next Hike
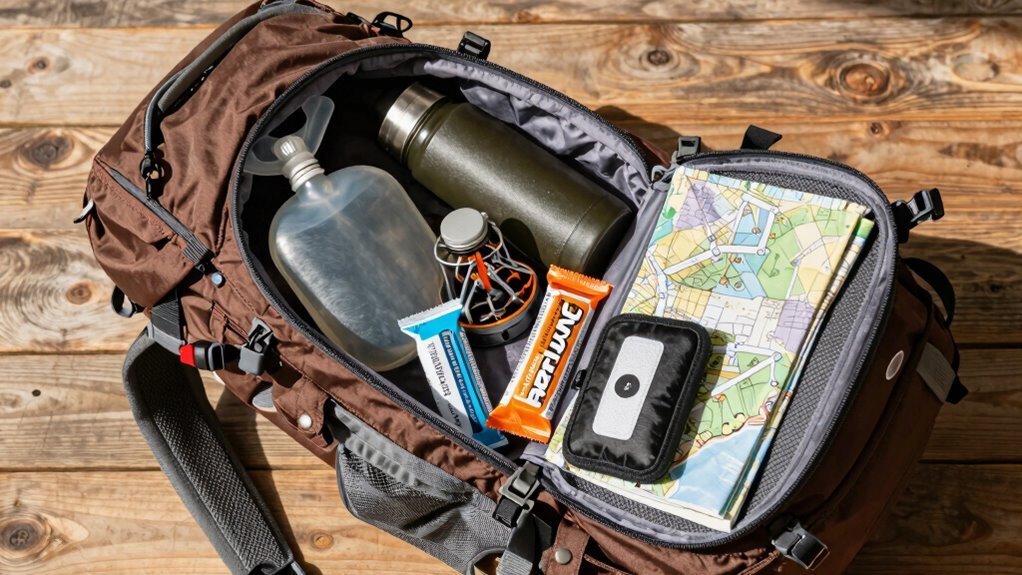
Pack smart for your next hike by bringing plenty of water—think two big bottles or a hydration bladder—and a reliable filter like a LifeStraw for safe refills from natural sources. Staying hydrated is key, so don’t forget electrolyte tablets to maintain energy and balance.
Snacks and extra food are essential to keep your stamina up on the trail. Pack high-energy options like nuts, bars, or dried fruit to fuel your journey.
Navigation tools like a map, compass, and a downloaded phone app backup ensure you stay on course. Being prepared means you’re savvy, not lost.
Dress in layers: start with moisture-wicking base clothes, add a cozy mid-layer, and top it off with a rain-ready shell. Proper layering keeps you comfortable in changing weather.
Bring a mini first-aid kit, trekking poles, and an ultralight sleeping setup if you plan to camp. These gear essentials add safety and comfort without weighing you down.
Don’t forget your dog—they’ll need their own water and snacks too. Teamwork makes the dream work on any hiking adventure.
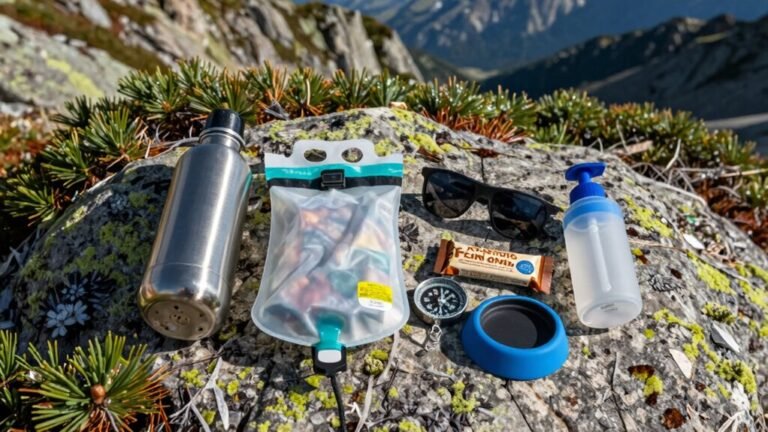
Must-Have Hydration and Nutrition Supplies
You’re gonna need more than just willpower to power through a hike, so let’s talk hydration and fuel.
Pack 1 liter of water per hour—more if it’s hot, you’re sweating buckets, or you’ve brought your dog.
Carry two 32-ounce Nalgenes or use a hydration bladder for sipping on the move.
Don’t forget to filter water right from streams with a LifeStraw, SteriPEN, or portable filter—because stomach bugs aren’t part of the trail magic.
Toss in electrolyte tablets to replace lost minerals, especially if you’re chugging sweat like it’s going out of style.
For food, grab lightweight snacks: trail mix, jerky, energy bars, or a sandwich if lunchtime hits mid-trail.
And hey, pack an extra day’s food—because surprise overnighters happen, and no one wants a hangry hiker on their hands.
Healthy snacks like energy bars and trail mix provide the sustained energy needed to keep you moving on long trails.
Reliable Navigation Tools for Trail Safety
Grab your map and compass—adventure awaits, and getting lost isn’t part of the plan.
Tuck a waterproof topo map in a plastic bag; it’s your cheat sheet when trails blur or vanish.
Pair it with a baseplate compass like the Brunton TruArc 3, and you’ve got a fail-safe combo that won’t die on battery.
Off-trail? Step up to a Suunto M-3G with adjustable declination—fancy, but worth it when fog rolls in.
Don’t ditch tech, though: load GaiaGPS or AllTrails on your phone for backup breadcrumbs.
A Garmin GPSMAP 67i? Even better—it laughs in the face of rain and lasts days.
And hey, if you *do* take a wrong turn, at least your GPS watch can record the hilarious detour for next time.
With the right tools, you’re never truly lost—just “exploring alternative routes.” digital layers.
Essential Clothing Layers for Weather Changes
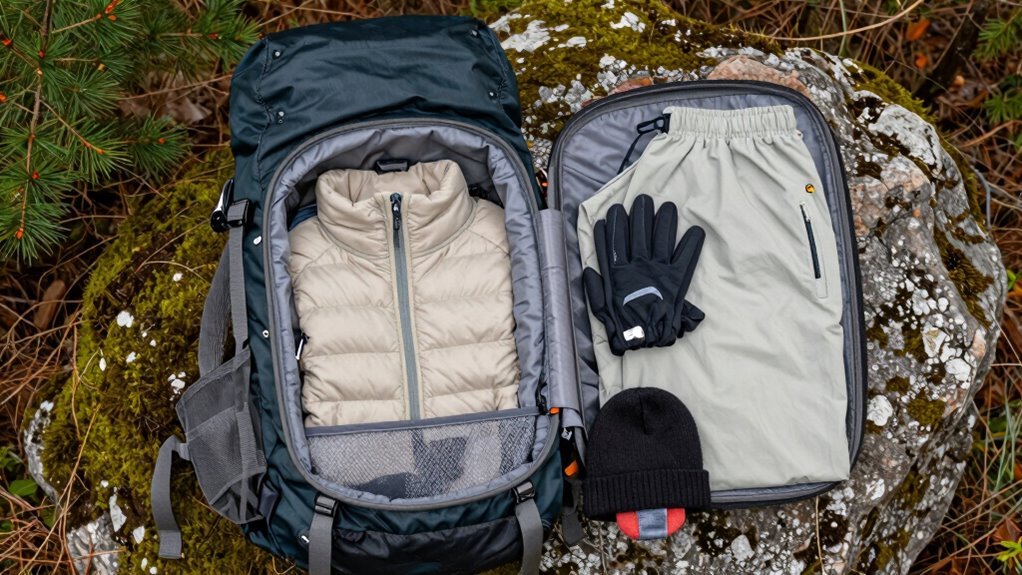
When the trail throws surprise weather at you—and it will—dressing in smart layers keeps you cozy, dry, and laughing instead of shivering.
You’ve got this down if you follow the golden rule of layering: stay breathable, stay dry, and ditch the cotton—it’s basically hiking kryptonite. Here’s how to nail it:
- Base Layer: Wear moisture-wicking tops and bottoms (polyester or merino wool) to sweat-proof your adventure.
- Mid Layer: Throw on a fleece or puffy jacket to trap warmth without the bulk.
- Outer Layer: Grab a waterproof, breathable shell—rain, wind, or snow won’t stand a chance.
- Adjust On the Go: Zip, unzip, or swap layers so you’re never too hot or soggy.
Each layer serves a distinct purpose, from managing moisture to providing insulation and blocking the elements.
Whether it’s spring drizzle or sudden snow flurries, your layers are your safety net—plus, you’ll look trail-ready cool doing it.
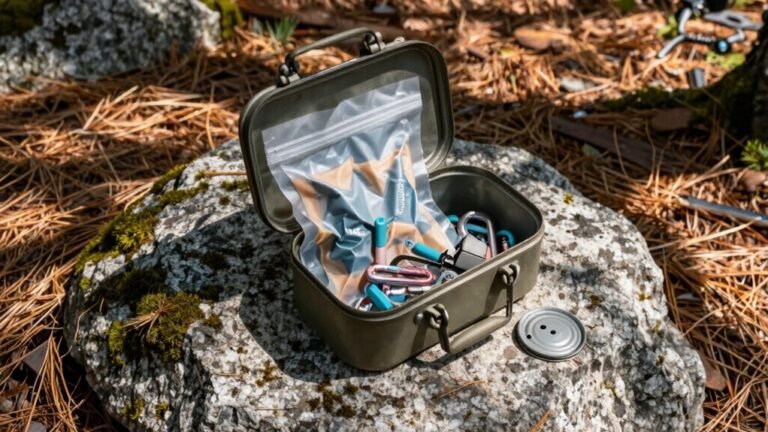
First-Aid and Emergency Preparedばかり
Tending to trail troubles before they ruin your rhythm is what turns a shaky moment into just a story you’ll tell later.
Pack antiseptic wipes and antibacterial ointment to clean scrapes fast—no drama, just healing.
Toss in gauze, tape, and butterfly bandages for cuts, and don’t forget moleskin and athletic tape to stop blisters before they stop you.
Hydrocortisone cream? A lifesaver for angry bug bites.
Slap on liquid bandage for small nicks, and use benzoin to keep everything stuck where it should be.
Carry ibuprofen for aches, antihistamine for allergies, Imodium when your stomach rebels, and electrolytes to stay sharp.
Add tweezers for splinters, a trusty multi-tool, gloves, and an irrigation syringe for serious cleanups.
Toss in a CPR mask, hand sanitizer, emergency blanket, first-aid guide, and a bag for trash (or ick).
You’re not being paranoid—you’re being prepared, trail boss.
Lightweight Gear for Comfort and Efficiency
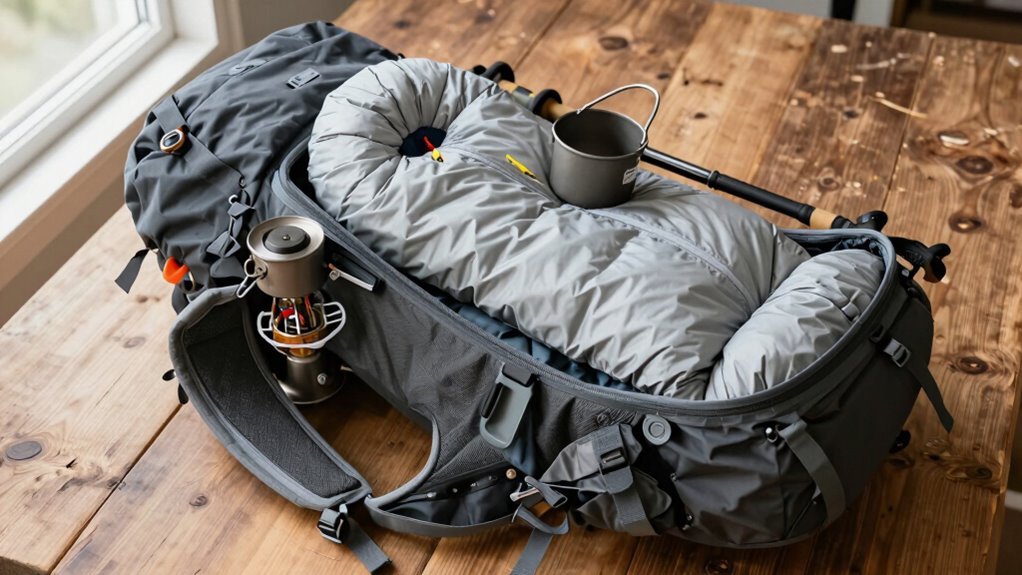
Ditch the boulder-like pack and embrace the featherweight life—your back will thank you mile after mile.
Going light doesn’t mean skimping; it means being smart with your Big Three (or Four!) gear choices.
You’ll move faster, feel better, and actually enjoy those endless switchbacks.
Here’s how to slash weight without sacrificing comfort:
- Pick an ultralight backpack like the Hyperlite Southwest or Zpacks Arc Haul—Dyneema builds tough but featherlight shelters too.
- Sleep cozy but light: pair a quilt with a sleeping pad, and add a liner for warmth.
- Wear efficient footwear—trail runners or Luna Sandals save energy (remember: one pound on foot = five on your back!).
- Use smart add-ons like a tiny pillow, trekking poles, or a front pack for quick snacks.
Lightweight isn’t just gear—it’s freedom. And hey, your future sore-back self will send thanks!
Frequently Asked Questions
How Do I Distribute Weight Evenly in My Backpack?
You keep the heavy stuff—like food, water, and your tent—close to your back and around the middle so it rides right above your hips, where your body can handle the load.
That way, you stay balanced and don’t wobble like a penguin.
Lighter things, like clothes, go at the bottom, snacks and tech up top.
Use pockets for water and rain gear, and always, always cinch that hip belt—it’s your best friend.
Should I Bring a Rain Cover for My Backpack?
You bet, toss a rain cover in—think of it as an umbrella for your pack, keeping your gear dry and happy.
It’s quick to grab, perfect for surprise showers, but don’t rely on it in wild storms—it might blow away like a runaway napkin.
Pair it with waterproof stuff sacks, and boom, you’ve got backup.
Lightweight, handy, and kinda fun to snap on like a pack poncho—just don’t let it drip on your buddy!
Can I Use a Regular Backpack Instead of a Hiking One?
You *can* use a regular backpack, but you’ll feel every bump and ache on longer hikes.
Without proper padding or a hip belt, it’ll dig in fast—hello, sore shoulders!
Hiking packs carry weight smarter, so you stay comfy on rough trails.
If you’re just out for a quick stroll, your everyday bag works fine.
But for anything wilder, trust a real hiking pack.
Your back will thank you—no dramatics, just relief.
How Do I Prevent My Backpack From Smelling After Hikes?
You stop a backpack’s stink by treating it like sweaty gym socks—with love and regular cleanings.
After a muddy 10-miler last summer, mine reeked like a wet dog’s towel.
Now, I toss it in cold water with Nikwax Tech Wash every few trips, scrub with a microfiber cloth, rinse three times, then air-dry it fully.
Baking soda in pantyhose neutralizes lingering funk, and trust me, your nose will thank you later.
What’s the Best Way to Clean My Backpack After a Trip?
You’ll want to give your backpack a good, thorough cleaning after your trip.
Start by emptying all pockets and shaking out debris—yes, even that old granola bar from 2019.
Vacuum crevices, then hand wash it in lukewarm water with mild soap.
Scrub spots gently, rinse well, and hang it upside down to dry.
Avoid the dryer unless you enjoy shrunken gear.
Once dry, store it empty and loose—your backpack will thank you with years of loyal service.
Conclusion
You’re not just packing a backpack—you’re taming a tiny tornado of gear into adventure-ready harmony. With water, snacks, and a map in place, you’re golden. Toss in layers like armor against sneaky weather, plus a first-aid kit for trailside drama. Lighten the load, laugh off hiccups, and hit the trail grinning. This? This is your wild, cozy, muddy, magical story waiting to unfold—one joyful step at a time.
References
- https://millicanreserve.com/hiking-checklist-what-to-pack-before-heading-out/
- https://explorerspassage.com/chronicles/essential-items-daypack/
- https://www.rei.com/learn/expert-advice/day-hiking-checklist.html
- https://www.camelbak.com/guide-day-hike-essentials.html
- https://www.rei.com/learn/expert-advice/backpacking-checklist.html
- https://www.iheartpacificnorthwest.com/blog_post/my-hiking-gear-list/
- https://www.outdoorgearlab.com/topics/camping-and-hiking/best-backpacking-gear-list
- https://www.nps.gov/articles/10essentials.htm
- https://andrewskurka.com/backpacking-navigation-toolkit-intro-maps-equipment-skills/
- https://www.outsideonline.com/outdoor-gear/hiking-gear/backcountry-navigation-gear-gps-maps-compass/