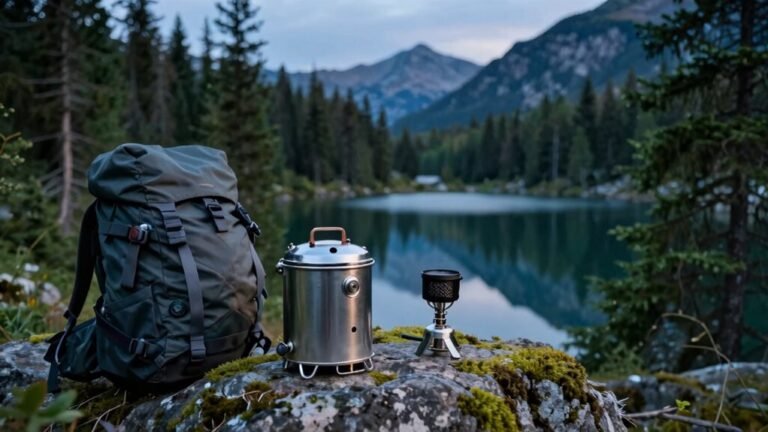
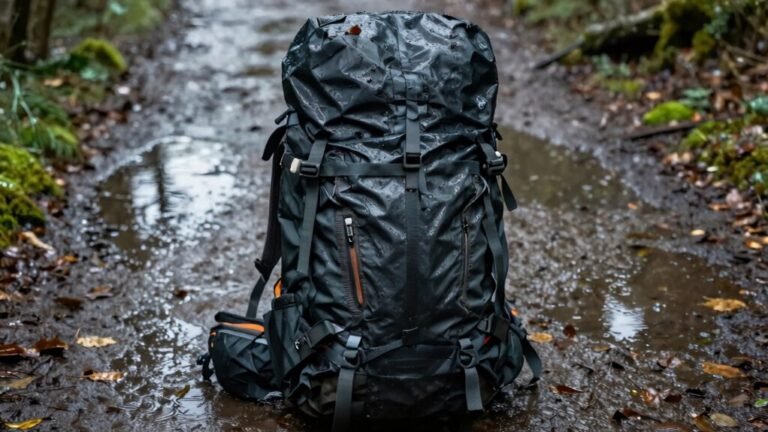
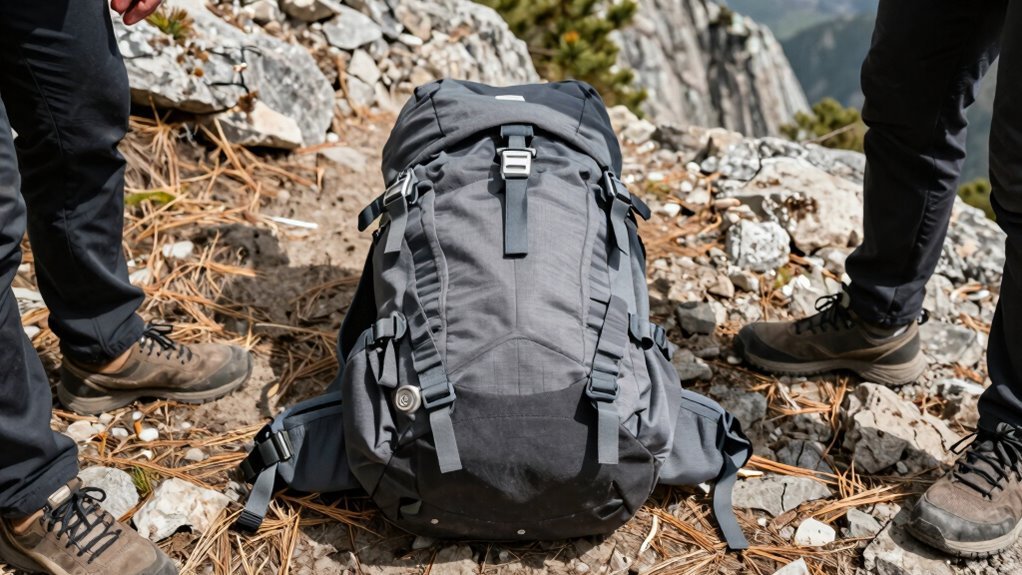
Troubleshooting Pack Fit on the Trail
If your pack’s bouncing like a restless kangaroo, troubleshooting pack fit on the trail starts with the shoulder straps—snug them down so they hug your traps without digging in. Next, lock the hip belt over your hip bones, not your waist, to transfer the weight properly.
Crank the load lifters to 45 degrees so the pack sits close to your back. Then, cinch the sternum strap across your chest to stabilize the shoulders.
Pack heavy items in the middle of the load chamber to keep the center of gravity balanced. With everything adjusted, hiking feels way more fun than wrestling your gear. There’s even smarter tweaks that’ll make your next trail stretch feel like a breeze.
Diagnosing Shoulder Strap Discomfort
Ever wonder why your shoulders scream in protest halfway up the trail?
It’s probably your shoulder straps staging a mutiny.
If they’re digging in, cutting off circulation, or leaving angry red marks, they’re doing more harm than help.
Those thin, unpadded straps? Yeah, they’re basically nature’s dull knives.
And if your pack feels lopsided, you might be leaning into asymmetrical strain that twists your spine like a pretzel.
Poor fit or loose straps let the load bounce around like a rebellious backpack teenager.
You’ve also probably forgotten to tweak those load lifters—pull ’em tight at a 45-degree angle to actually lift weight off your shoulders.
Snug, padded straps should hug your traps without strangling them.
Think teamwork, not tug-of-war.
When adjusted right, the pain fades, and hey, you might even start enjoying the view again—no numb arms required.
Shoulder strap pressure can compress nerves and reduce arm circulation.
Securing the Hip Belt for Optimal Support
Your shoulders aren’t the pack mules they’re pretending to be—so stop letting them carry the whole show.
The real power is in your hips, where the hip belt should be doing 80–90% of the heavy lifting—literally.
Nail the fit with these steps:
- Slide the belt over your hips so it sits right on your hip bones, not your waist, with the padded part hugging the front and back evenly.
- Center the buckle on your belly and make sure the padding covers the top of your rear hip bones—it’s built higher back there, remember!
- Pull snug using a cross-body tug (think ‘diagonal ninja move’) for even tension without pinching.
- Do a little hip shimmy and shrug your shoulders to lock the belt in place—comfortable, secure, and ready for adventure.
When it fits? You’ll feel like a trail-blazing superhero.
Torso length determines whether the hip belt can sit correctly on the iliac crest.
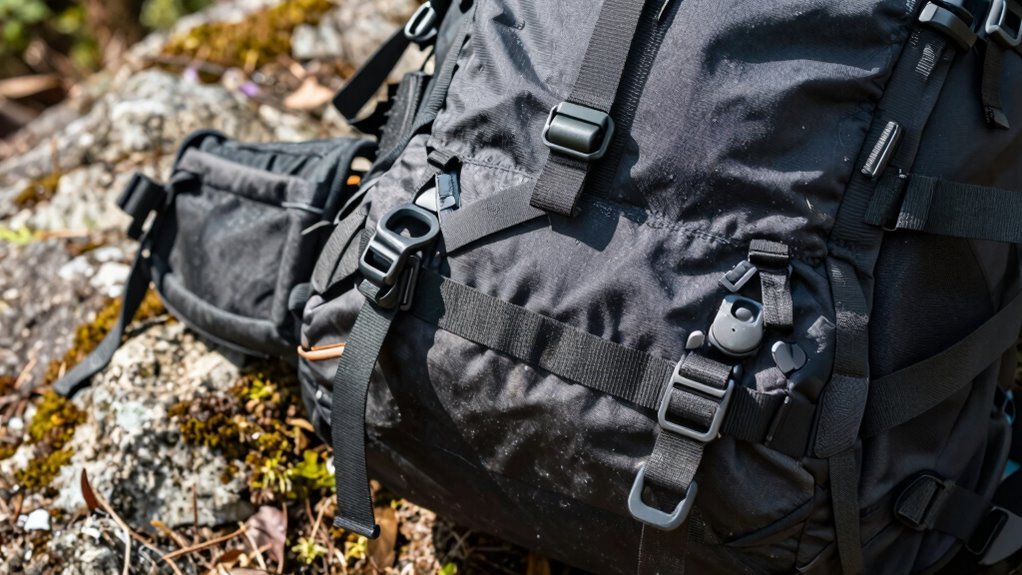
Adjusting Load Lifters for Balanced Weight
Tuning your load lifters is like giving your backpack a quick pep talk before hitting the trail—suddenly everything clicks, and you’re moving with purpose instead of wobbling like a shopping cart on a tilted parking lot.
After securing your hip belt, pull those top straps just right—about a 45-degree angle—to pull the pack’s top toward your body.
This shifts weight off your shoulders and onto your hips, where it belongs.
You’re not wrestling a fridge; snug is good, strained is silly.
Leave enough room for a thumb between strap and shoulder, and don’t let them yank your arms up like a confused marionette.
Proper tension stabilizes the load, keeps the center of gravity close, and helps you pivot easily.
Skipping this? You’ll feel every sway with every step.
Get it right, and you’ll wonder how you ever hiked without it—simple tweak, big payoff.
For optimal alignment, ensure your torso length is measured from C7 to iliac crest before adjusting load lifters, as proper fit starts with accurate anatomical landmarks.
Eliminating Pack Sway and Side-to-Side Movement
Keeping your pack from wobbling like a slow-motion noodle dance starts with smart weight management inside.
You’ve gotta get that load stable, or every step becomes a waddle.
Here’s how to keep things tight and sway-free:
- Load smart — Pack your heaviest gear first, close to the center, and surround it with lighter stuff for balance.
- Squeeze it down — Use those side compression straps to cinch everything tight so nothing shifts mid-stride.
- Belt it out — Snap your hip belt snugly on your hipbones, not your waist, so the weight rides low and steady.
- Shoulder check — Tighten both shoulder straps evenly to keep the pack hugging your back, not bouncing with every move.
Do this, and you’ll stride smoothly—no awkward sway, just trail-ready confidence.
Fine-Tuning Sternum Strap Placement
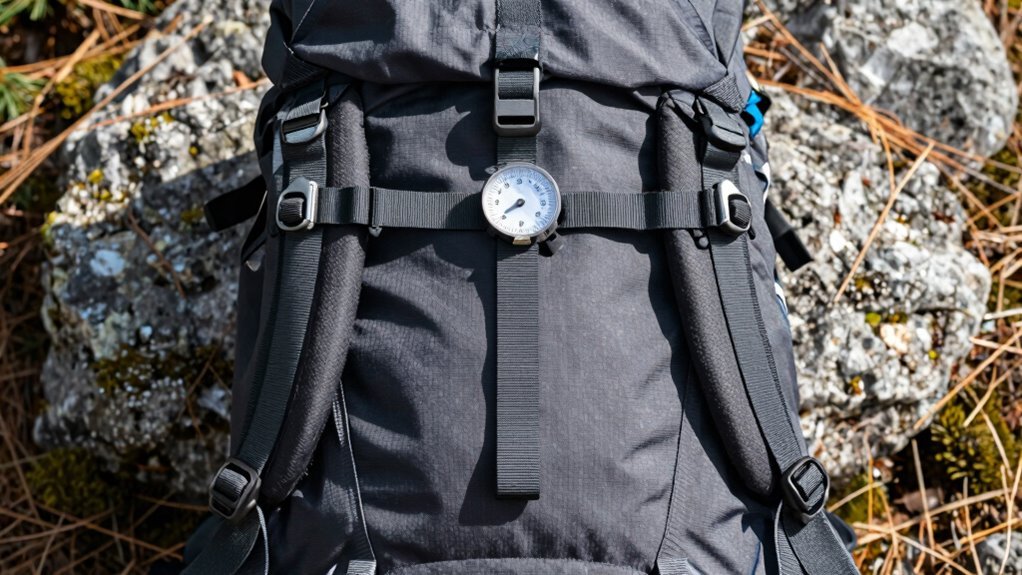
Why does your sternum strap always seem to end up either strangling your collarbone or sliding into your armpit? Let’s fix that!
Position it just above your sternum and below your collarbones, where it won’t fight your breathing.
Slide the adjuster up or down the daisy chain for a custom fit—higher placement helps if you’ve got a bigger chest and hate armpit migration.
Click it onto the shoulder straps under the pocket or use vertical sliders if your pack has ‘em.
Buckle up, then tighten just enough to center the straps without pinching.
You should still take deep breaths and swing your arms freely—no straitjacket vibes!
Test different heights, walk around, maybe even fake a steep climb.
A well-placed strap stays put, feels comfy, and keeps your shoulders stable.
Some packs even include whistles on the buckle—because safety’s cool.
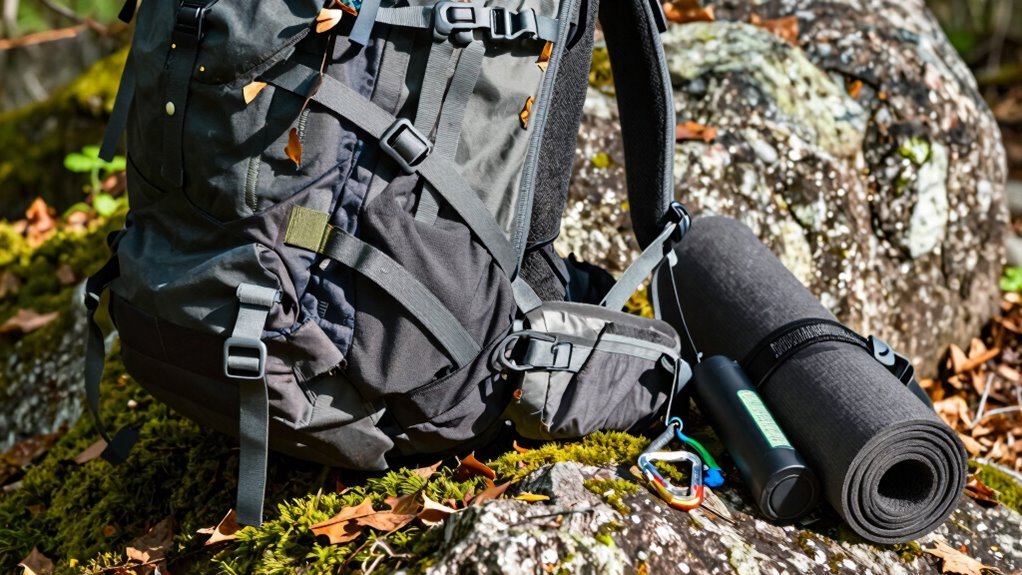
Repacking for Better Weight Distribution
Where’s the best place to stash your gear so your pack doesn’t feel like a sack of bricks trying to tip you over?
Simple: repack with weight distribution in mind.
You’ll hike easier, stand taller, and maybe even outwalk your smug trail buddy.
Follow these tips to balance your load like a pro:
- Stash heavy stuff—like water, stove, and food—in the middle of your pack, close to your spine.
- Tuck lightweight, bulky items (sleeping bag, puffy jacket) at the bottom where they won’t drag you backward.
- Balance side pockets equally—no favoring one hip like you’re carrying grocery bags.
- Keep frequently used gear in outer pockets, but don’t let snacks throw off your symmetry!
Tighten those compression straps, test your setup on a short hike, and adjust as needed. A happy pack makes for a happy back—and way better trail stories.
Frequently Asked Questions
How Do I Clean My Backpack Without Damaging the Fabric?
You clean your backpack without damaging the fabric by using lukewarm water and a mild, fragrance-free soap—no harsh chemicals!
Gently scrub spots with a soft brush, focusing on grimy zippers and straps.
Never toss it in the washer or dryer.
Rinse well, press out water with a towel, then let it air-dry completely.
Stuffing it with towels keeps the shape.
Your pack’ll smell fresh, look great, and last for way more adventures—just don’t ask it to do the dishes.
Can I Use Trekking Poles With Any Backpack?
You can use trekking poles with almost any backpack—no magic required, but a little MacGyver spirit helps!
Slip them between your back and pack for a quick stash, or use loops, straps, or even rubber bands.
If your pack’s got compression straps or side pockets, you’re golden.
No built-in features? No problem!
A DIY bungee or Gear Tie fixes most hiccups.
Just shorten those poles and laugh when they dance behind you like backpack confetti.
What Should I Do if My Pack Gets Caught in Rain?
You jump into action the second rain hits—pull out your rain cover and stretch it over your pack like a snug superhero cape.
Make sure it’s secured tight with drawcords so it doesn’t flap away like a runaway kite.
Pair it with an internal liner or dry bags to keep your gear bone-dry, because soggy socks and wet phones?
Total trail tragedy.
Shake off water after, let everything breathe, and you’ll stay dry, happy, and ready for the next puddle jump!
How Often Should I Replace My Hiking Backpack?
You should replace your hiking backpack every 5 to 10 years, depending on how often you hit the trails.
If you’re out there 50+ days a year, expect to swap it every 5—especially if seams fray or zippers quit.
But hey, if your trusty pack’s still kicking after a decade, congrats!
You’ve got either a JanSport legend or a magical backpack genie.
Are Hydration Bladders Compatible With All Pack Models?
Nope, not all packs play nice with hydration bladders—some welcome them, others give the cold shoulder.
If your pack’s missing a sleeve or port, you can still sneak in a bladder using a clever pocket hack.
Models like Hyperlite’s Unbound need a bit of MacGyver energy, but it’s doable.
Always check for a tube path or leave the hose peeking out the top.
With a little creativity, you’ll stay hydrated in style—because nobody likes a thirsty hiker!
Conclusion
You’ve nailed the fit, and now your pack feels like it’s floating—well, almost. Did you know the average hiker carries 20% more weight than needed? That’s like lugging a bowling ball just for fun! But with snug straps, a locked-in hip belt, and smart packing, you’re moving easier, breathing freer, and hiking happier. Keep tweaking, keep smiling—your trail, your rules!
References
- https://springhillpremierchiro.com/back-pain-from-a-heavy-backpack-5-tips-tricks/
- https://wolfpak.com/blogs/news/how-to-avoid-backpack-pain-strain-and-injury
- https://ozarkorthopaedic.com/avoid-back-pain-from-backpacks/
- https://venturaortho.com/is-your-shoulder-bag-causing-your-back-and-neck-pain/
- https://byland.co/blog/How-to-fix-a-backpack-thats-uncomfortable
- https://angelkissbag.com/th/blogs/angelkiss-blog/why-does-your-backpack-always-feel-uncomfortable-the-problem-is-in-these-details
- https://www.americanpainconsortium.com/patient-resources/news/2024/september/hiking-without-hurting-back-and-shoulder-pain-pr/
- https://www.everki.com/at-de/everki-geschichten/backpack-adjustment-tips.html
- https://www.alpenglowgear.com/blogs/adventureawaits/how-to-properly-fit-and-adjust-your-backpack-for-m/
- https://www.youtube.com/watch?v=xsVJwVKfg-k