Blister Care Checklist for Your Next Hike
Ditch the cotton socks—opt for merino wool or CoolMax to keep your feet dry and happy. These materials help reduce moisture, a key factor in blister formation.
Break in your hiking boots indoors before hitting the trail; nobody wants blisters on mile one. Properly fitted, well-worn boots minimize friction and hotspots.
Apply BodyGlide or Leukotape to common friction zones like heels and toes. These blister care essentials create a protective barrier against rubbing.
Pack a blister care kit with Compeed patches, a clean needle, and moleskin—be ready for anything. Treating blisters early prevents worse damage.
Spot a hotspot as soon as it forms, then tape it immediately to stop progression. Quick action keeps you moving and protects your skin.
Choose the Right Hiking Socks
Picking the perfect hiking socks isn’t just about comfort—it’s your first line of defense against blisters, and trust us, your feet will thank you later.
You’ve got options: toe socks like Injinji keep toes separated, so they don’t rub like annoyed siblings on a long road trip.
Or go double-layer with Wrightsocks—two socks working as a team, shifting friction from your skin to the sock-sock zone.
Either way, skip cotton—it holds moisture like a sponge at a rainstorm.
Instead, grab merino wool or CoolMax; they wick sweat, fight stink, and keep temps just right.
Thick acrylic or cushioned Darn Toughs? Yes—more padding means less blister drama.
And merino? It’s basically the superhero of sock materials: soft, tough, and eco-friendly.
Your socks aren’t just laundry fodder—they’re blister-busting allies.
Suit up right, and your feet will hike happy all day.
Darn Tough offers a lifetime warranty, so you can count on long-term protection for your hiking adventures.
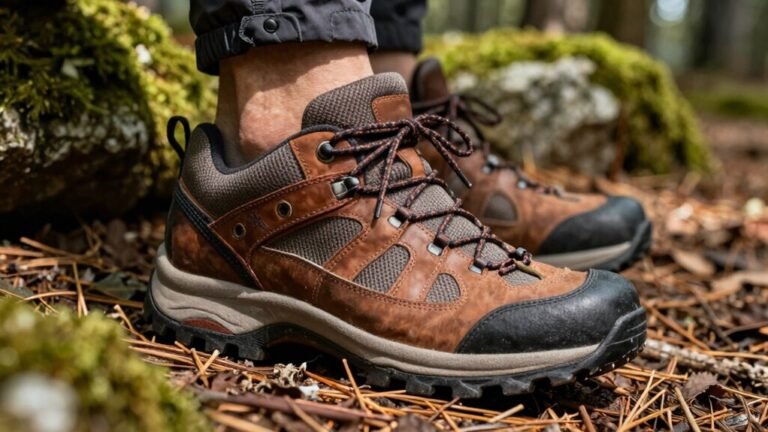
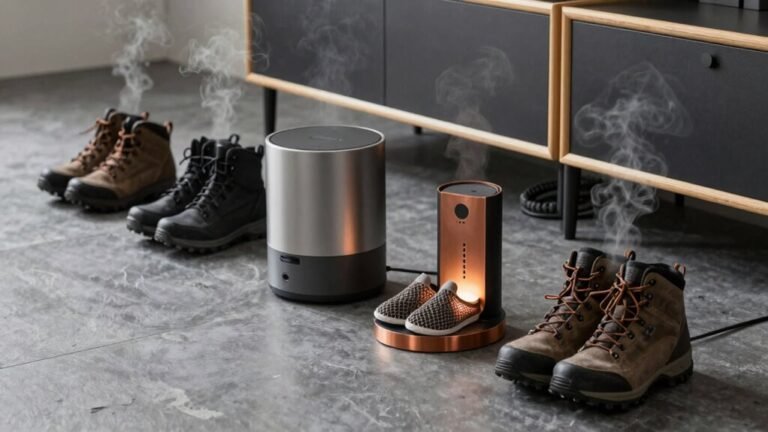
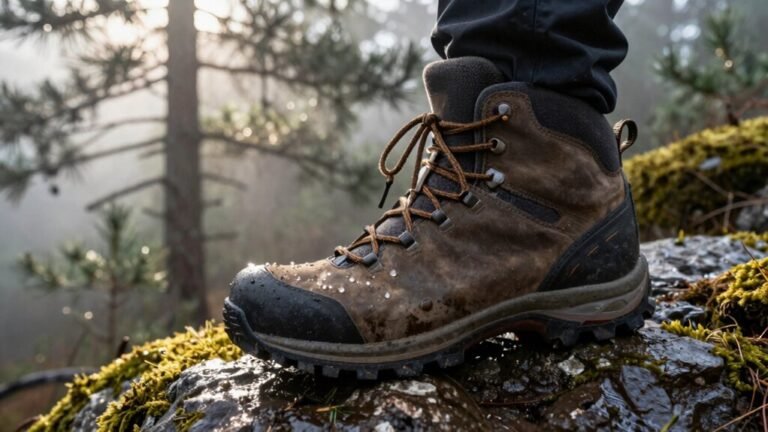
Break In Your Footwear Before the Trail
Lace up, because it’s time to turn those stiff new boots into your feet’s best trail buddies.
Breaking them in right means no nasty surprises halfway through your hike.
Think of it like dating your boots—start slow, get to know each other, then commit to the long haul.
- Wear them indoors first with your go-to trail socks—start short, then ramp up time daily.
- Gradually hit sidewalks and trails, adding weight and terrain only when your feet stay happy.
- Play with lacing—tighter at the bottom, looser up top—to stop slips and sore spots.
- Skip the hacks like soaking or freezing; real break-in takes time, not drama.
- Always follow the manufacturer’s guidance to ensure proper care and break-in process.
Your boots aren’t a sprint; they’re a marathon.
Let them mold to you, not the other way around.
Your feet will thank you when you’re miles deep with zero blisters.
Apply Preventive Foot Lubricants or Tapes
Now that your boots are broken in and moving with your feet instead of against them, it’s time to add another layer of defense—this one goes straight on your skin.
Slap on a reliable lubricant like BodyGlide or GurneyGoo to keep friction low and skin happy.
Skip plain Vaseline—it helps at first but can backfire fast.
If your feet run hot and sweaty, hit them with Carpe lotion or Certain Dri before you head out.
For a dry, powdery feel, dust on Gold Bond—it’s like a moisture-munching superhero for between your toes.
Prepping? Wipe feet clean, use tincture of benzoin for stickiness, then layer on your balm.
Reapply every few hours.
And if you’re prone to hot spots, tape’s your friend—Leukotape sticks well, breathes easy, and laughs at sweat.
Just watch for latex allergies.
Your feet will thank you—no soggy socks or surprise blisters on summit day.
Consider using a two-sock system to further reduce friction and manage moisture during long hikes.
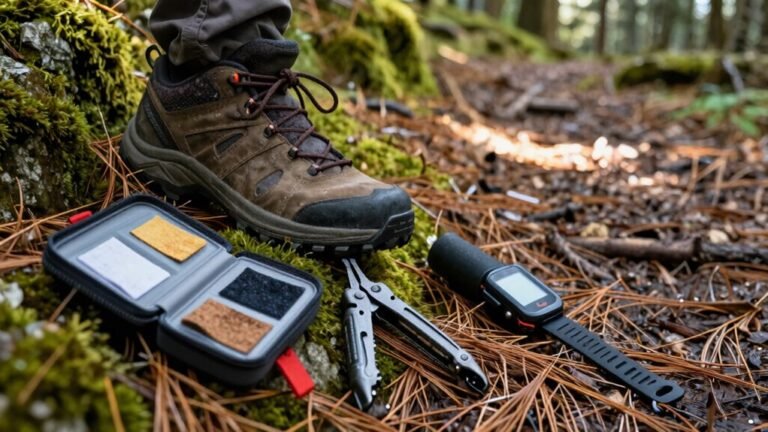
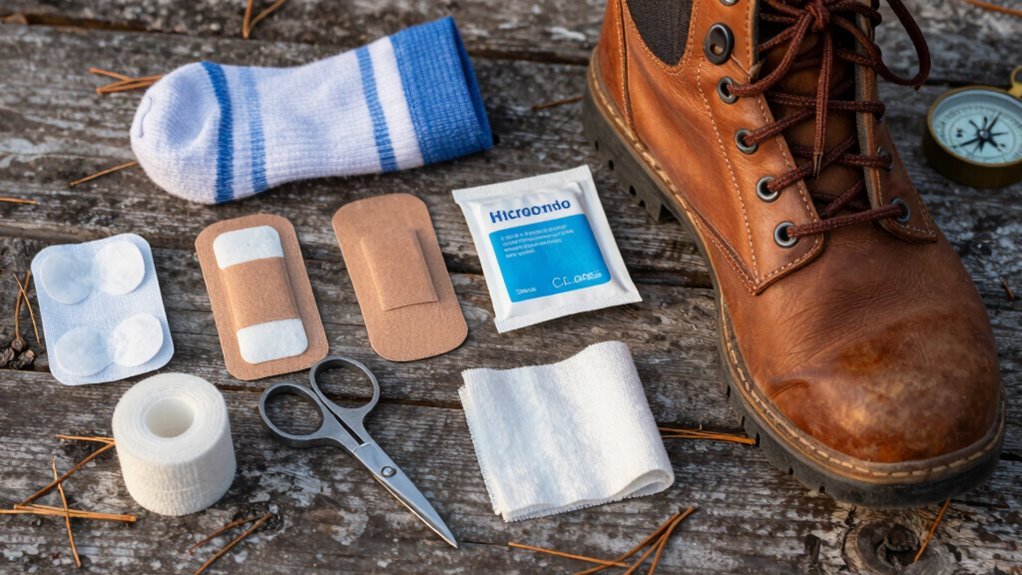
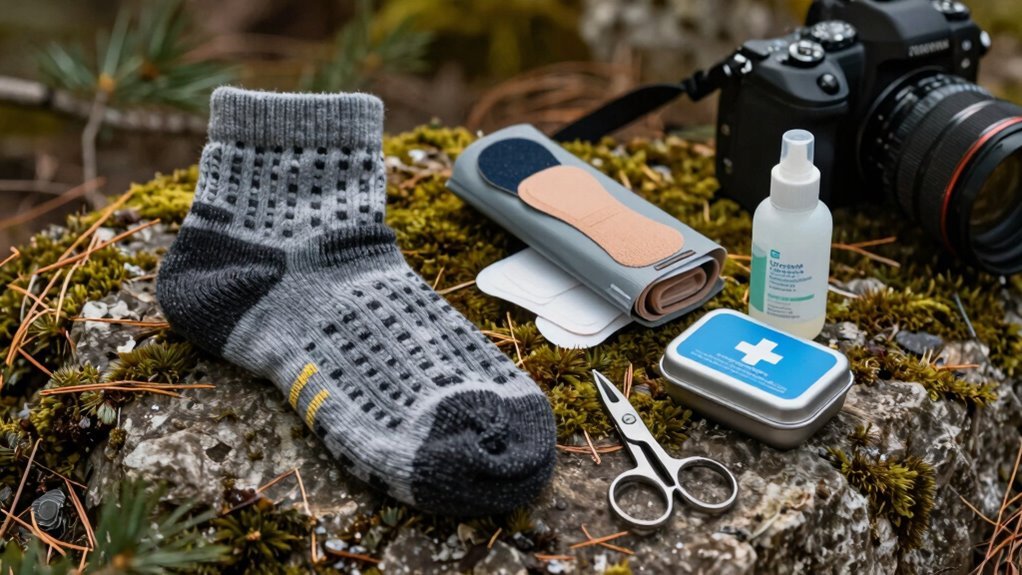
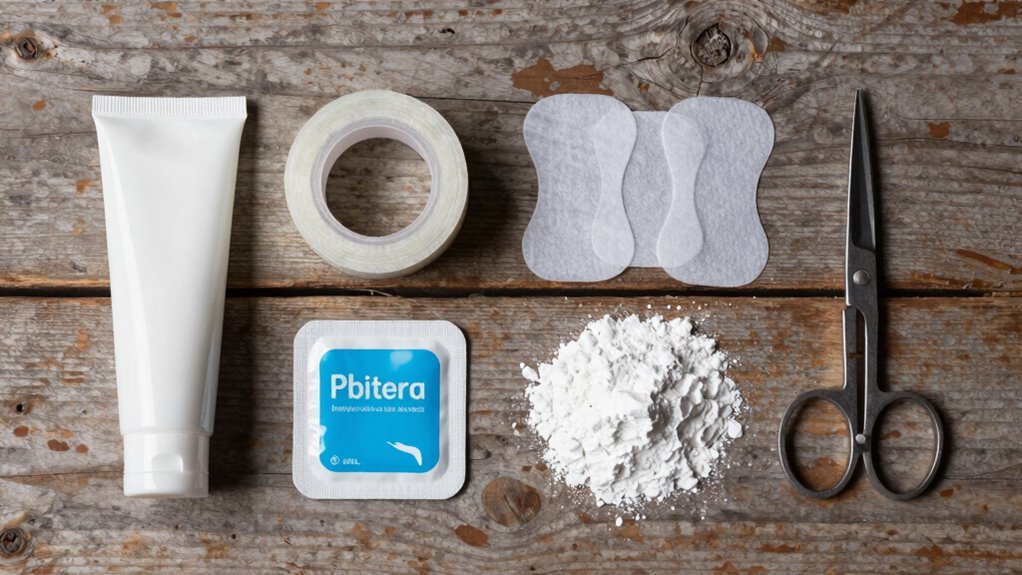
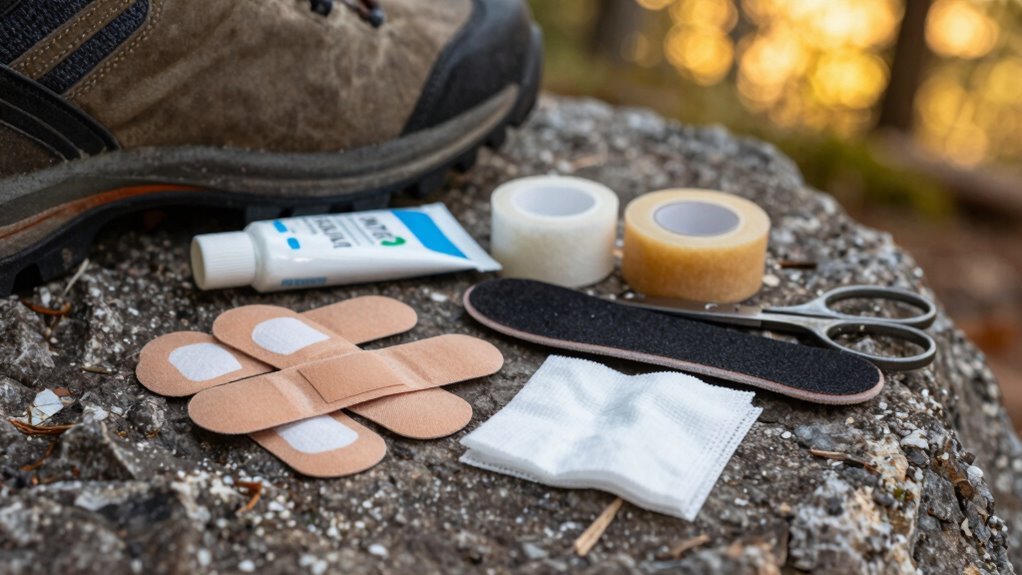
Pack Essential Blister Treatment Supplies
You’ll definitely want to pack a blister kit that’s ready for anything—because let’s face it, nature doesn’t care if you’ve got a summit to reach or a scenic stroll planned.
Tackle blisters fast with the right gear, so you can keep moving and skip the hobble.
Your kit should be light, smart, and totally trail-worthy—think of it as your foot’s emergency pit crew.
- Hydrocolloid plasters like Compeed or BlisterPod cushion and heal, especially for raw or deroofed blisters
- Leukotape and moleskin create pressure-relieving donuts, while KT tape wraps neatly around a straw for space-saving
- Alcohol wipes, gauze, and Neosporin keep things clean and infection-free—because nobody likes a boo-boo that turns nasty
- A safety pin, sterile gloves, and benzoin let you drain smartly if needed, like a DIY doc in the dirt
Recognize Early Signs of Hot Spots
Ever wonder why your heel suddenly feels like it’s hosting a tiny bonfire? That’s a hotspot—friction’s sneaky warning before a blister crashes the party.
You’ll feel it as a burn, sting, or warmth, often where your shoe rubs most: heels, toes, or foot edges.
Maybe it’s tender when you press it, or you notice a nagging rub with every step—don’t ignore it!
Hotspots love showing up on day two of hikes or during long treks, especially if your boots aren’t broken in.
Moisture, heat, and pressure team up to create the perfect storm.
The good news? You can stop it fast. Just pause, check your feet, and tape it early.
Catching a hotspot is like defusing a bubble bomb—stay alert, act quick, and keep hiking comfortably.
Your feet will thank you later—no drama, just trail vibes.
Know How to Treat a Blister on the Move
So that hotspot you spotted yesterday turned into a full-blown blister—no worries, it happens to the best of us, especially when the trail gets long and your boots get opinionated.
You’ve got this! Just treat it fast, stay smart, and keep stepping. Here’s how to handle it on the go:
- Clean the area with an antiseptic wipe or soap, then rinse popped blisters with water—nobody wants a dirt party under your bandage.
- If it’s big and painful, sterilize a needle and drain it gently—leave the skin on like nature’s bandage.
- Slap on a blister pad, moleskin donut, or hydrocolloid patch to protect and cushion, reducing friction like a boss.
- Apply antibiotic ointment or lube before covering, and keep an eye out later for redness, swelling, or drama.
You’re not slowing down—you’re just hiking smarter now.
Frequently Asked Questions
How Long Does It Take for a Blister to Heal Naturally?
Your blister heals naturally in about a week if you leave it alone and keep it clean.
Skin starts fixing itself within six hours, and the tough outer layer forms in two days.
If you keep it protected, you’re back in action fast.
Pop it?
That’s playing with fire—slows healing and risks infection.
Think of the fluid as your skin’s personal repair kit—don’t mess with it!
Can I Pop a Blister if It’s Painful?
You can pop a blister if it’s painful, but should you?
Think of it like texting your crush—risky, but sometimes necessary.
If it’s large, in the way, and screaming for relief, go ahead—with clean hands and a sterile needle.
Drain it gently, leave the skin, and patch it up.
Just remember: you’re not a pimple-popping TikTok star, so keep it clean, calm, and covered.
Are Blisters More Common in Hot or Cold Weather?
Blisters aren’t picky—they’ll bother you in hot *or* cold weather.
But let’s be real, heat cranks up the sweat, and sweaty feet? Prime real estate for blisters.
Moist skin + friction = trouble, no matter the season.
Cold keeps feet drier, so blisters are less common, but heavy boots and double socks can still cause rub.
Do Blister Patches Work on Wet or Sweaty Feet?
Yes, blister patches work even on wet or sweaty feet—you’re good to go if you pick the right kind.
Engo sticks to your shoe, not your skin, so sweat doesn’t faze it.
Leukotape and hydrocolloids like Compeed cling strong, rain or shine.
Pre-tape hotspots before moisture hits, stay comfy on long trails, and let your feet sweat without stressing.
You’ve got this—happy hiking, soggy soles and all!
Should I Adjust My Hiking Pace to Prevent Blisters?
You don’t need to slow down just to dodge blisters—pace alone won’t save your feet.
Instead, focus on cutting friction where it counts: wear smart socks, dial in your boot fit, and grease or tape hotspot zones before they scream.
Think of it like driving a car—you wouldn’d just brake to avoid potholes; you’d steer too!
Prevent blisters by working *with* your body, not against your speed.
Conclusion
So, you’ve got your socks, your snacks, and your blister tape—congratulations, you’re officially more prepared than that guy wearing flip-flops to Machu Picchu. Blisters don’t stand a chance when you’re armed with hot-spot radar and a little common sense. Hiking’s supposed to be fun, not a foot-torture marathon. Stay smart, keep smiling, and let your soles sing the happy trail song—without the tragic sobbing.
References
- https://www.treelinereview.com/gearreviews/best-hiking-socks
- https://thetrek.co/my-secret-weapon-against-blisters-on-trail-hiking-in-toe-socks/
- https://www.wrightsock.com/collections/hiking-socks
- https://www.blister-prevention.com/blogs/prevention/blister-prevention-socks
- https://www.llbean.com/buy/blister-prevention-for-hikers
- https://followtiffsjourney.com/best-hiking-socks/
- https://weareexplorers.co/how-to-stop-blisters/
- https://www.outdoorgearlab.com/topics/shoes-and-boots/best-hiking-socks
- https://www.rei.com/learn/expert-advice/breaking-in-hiking-boots.html
- https://thehikingadventure.com/how-to-break-in-leather-hiking-boots