How to Use Insoles the Right Way
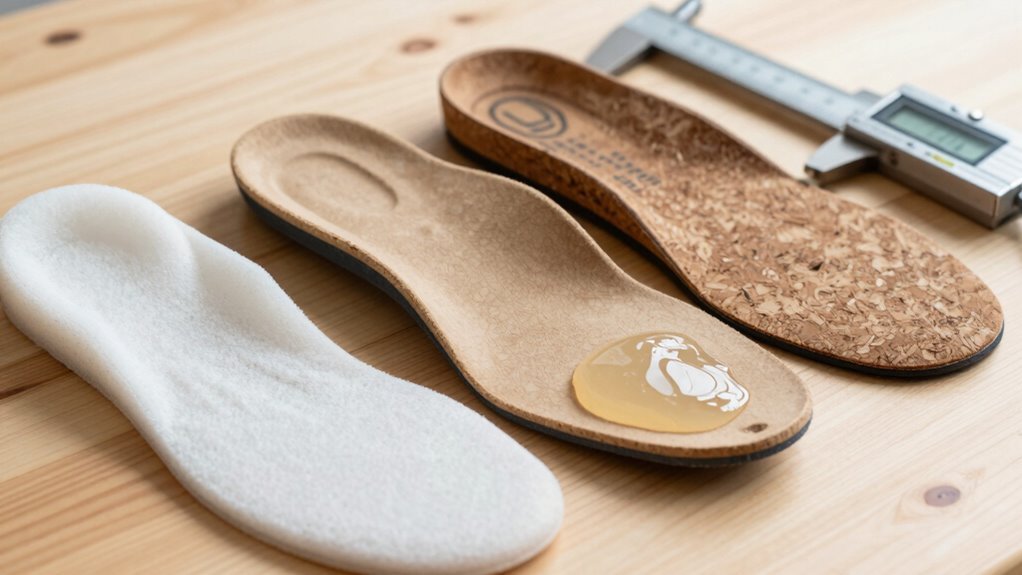
Pick the right insole for your vibe—hikers, runners, or desk jockeys all need something different. Insoles provide support and comfort tailored to your activity, so choosing the correct type is essential.
Kick out the old insole (yes, really), then slide in the new one snugly, heel first, and lined up like it’s meant to be there. Make sure it fits your shoe type and socks—no bunching or mid-step surprises.
Check your insoles monthly; when they quit bouncing back, it’s time to swap. Stick with the right insoles and you’ll unlock a whole new level of step-savvy comfort.
Choose the Right Type of Insole for Your Needs
Ever wonder why your feet feel like they’re throwing a tantrum after a long day?
It’s probably because you’re not giving them the right support they’re begging for.
If you’ve got high arches and roll outward, grab PowerStep Pinnacle High insoles—they’ve got that firm arch boost and cozy heel cradle you need.
For everyday wear, PowerStep bridge insoles flex with your stride while keeping things stable and comfy.
On your feet all day at work? Pinnacle Work insoles fight fatigue on hard floors.
Hike rough trails? Pinnacle Hiker’s got your back (and feet).
Running or playing sports? Go for gel or cushioned insoles to soften every step.
And if you’re into high-impact action, carbon fiber or silicone options absorb shocks like a pro.
Match the insole to your shoe, your arch, and your hustle—your feet will thank you with a happy dance.
Kids with foot pain or alignment issues can benefit from orthotic insoles that offer built-in arch support.
Remove the Existing Insole Before Inserting a New One
Yank out that old insole before dropping in a new one—your feet will thank you later.
Leaving both insoles creates a cramped fit, makes your shoe less stable, and kills comfort fast.
Most factory insoles lose cushioning over time, so they’re better off gone.
Check if it’s removable first—just tug gently from the heel.
If it lifts easily, peel it out from the edges and save it for another pair.
Found one glued down? No sweat!
Warm the heel with a hair dryer, then slowly peel it back.
Use rubbing alcohol to wipe away sticky leftovers.
Clean the inside with a damp cloth and let it dry completely—nobody likes a sweaty, slipping insole.
And hey, unless your orthotic is thin and meant to layer, skip the insole stacking.
It’s not a sandwich—more isn’t better!
Replacing worn-out insoles helps alleviate foot pain and restores proper support.
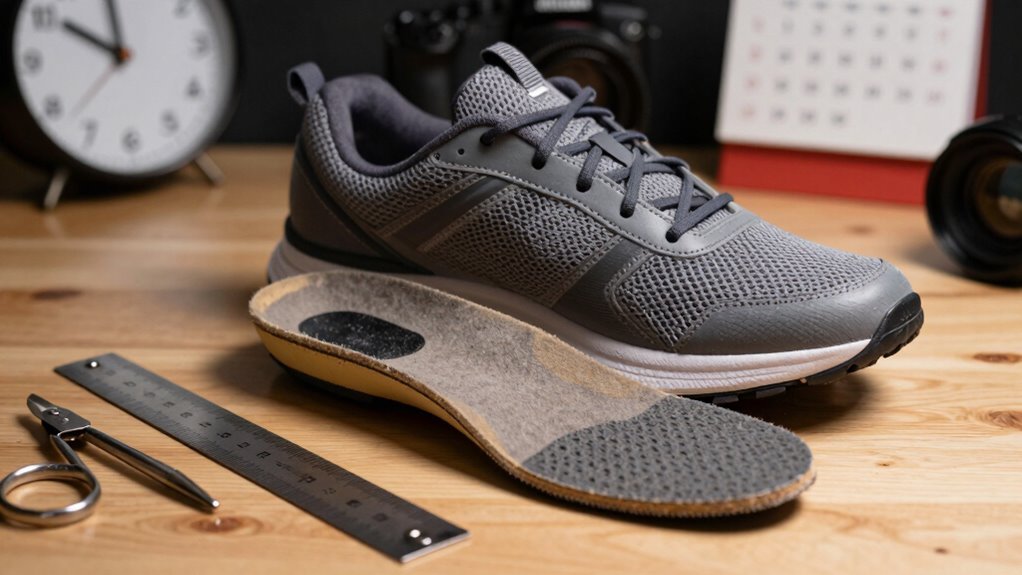
Position the Insole Correctly in Your Shoe
Slide that insole in like a pro—angle the bottom edge toward the inside of the shoe at about a 30- to 40-degree angle, and it’ll slip in smoothly, no wrestling required.
Pinch the sides gently and slide it in while keeping the laces wide open—more room, less fuss.
Once inside, lay it flat without curling or shifting.
Align the heel snugly with the shoe’s heel counter so it hugs your foot just right, and let the toe end kiss the front of the shoe.
Make sure it’s flat, stable, and not playing peekaboo at the edges.
Double-check: left insole in left shoe, right in right—don’t mix up your feet’s GPS!
Stand on it outside the shoe first to test stability, then pop it in and take a quick walk.
If it slips or pinches, tweak it.
A perfectly placed insole feels like a high-five for your feet—no drama, just comfort.
This ensures proper foot alignment and maximizes support.
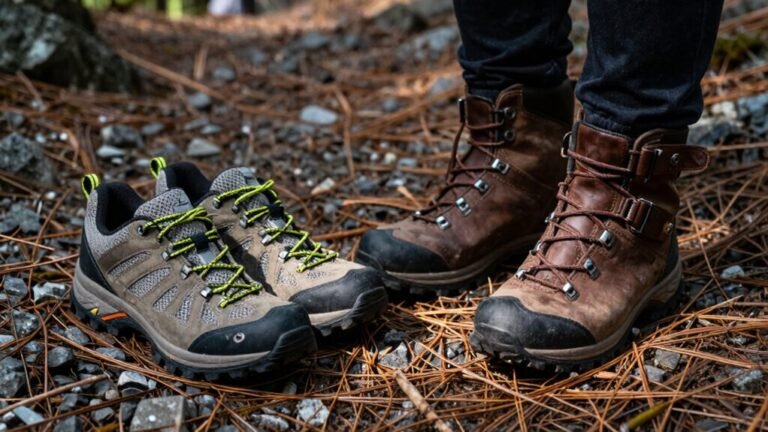
Match Insoles to Your Shoe Type and Fit
Now that your insole is sitting snug and straight in your shoe, it’s time to make sure it’s the right match for the shoe itself—because not all insoles play well with every pair you own.
Got hiking boots? Go for high-volume insoles—they love roomy shoes and high arches.
Squeezing into cycling shoes or ballet flats? Use low-volume or 3/4-length ones; they fit like a secret pocket of comfort.
Full-length insoles? Perfect for sneakers with removable inserts—just trim ‘em to match your shoe’s shape.
And yes, your left foot might be the rebel with a different arch—measure both!
Thick socks? Slimmer insole.
Thin socks? You’ve got room to cushion.
The best part? One great insole can hop between your boots, heels, and runners without drama—like a comfy ninja.
Just match the volume, length, and arch, and your shoes will feel like they were made for you—because now, they kind of are.
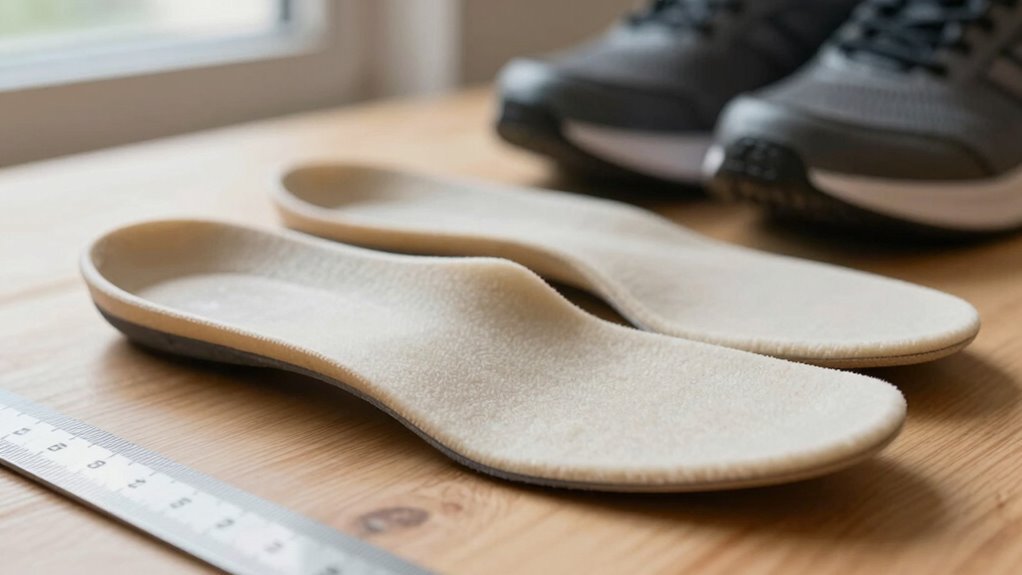
Replace Insoles at the Right Time
A few months ago, your insoles were springy little miracles, cradling your feet like tiny clouds on a good hair day—now? Not so much.
They’ve likely gone flat, lost their bounce, or developed dents that scream “retirement.”
If you’re a runner or play court sports, swap them every two to three months—those high-impact moves wreck support fast.
Daily walkers and standers? Aim for three to four months.
Even if you’re just shuffling around the office, don’t stretch beyond six.
Check monthly: press the arch and heel—if they don’t bounce back, they’re toast.
Cracks, tears, or weird smells? Game over.
Heavyweight or sweaty feet? That speeds up the breakdown.
Replace them on time, and your knees, hips, and feet will thank you.
Trust us, worn-out insoles aren’t heroes—they’re just sad, flat reminders of comfort past.
Clean and Maintain Your Insoles Regularly
You wouldn’t wear the same socks for months without a wash, so why let your insoles collect all that gunk without a little spa day?
Pull them out gently and brush off loose dirt—focus on the toe and heel where grime loves to hide.
For foam ones, scrub with warm water and mild soap, or toss some in the wash if they’re machine-safe.
Drop baking soda in a bag and let them soak up odors overnight.
Leather? Dampen a cloth with mild soap or vinegar and wipe—never soak!
Non-removable? Spritz with rubbing alcohol or vinegar spray to zap bacteria.
Always air dry—no hair dryers, no sunbathing.
Toss them back in only when bone dry, or you’ll grow more funk than a science experiment!
Know When to Use Custom Orthotics Instead
Ever wonder why your trusty drugstore insoles just aren’t cutting it—like putting a bandage on a leaky pipe and hoping for the best?
If your feet still ache after a few weeks, or you’re dealing with flat arches, bunions, or heel spurs, it’s time to level up.
Custom orthotics aren’t just fancy inserts—they’re built for *your* feet using molds, scans, or gait analysis.
They fix real problems like overpronation, leg length gaps, or knee and back pain from bad alignment.
OTC insoles cushion, but they can’t correct chronic issues like plantar fasciitis or diabetic foot stress.
When everyday fixes fail, and discomfort sticks around like an uninvited guest, see a podiatrist.
Custom orthotics last 3–5 years, target your exact needs, and actually heal instead of just hush the pain.
Your feet carry you all day—give them the VIP support they deserve!
Frequently Asked Questions
Can I Wear Two Insoles at Once for Extra Cushioning?
No, you can’t wear two insoles at once for extra cushioning—it’s like putting two mattresses on a bunk bed; things just collapse!
You’ll wreck your boot’s fit, mess with safety features, and strain your joints.
Instead, grab one great insole that fits snugly—firm support beats fluffy chaos.
Your feet will thank you, and hey, happy feet mean better dance moves on the job!
Do Insoles Work for Flat Feet Without Arch Support?
No, insoles without arch support won’t help flat feet much—you’re basically walking on a pancake.
For real relief, you need firm support that lifts and mimics your arch, not just soft squishy stuff that collapses.
Think of it like a slingshot for your foot—proper support redistributes pressure, eases pain, and keeps things aligned.
Skip the flimsy stuff, go for structured comfort.
Your feet will thank you!
Should I Wear Insoles in My Slippers or House Shoes?
Yes, you should wear insoles in your slippers or house shoes if they lack support—your feet will thank you!
Slippers with removable footbeds let you add custom orthotics easily, giving you extra comfort and protection.
Think of it like giving your feet a mini upgrade every time you walk to the kitchen.
Plus, supportive slippers reduce pain and keep your arches happy, so skip the floppy foam ones—they’re cozy but useless long-term.
Can Insoles Cause Blisters if They’Re Too Thick?
Yes, insoles can cause blisters if they’re too thick—19 out of 200 athletes still got blisters when insoles didn’t fit right.
Too much padding crams your foot, increasing pressure and friction.
It’s like wearing shoes two sizes too small, except your foot’s screaming in secret.
Thick insoles can also shift your walk, creating hot spots.
Go for snug comfort, not a full-foot rave—your heels will thank you with zero drama.
Are Gel Insoles Safe for High-Impact Sports Activities?
Yeah, gel insoles are totally safe for high-impact sports—you’re in good hands.
They absorb over 90% of shock, turning nasty jolts into harmless heat, so your feet, knees, and back stay happy.
Perfect for soccer, football, or just jumping around like a madman.
They’re tough, responsive, and clinically proven to cut fatigue.
Just replace ‘em every six months, and you’ll keep landing like a pro, not a pancake.
Conclusion
You pick, you place, you step with confidence. You match, you replace, you stay comfy all day. You clean, you care, and your feet will thank you—really, they might send a tiny thank-you note. Slip in the right insole, and suddenly every walk feels like a victory lap. Feet happy, shoes ready, life just got comfier. Now go step into greatness—one supportive stride at a time!
References
- https://powerstep.com/blogs/news/guide-how-to-choose-the-right-orthotic-insoles-for-you
- https://insoles.com/pages/how-to-choose-the-right-insole
- https://theinsolestore.com/pages/insole-guide
- https://www.rei.com/learn/expert-advice/insoles.html
- https://www.carecredit.com/well-u/health-wellness/types-of-arch-support-insoles-inserts/
- https://www.outdoorgearlab.com/topics/shoes-and-boots/best-insoles
- https://www.drscholls.com/blogs/expert-advice/the-difference-between-orthotics-insoles-and-shoe-inserts
- https://treadlabs.com/blogs/insoles-reach-your-stride/which-style-of-insoles-do-i-need
- https://yoursole.com/blog/us/insoles-pain-relief
- https://alineinsoles.com/blogs/news/a-step-by-step-guide-to-replacing-your-shoe-insoles