How to Choose Blister Care
Check your blister’s size and fluid—clear is typical, red means blood, and yellow hints at infection. This assessment is a key step in effective blister care.
Skip popping it unless the blister is large or extremely painful. Breaking the skin increases the risk of infection and slows healing.
Clean the area gently with soap and water, never alcohol, which can irritate. Proper blister care includes keeping the site clean and protected.
Shield it with a comfortable island dressing or use gel pads to cushion it like a tiny bodyguard. Keep the blister covered and change bandages daily.
Watch for signs of worsening, such as redness, swelling, or pus. You’re doing great—there’s even smarter ways to heal coming your way.
Assess the Blister Type and Severity

Ever wonder why some blisters are small and clear while others are big, angry, and filled with something that looks like it belongs in a science experiment? That clear stuff? Just serum — your body’s natural juice from damaged blood vessels.
If it’s red, you’ve got a blood blister, probably from pinching your skin or a fracture nearby.
White or yellow pus? Uh-oh, that’s infection knocking.
Size matters too — tiny ones (vesicles) stay under 5 mm, while bullae are the drama queens, larger and bolder.
You’ll usually find them on hands or feet, thanks to friction or burns.
Speaking of — second-degree burns love forming blisters, while full-thickness ones look scary, feel weirdly painless, and need major medical help.
Some illnesses even fake blister drama — like shingles’ one-sided rash or itchy dermatitis herpetiformis.
Know your blister, because not all heroes wear capes — some just wear skin.
Herpes simplex can also cause clusters of painful blisters that crust over after weeping clear fluid.
Decide Whether to Drain the Blister
Now that you’ve figured out what kind of blister you’re dealing with—whether it’s a tiny clear bubble or a pulsing pocket of doom—it’s time to tackle the big question: should you pop it?
In most cases, don’t! Your skin’s got this—fluid drains naturally in a few days, and leaving it alone means less risk of infection.
Small blisters? Just protect them and let your body do its thing.
But if it’s large, super painful, or rubbing against your shoe like an angry blister protest, drainage might help.
Still, skip the DIY lance job—leave it to a pro if possible.
Popping without care can turn a minor issue into a germ party.
When in doubt, hold off, keep it clean, and watch for redness, pus, or swelling.
Sometimes patience beats popping every time—even blister drama needs a timeout.
The body naturally reabsorbs the fluid over 2–3 days, supporting healing without intervention.
Clean the Area Properly
Grab that soap and water—your first move in blister care is all about keeping things clean and calm. Start by washing your hands thoroughly; you don’t want to turn a small blister into a big bacteria party.
Use gentle soap and warm water—harsh stuff? Nope, skip it.
Clean the blister area softly, even if it’s not broken, and pat it dry (no rubbing—it’s not a magic lamp).
If it pops later, clean it again gently, keeping the skin flap in place like a tiny healing tent.
Avoid alcohol, peroxide, and strong antiseptics—they sound tough but actually slow healing.
Betadine’s okay for broken ones, but soap and water win most of the time.
Clean daily or whenever things get dirty or wet, and always dry well after.
Your blister will thank you—maybe not in words, but definitely in faster healing! Preventing infection is key to effective blister care.
Choose the Right Protective Dressing
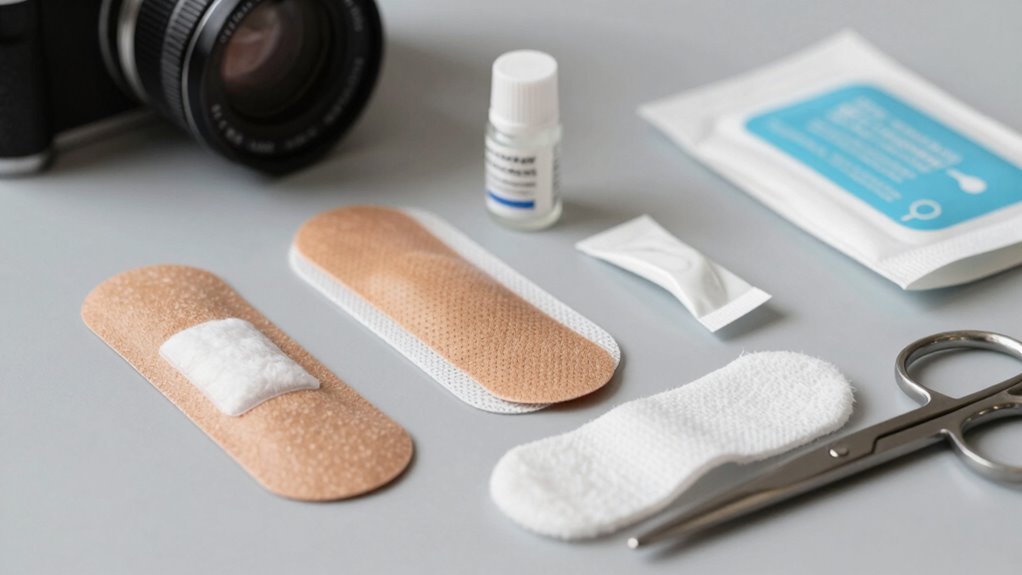
A great dressing can turn a painful blister into a no-big-deal, and picking the right one doesn’t have to feel like solving a mystery. Try island dressings—they’ve got a soft, absorbent center and sticky edges that guard against grime like tiny bodyguards.
They work on intact, torn, or peeled blisters, and brands like Walkers Nu-Por fit snugly on heels and soles.
For toes or bunions, Livingstone’s shaped options are a sweet fit. If you need cushioning, moleskin or foam pads offer comfy, cut-to-size protection—just donut-cut them to relieve pressure.
When things get juicy, pair alginate with transparent film to soak up fluid and keep things balanced (hello, no swamp feet). Waterproof? Sure! Pick Band-Aid or Nexcare for swim-ready coverage, but don’t forget—water *can* sneak in. And hey, duct tape in a pinch? We won’t judge.
Use Gel Pads for Pressure Relief
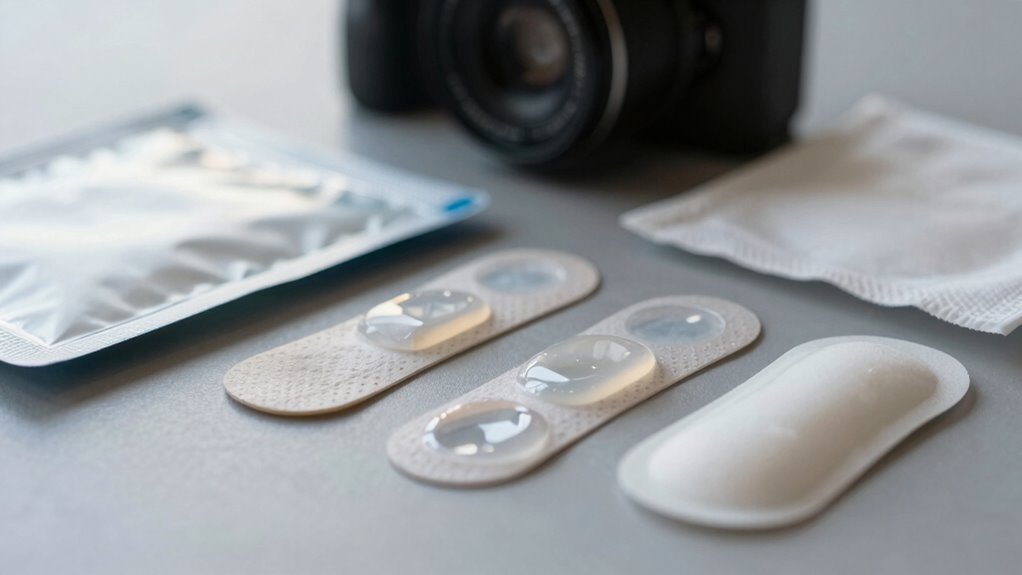
When your heels are staging a full-on protest from too much rubbing or pressure, gel pads step in like peacekeepers at a bickering family reunion—calming things down fast.
You get instant cushioning that hugs your heel, spreading pressure evenly so sore spots don’t turn into bigger problems.
The gel’s slick technology reduces friction, giving blisters a chance to heal while shielding them from shoe abuse.
Plus, those clever air-gel cells move with you, nixing hot spots before they start.
You’ll love how they feel barely there—discreet, skin-toned, and breathable thanks to castellated design.
They’re not just for blisters; if you’re sitting long hours or at risk for sores, these pads have your back (well, your heels).
Medical-grade options last longer and wash easy, so you can reuse them without worry.
Lightweight? Not exactly—they’re a bit heavier than foam, but hey, you’re trading a little weight for a lot of relief.
Smart choice, right?
Prevent Infection With Antiseptic Care
You’ve given your heels the VIP treatment with gel pads, so now let’s keep that blister from crashing the healing party with an infection.
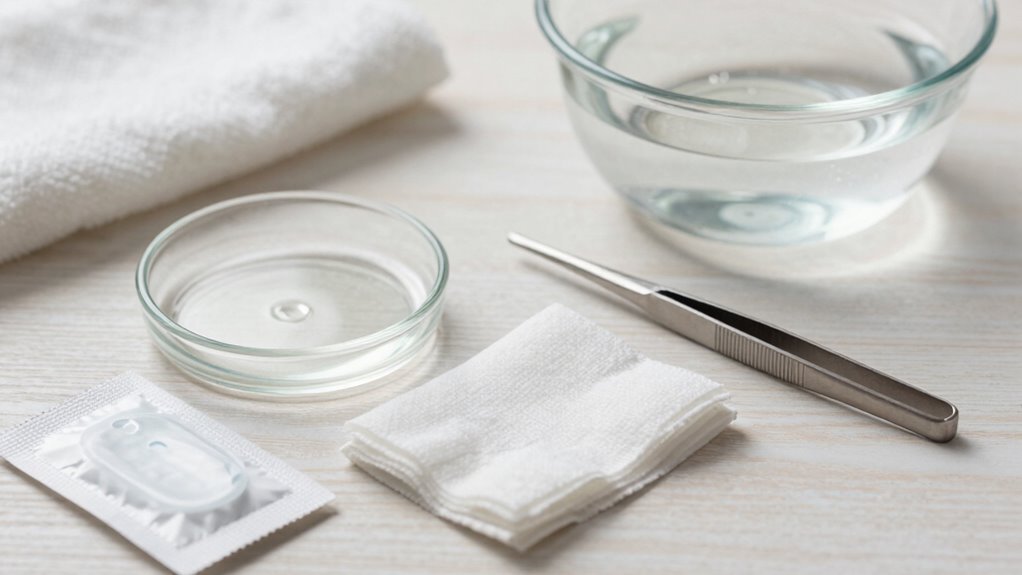
Start by washing your hands—yes, really—then gently clean the area with mild soap and water or an antiseptic wash.
Skip the harsh stuff like alcohol or peroxide; they’ll sting and slow healing.
If it’s popped, pat it dry and don’t panic.
Swipe on a bit of povidone iodine with a cotton bud to reach tricky spots, then apply a dab of Neosporin or Polysporin with a clean swab.
It’s like a mini force field against germs!
Reapply ointment twice daily, and if you lanced it (smooth move), keep that skin flap down—it’s nature’s bandage.
Your body’s fighting off bugs, so help it out.
Stay sharp, stay clean, and let your blister heal in peace—no party crashers allowed!
Keep the Blister Covered During Healing
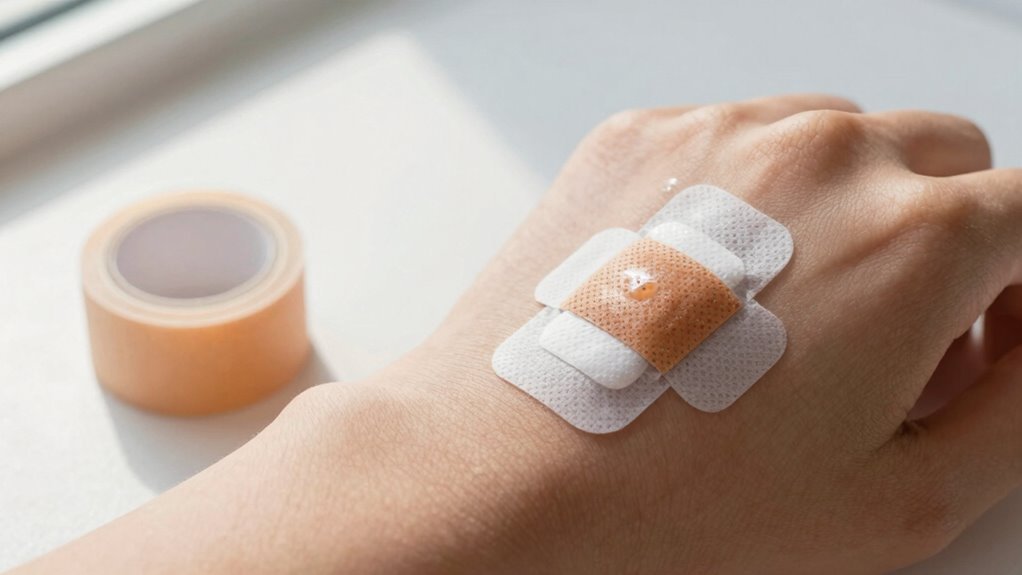
Slip, squish, or stomp around with confidence—your blister’s got backup!
Keep it covered snugly, but not tight, with a nonstick sterile bandage that won’t rip the delicate skin.
Loosely wrap it, letting the middle hover over the blister like a tiny healing tent.
If it’s on your foot, cut a moleskin donut to cradle the sore spot and relieve pressure—think bumper for your blister.
Change the dressing daily, or sooner if it’s soaked or dirty, and always re-cover after cleaning.
For larger or drained blisters, add a dab of petroleum jelly before sealing it up.
Shield it from friction with soft bandages or padded socks, and skip tight clothes—let your skin breathe!
Whether it’s on your heel or hand, staying covered keeps germs out and healing on track.
Just relax, protect it, and let your body do the magic.
Healing’s quick—3 to 7 days—and you’ll be back in action before you know it!
Know When to Seek Medical Help
Hmm, wondering if that blister’s just a nuisance or something more serious? Trust me, your body’s pretty good at sending SOS signals—don’t ignore them!
If things take a weird turn, it’s time to get help.
Here’s when you should definitely call a pro:
- You see pus, spreading redness, or the area feels warm—classic infection clues your body’s throwing a tiny rebellion.
- The pain’s crazy bad or just won’t quit, especially with swelling or colored gunk inside the blister.
- It’s from a burn, frostbite, or covers a huge area—yikes, that’s more than your average ouch.
- It’s in a weird spot like your mouth or genitals, or you’ve got multiple mystery blisters—definitely not normal!
When in doubt, get it checked—better safe than itchy!
Frequently Asked Questions
How Long Does a Blister Take to Heal Naturally?
You’re looking at about 7 to 14 days for your blister to heal naturally—pretty quick, right?
If it’s unbroken, it’ll likely clear up in just a few days while your body reabsorbs the fluid.
Popped or torn blisters?
They might take a bit longer, especially if they’re on your feet.
Just keep it clean, protect it with a plaster, and let your awesome body do its healing thing—no medical drama needed!
Can I Exercise With a Blister on My Foot?
you can exercise with a blister, but only if you act fast and smart.
don’t ignore the pain—tackle it head-on with hydrocolloid bandages or moleskin donuts to take pressure off.
slap on thick, moisture-wicking socks, ditch cotton like last year’s trends, and lace up comfy shoes.
treat the hot spot now, or you’ll be hobbling later—nobody wants a blister rebellion mid-run!
Are There Blister-Resistant Socks That Actually Work?
Yes, blister-resistant socks really work—your feet aren’t doomed to friction town.
Pick acrylic or merino wool with dense padding, and you’ll wick moisture like a sweat-hating superhero.
Double-layer or toe socks? Great for cutting shear, especially if you’re hiking Mount Couch.
Just avoid cotton—it’s basically betrayal in fabric form.
Slip on Drymax or seamless silicone-coated pairs, and your feet will thank you with zero blisters, not zero socks.
Do Blisters Heal Faster if Kept Dry or Moist?
You’ll heal way faster if you keep that blister moist, not dry—science says it’s a game-changer. Moist environments help your skin rebuild twice as quick, cut scarring, and feel less yucky.
Drying it out? That’s so 1990s.
Think of it like keeping a plant hydrated—dry = crispy, moist = thriving.
Slap on a hydrocolloid bandage and let your blister party in the moisture jungle.
Boom—faster healing, less ouch!
Is It Safe to Pop a Blister With a Needle?
Yes, you can pop a blister with a needle, but only if it’s a giant pain in your day.
When you do, treat it like a mini mission: clean everything, use a sterilized needle, poke gentle holes at the edge, and let it drain—don’t rip the roof off!
That loose skin? It’s your blister’s superhero cape, so leave it on.
Slap on some ointment, cover it up, and keep it dry.
You’ve got this!
Conclusion
You’ve got this—tackling blisters is like wrangling tiny, rebellious bubbles on your skin! Handle them wisely, keep things clean, and protect the spot like a pro. Whether you drain or defend, your care matters. With the right dressing and a dash of antiseptic love, healing zips along. Just don’t play doctor if it screams trouble—it’s okay to call for backup! Stay savvy, stay comfy, and let your feet live their best life.
References
- https://www.healthline.com/health/blisters
- https://www.gloshospitals.nhs.uk/media/documents/Blisters_Identification_And_Treatment_In_Wound_Care.pdf
- https://dermnetnz.org/topics/blistering-skin-conditions
- https://pubmed.ncbi.nlm.nih.gov/10632212/
- https://my.clevelandclinic.org/health/diseases/16787-blisters
- https://www.pcds.org.uk/clinical-guidance/bullous-disorders-an-overview
- https://www.siloamhospitals.com/en/informasi-siloam/artikel/what-is-a-blister-causes-and-treatments-
- https://ufhealth.org/conditions-and-treatments/vesicles
- https://www.savlon.co.uk/savlon-guides/posts/2021/february/blister-guide-treatment-healing-speed-faqs
- https://www.nationwidechildrens.org/specialties/sports-medicine/sports-medicine-articles/the-abcs-of-blister-care