Insoles Checklist for Your Next Hike
Check your arch type with a wet test—flat, neutral, or high—then match it with a supportive insole shape. Choosing the right insole is key to comfort on your next hike, so don’t skip this step.
Pick cushioned options with memory foam and a sturdy heel cup to fight trail fatigue. These features help absorb impact and provide stability over rough terrain.
Choose moisture-wicking materials like cork or recycled polyester to keep things fresh. These materials also prevent odor and keep your feet dry mile after mile.
Guarantee a snug fit in your boots—no slipping or gaps—and go up a size if you’re in between. A proper fit ensures the insole works effectively during long hikes.
Test them on short walks first, because nobody wants surprise blisters. Your feet will thank you when the trail gets tough… and there’s still more to discover.
Assess Your Arch Type and Foot Shape
Ever wonder why your feet feel great in some shoes but scream at you in others?
It’s likely your arch type calling the shots.
Try the wet footprint test: step on cardboard with a wet foot and see what you get.
Full footprint?
You’ve got flat (low) arches—they collapse when you move and need motion control like a trusty sidekick.
Half-filled middle?
Hello, neutral arch—nature’s balanced design, though it still likes moderate support.
Barely any imprint in the middle?
High arches for you!
They’re wobbly on impact, crave cushioning, and cheer for high-volume insoles.
Your arch type shapes how your foot handles every step, especially on trails.
Skip the guesswork—match your insole to your arch, not just your shoe.
Get it right, and your feet won’t just survive the hike—they’ll wanna do it again.
Win!
Shoes with a curved last work best for high arches to support their natural shape.
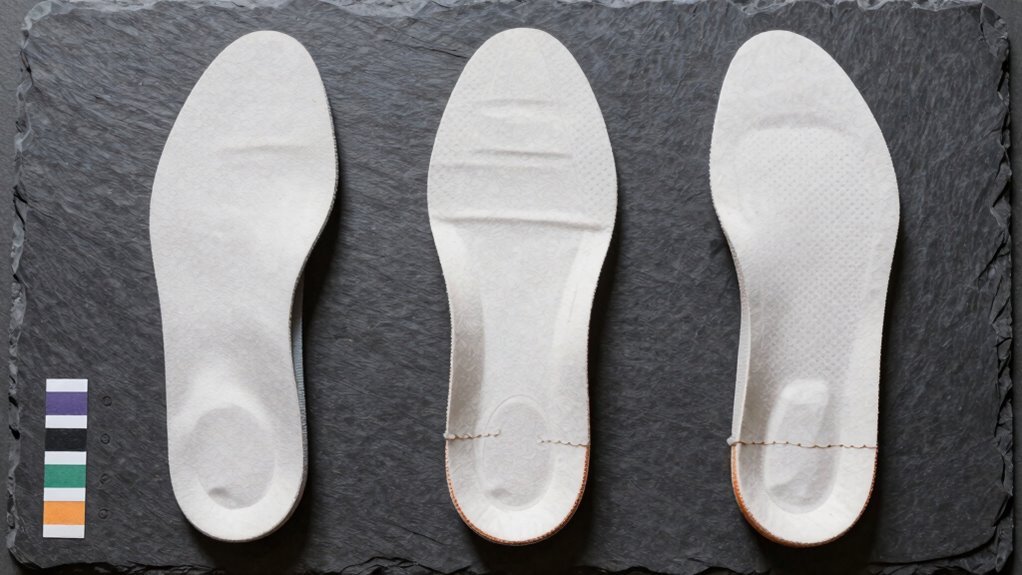
Prioritize Cushioning for Long-Distance Comfort
You’ve already nailed down your arch type, so now let’s talk about what keeps you moving mile after mile—cushioning that turns rocky trails into walk-in-the-park vibes.
Good insoles don’t just squish nicely; they absorb shock, cradle your heel, and soften every step so your joints stay happy.
With dual layers and responsive foam, they fight fatigue like a barista fighting morning grogginess—hard and fast.
Memory foam spreads pressure evenly, while structured heel cups keep things stable, especially when you’re hauling a pack.
On long hikes, your feet flatten and beg for mercy, but supportive cushioning keeps them sprung and energized.
Just don’t go overboard—too much squish can trick your body and backfire.
Think Goldilocks: not too soft, not too firm, just right for smooth, blister-free miles.
Your feet will thank you at mile 10—probably with a little dance.
This kind of support also reduces shifting and rubbing for feet, helping prevent hot spots and discomfort over time.
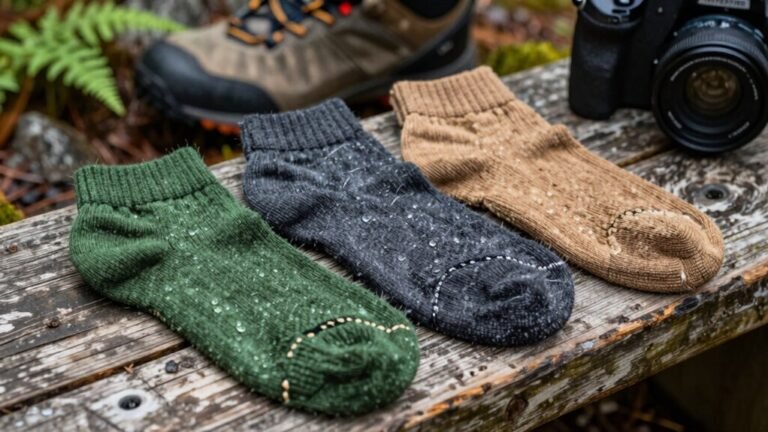
Choose Materials That Manage Moisture
Sweat happens—especially when you’re grinding up a steep trail or clocking long miles under the sun.
That’s why you need insoles that fight moisture like a pro.
Look for ones with MoistureWick™ or 100% recycled polyester—they pull sweat away fast and keep funk at bay.
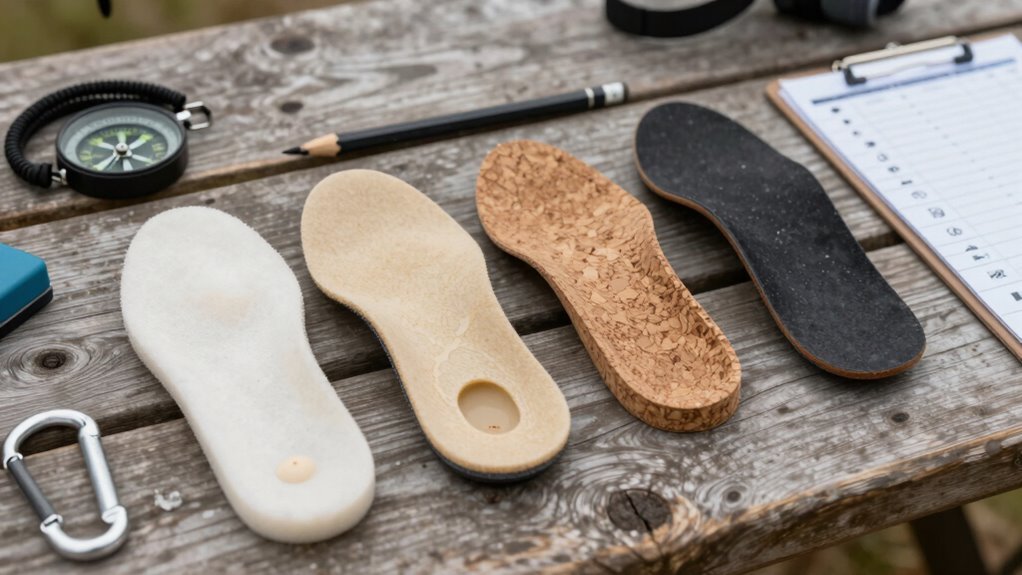
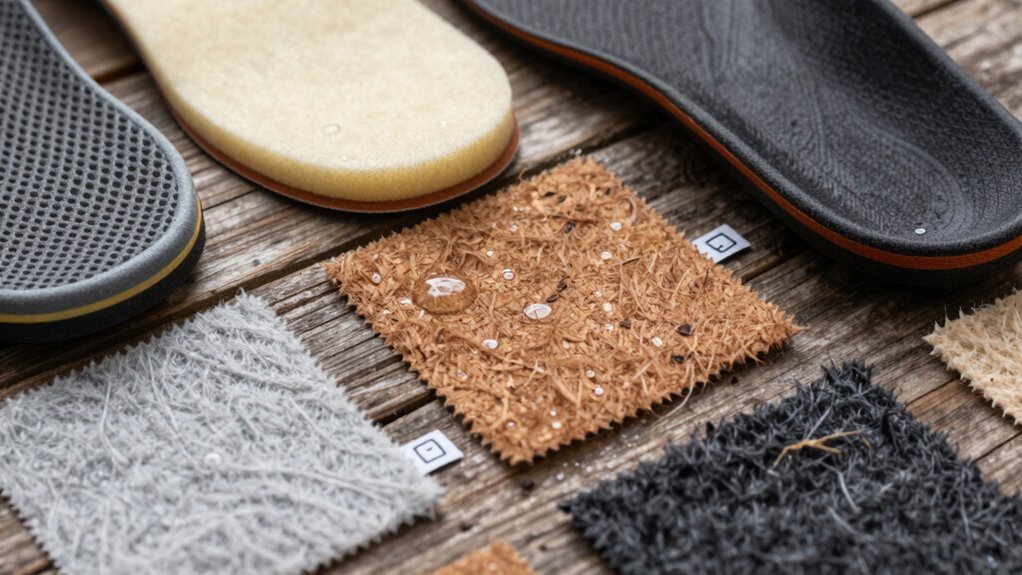
Cork and natural lamb shearling? They’re eco-friendly champions that wick and breathe, even when your hike gets intense.
Don’t sleep on EVA and polyurethane foams—they’re light, cushy, and team up with moisture-wicking tops to keep things dry.
Mesh layers help too, letting your feet breathe like they’re sipping a cool drink.
And with smart combos like carbon fiber stabilizers and antimicrobial latex, you get support *and* freshness.
Trust us, happy feet don’t reek—they perform.
Your boots will thank you, and so will anyone hiking downwind.
These features work hand in hand with structured heel cup technology to lock in comfort and reduce foot fatigue on long trails.
Ensure Proper Fit Within Your Hiking Boots
How’s it feel when your foot lands just right, like it’s shaking hands with your boot for the first time? Awesome, right?
Make sure your insoles match your boot’s size and shape—no slipping or bunching.
If you’re between sizes, just go up; better full coverage than half a fit.
Pick the volume (low, medium, high) that matches your arch and boot space—high arch? You’ll want that support.
Don’t forget your socks—test with your go-to pair so everything feels natural.
Trim if needed, secure that heel, and voilà—your foot won’t slide around like it’s on a water slide.
A snug insole means fewer hot spots, less drama, and way fewer blisters.
Trust us, your trail happiness starts right here.
Look for Durable Support That Won’t Compress
Step into your boots like a pro, and feel that spring in your step the moment you hit the trail—durable support isn’t just nice to have, it’s mission-critical.
You don’t want flimsy foam that packs down by mile five, leaving your feet screaming like they’re on a bad date.
Look for carbon fiber or poured polyurethane insoles—they laugh in the face of compression.
Closed-cell EVA foams like Pulsion trap air like tiny superheroes, resisting water and squish-out.
Steel-flex and rigid carbon fiber arches keep your feet aligned and stop your arches from face-planting.
Deep heel cups and dual-layer Aerospring foam cradle your foot while bouncing back mile after mile.
These insoles fight impact, return energy, and won’t quit on you.
Think of them as the reliable trail buddy who never says, “Dude, I’m beat.”
Your feet will thank you—no sad squish, just go.
Test Insoles During Short Walks Before the Trail
Trying before you buy isn’t just smart—it’s your secret weapon for trail-ready feet. Skip the guesswork by testing insoles like you’re already on the adventure.
Here’s how to nail it:
- Walk in your hiking boots with your favorite hiking socks—yes, even that lucky pair you swear by—then squat, twist, and step on store “rocks” to mimic real trails.
- Check comfort zones: press on the heel cup, feel the arch, and watch for hotspots while moving—your feet will thank you later.
- Mix up the terrain: stroll on tile, carpet, and sidewalk, add a mini hill (curb diving counts), and see how they handle sweat and squish.
Your feet aren’t lab rats, so test drive first—because blister-free hikes beat regrets every time.
Frequently Asked Questions
How Often Should I Replace My Hiking Insoles?
You should replace your hiking insoles every 2 to 3 months if you’re out weekly, or around every 350–500 miles.
Heavy trails, sweat, and constant crunching wear them down fast—kind of like how your favorite snacks disappear on the trail (thanks, gravity and hunger).
When the cushioning flattens, smells linger, or your feet scream “enough!”, it’s time for new ones.
Keep your stride springy and blister-free—fresh insoles = happy hikes!
Can I Use Orthotics With Aftermarket Insoles?
You can absolutely pair orthotics with aftermarket insoles—just don’t throw everything in the kitchen sink at once.
Match Spenco RX or PowerStep with custom orthotics if your boots have room, and avoid stacking if it cramps your toes.
Think Goldilocks: not too tight, not too loose.
Test them on a short walk first—your feet will thank you later, and nobody wants blister-blues on the trail!
Do Insoles Help Prevent Blisters on Hikes?
Yeah, insoles really do help stop blisters on hikes. They cushion your feet, cut friction, and soak up shock so your skin doesn’t rub raw.
Slip in ones like Superfeet or Spenco, and they’ll hug your arches, stabilize your stride, and move shear force away from your skin.
Pair ’em with moisture-wicking socks, and boom—happy feet, fewer hot spots, and way more fun on the trail!
Are Heated Insoles Worth It for Cold Weather?
Yeah, heated insoles are totally worth it when the frost bites and your toes scream for mercy.
You’ll stay warm, cozy, and ready to tackle the cold without turning into a human popsicle.
They boost circulation, last hours, and beat一次性 warmers hands down.
Just don’t crank ‘em to “torture setting” and forget—your feet might throw a heat party.
Recharge, snug fit, and boom: winter’s no match for you.
Can I Trim Insoles to Fit Smaller Boot Sizes?
You can totally trim insoles to fit smaller boot sizes—no problem!
Just use your shoe’s original liner as a template, trace it, and snip carefully with sharp scissors.
Leave a tiny 1–2mm gap at the toe so they don’t bulge.
Superfeet and CURREX make trim-to-fit models built for this.
Trim clean, test the fit, and boom—perfect match, happy feet, trail-ready in no time!
Conclusion
You’ve got this! Pick insoles that cradle your arches like a hammock on a lazy Sunday. Keep your feet dry, comfy, and ready for adventure. Slide them into your boots, take a test stroll, and *boom*—you’re trail-ready. Happy feet mean happier hikes, so don’t skimp on support. Now lace up, step out, and let every mile feel like a high-five from your shoes. Adventure’s waiting!
References
- https://www.mayoclinichealthsystem.org/hometown-health/speaking-of-health/how-to-determine-foot-arch-type
- https://heelthatpain.com/foot-arch-type-test/
- https://treadlabs.com/blogs/insoles-reach-your-stride/best-insoles-flat-feet-high-arches
- https://www.rei.com/learn/expert-advice/insoles.html
- https://www.upstep.com/a/community/insoles/what-are-the-best-hiking-boot-insoles-for-flat-feet
- https://www.superfeet.com/collections/hiking
- https://www.armaskin.com/blogs/armaskin/the-hidden-secret-of-hiking-the-power-of-shoe-insoles
- https://www.treelinereview.com/howtochoose/should-i-use-insoles-with-hiking-shoes
- https://www.superfeet.com/blogs/hiking-outdoor/hiking-insoles-benefits-differences-between-adapt-hike-and-trailblazer
- https://www.decathlon.com/blogs/sports-advice/how-to-choose-hiking-boot-insoles