Foot Care Tips for Seniors Who Hike
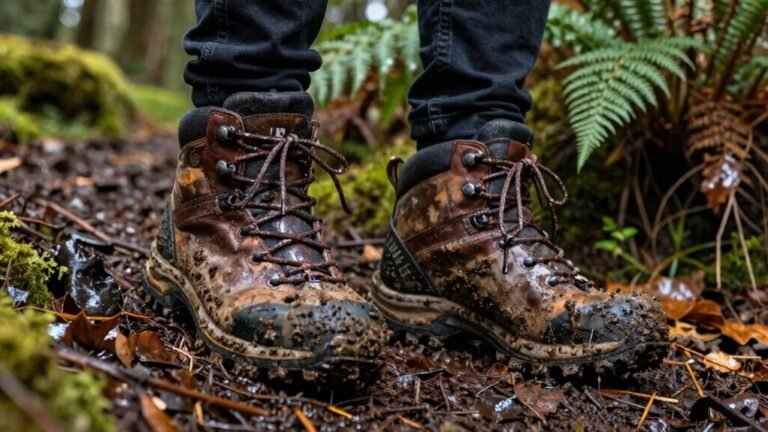
Got your boots? Make sure they fit just right—wiggle room for toes, no pinching, and always try them on late in the day with hiking socks. Foot care tips for seniors who hike start with proper footwear to prevent blisters and discomfort on the trail.
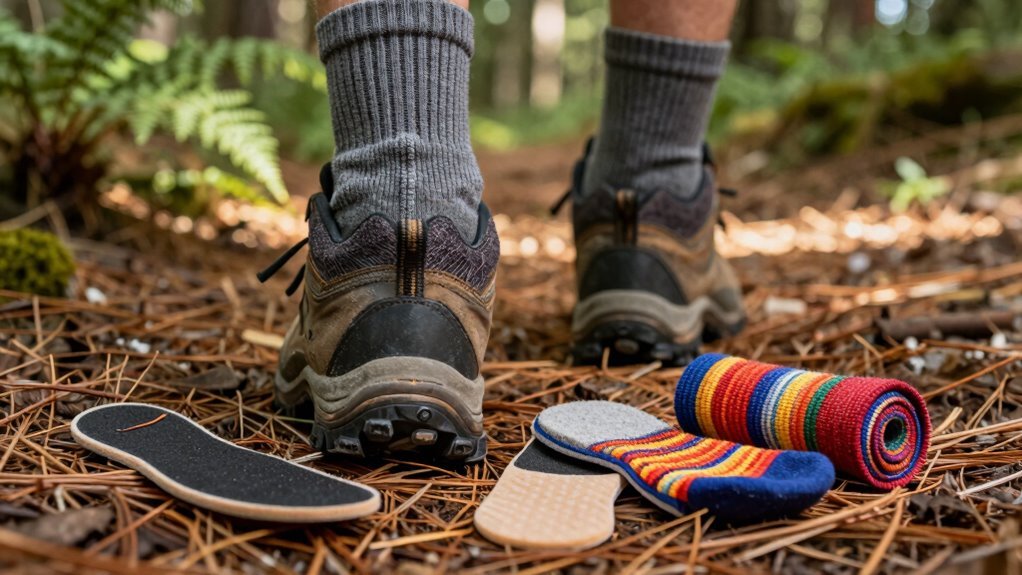
Break in your boots slowly, like a first date—no rushing to the summit. Wear moisture-wicking socks, not cotton, and add gel insoles for extra cushioning and support.
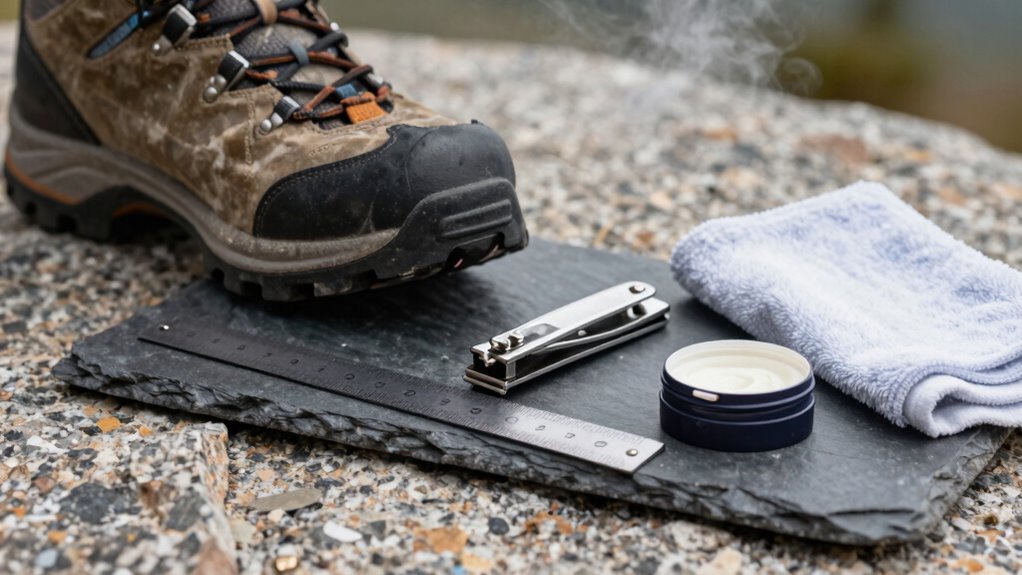
Trim toenails straight across to avoid ingrown nails, and stretch your ankles regularly to maintain flexibility. Give your feet some love after each hike with a gentle massage or warm soak.
If something aches or feels off, don’t shrug it off—get it checked. Your feet power every mile, so treat them like the trail heroes they are. There’s more where that came from.
Choose Hiking Shoes With Proper Support and Fit
While your old sneakers might beg to come along, they won’t cut it when you’re tackling trails that demand real support and comfort—so it’s smart to choose hiking shoes that truly fit your feet *and* your adventure.
Measure your foot length, width, and arch—yes, all three—since real fit goes way beyond the number on the box.
Try shoes late in the day when your dogs are at their biggest, and always wear your hiking socks (and orthotics, if you use ’em).
Walk around the store like you’re on a mini trail—feel for hot spots or pinches.
Go a half or full size up for wiggle room.
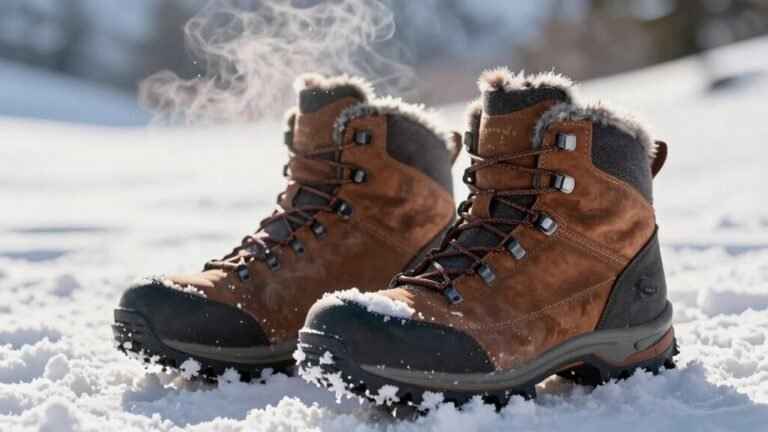
High-cut boots support your ankles on rocky paths, while stiff midsoles help on steep climbs.
If you like lighter steps, opt for low-cut or flexible options.
Your feet will thank you—no more “hike and cry” moments!
Consider models with a wide toe box to prevent toe jamming on descents and enhance overall comfort.
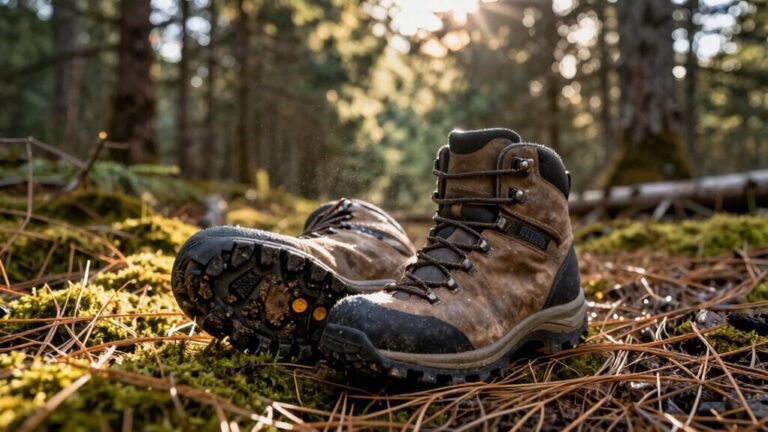
Break in New Footwear Before Hitting the Trail
Before you charge up that first hill in brand-new boots, give your feet a fighting chance by breaking them in the right way—because nothing kills a great hike faster than a blister the size of a silver dollar. Start at least three weeks early, especially if you’re tackling rough trails. Wear your boots around the house first, then walk the dog, run errands, and take short hikes.
Leather? It’ll stiffen at first but softens with time—don’t rush it. Light hikers or trail runners? Lucky you—they’re often ready to go.
Avoid soaking them or jumping straight into steep terrain; that’s a one-way ticket to Pain Town. Gradually add distance, hills, and pack weight while wearing your trail socks.
Listen to your feet: if something pinches, adjust the laces or try different insoles. Think of it as a boot-and-foot first date—take it slow, and you’ll both be happy on the big day. Synthetic boots typically require less break-in time due to their flexible nature (synthetics require less time).
Wear Moisture-Wicking Socks to Prevent Blisters
New boots that fit great?
Awesome—but skip the cotton socks!
They trap 27 times more water than wool and turn every step into a blister fest.
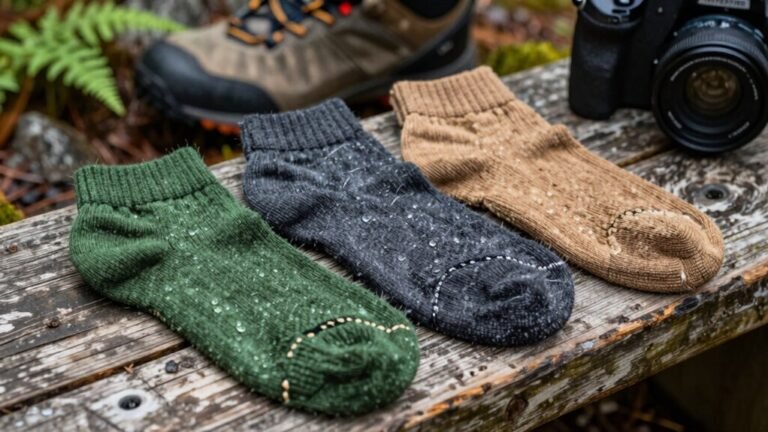
Instead, grab moisture-wicking socks made of merino wool or synthetics like polyester and nylon.
They pull sweat away from your skin, keeping feet drier and reducing friction that leads to hot spots and blisters.
Merino handles moisture like a champ, absorbing up to 30% of its weight without feeling wet, plus it fights odor naturally.
Pair a thin liner sock with a wool or synthetic outer sock for top protection.
Snug, stretchy fits prevent slipping and bunching, while high-density knitting boosts durability.
Change into a fresh pair if your feet get wet—dry feet are happy feet!
You’ll hike longer, more comfortably, and with way fewer “ouch” moments.
Smart sock game = trail win!
The footwear system benefits from socks designed and tested for hiking, so choose hiking-specific socks for the best performance.
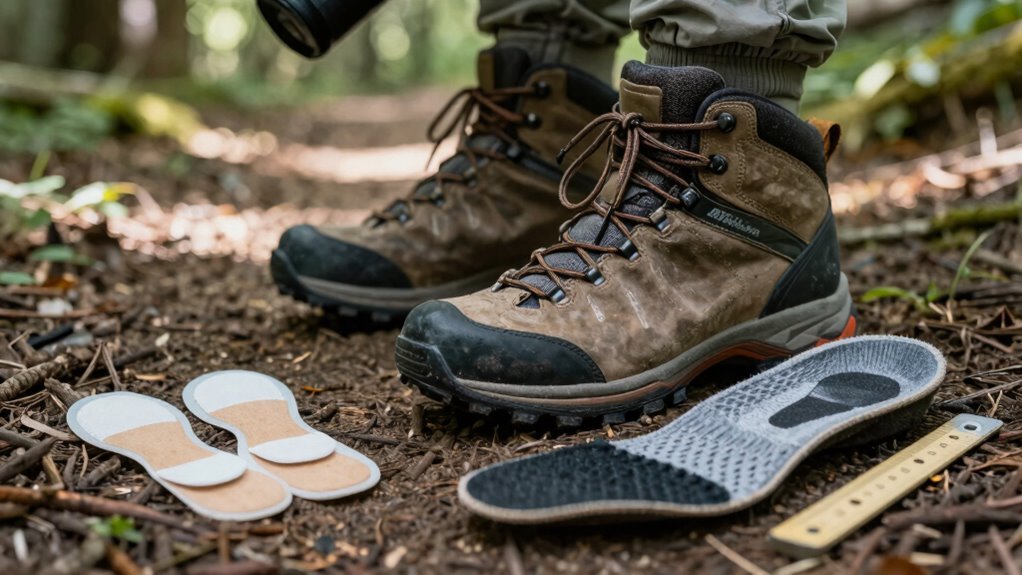
Use Gel Insoles for Extra Cushioning and Comfort
Stepping into fresh gel insoles is like giving your feet a front-row seat to comfort.
You’ll love how the soft gel cushions each step, absorbing shock and easing pressure on rough trails.
They hug your arches and cradle your heels, reducing fatigue so you can hike longer without aching feet.
Think of them as tiny bodyguards for your soles—fending off blisters, plantar fasciitis, and even knee strain.
Plus, they boost balance and stability, which means fewer wobbles and way less chance of tripping (because nobody likes hugging a tree mid-hike).
Memory foam versions even shape to your feet—talk about a custom fit!
Studies show they help seniors walk more steadily and reduce fall risks.
So if you want happier feet and smoother strides, don’t skip the gel.
Your feet will thank you with every mile—and maybe even do a happy little dance at the trailhead.
Trim Toenails Straight Across to Avoid Ingrown Nails
Keeping your toenails trimmed just right keeps you one step ahead of pain and problems on the trail.
Trim them straight across—no curves or angles—to dodge ingrown nails that can turn a joyful hike into a toe-tapping torture session.
Leave a smidge past the toe tip so boots don’t mash them, and never cut too short.
Do it after a warm bath when nails are soft, using clean clippers, then gently file edges smooth.
Dry thoroughly and moisturize around (not between!) toes.
Check weekly, wear snug-fitting shoes, and let your feet breathe.
If nails get thick or tricky, call a podiatrist—you’re not cheating, you’re hiking smarter.
This simple habit keeps you comfy, cuts infection risks, and protects your toes from trail hazards.
Happy feet mean happy trails, and nobody wants their hike ruined by a rebellious toenail!
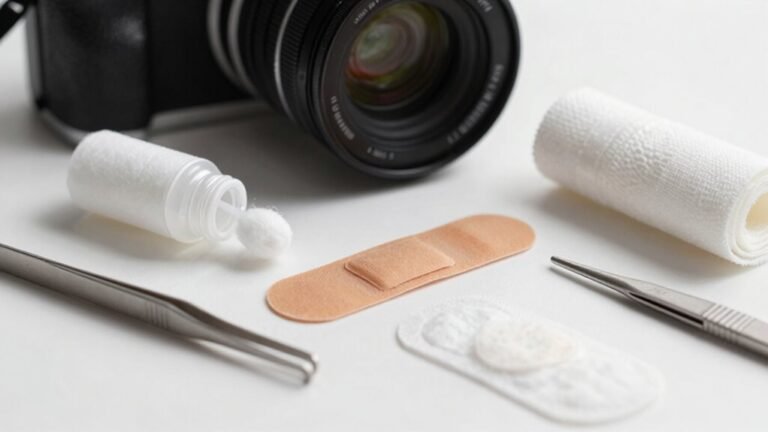
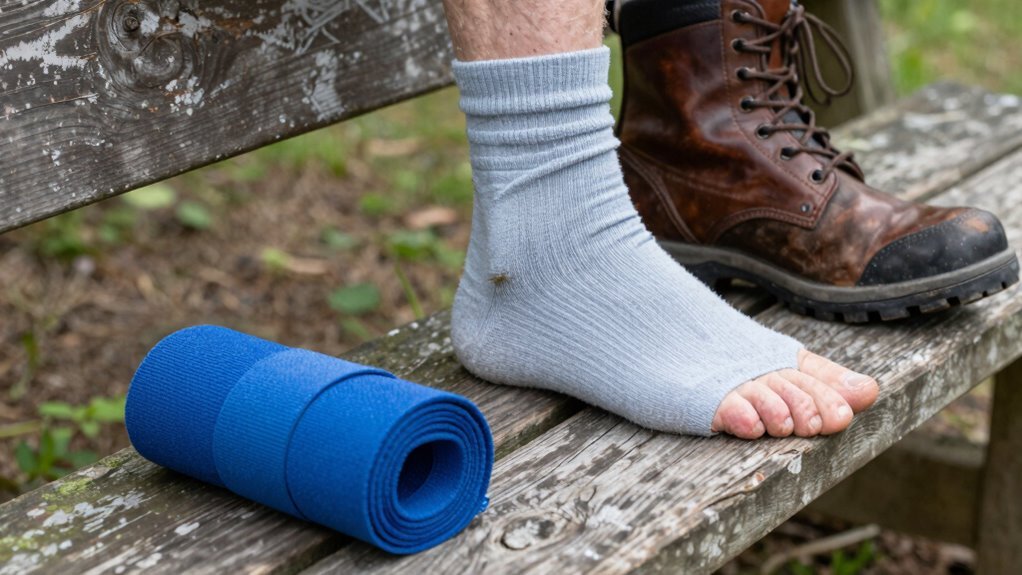
Inspect Feet Daily for Cuts, Blisters, or Swelling
You’ve got your toenails neatly trimmed, so now let’s take a good look at the rest of the package—your feet deserve a daily check-up, especially when you’re clocking miles on the trail.
Grab a mirror and eyeball every inch, including between your toes—you’d be surprised what you might miss.
Cuts, blisters, or swelling can sneak up fast, and with age, your feet mightn’t always send pain alarms like they used to.
Think of it as detective work: red spots, puffiness, or hot spots could mean trouble brewing.
Spotting a blister early means you can fix it before it turns into a drama queen on day two of your hike.
Do this every morning and after hikes—it’s quick, easy, and honestly kind of satisfying.
Your boots and socks might be causing pressure you don’t feel, so this check keeps them honest.
Think of it as your feet’s daily high-five.
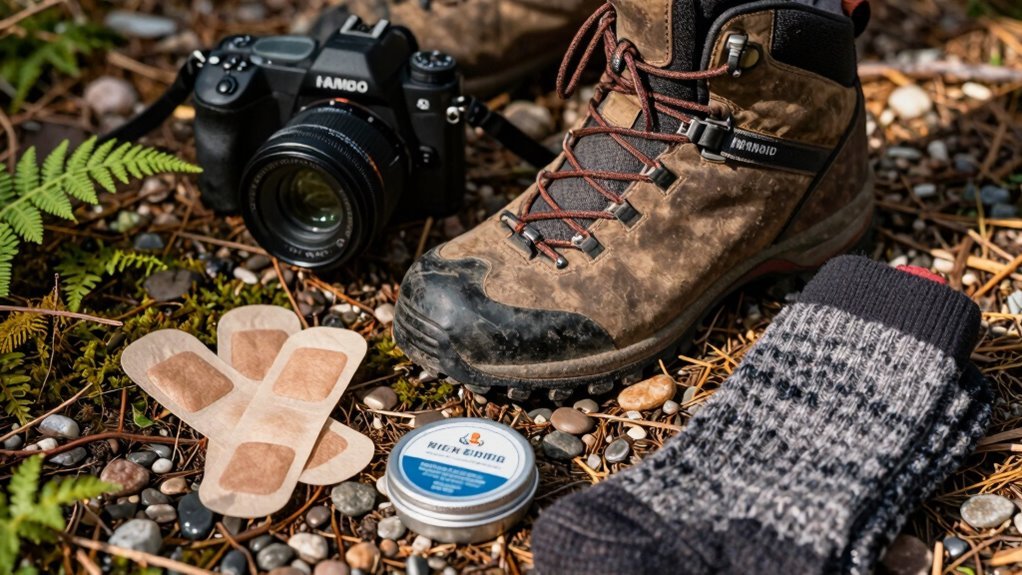
Moisturize Feet Regularly to Prevent Cracking
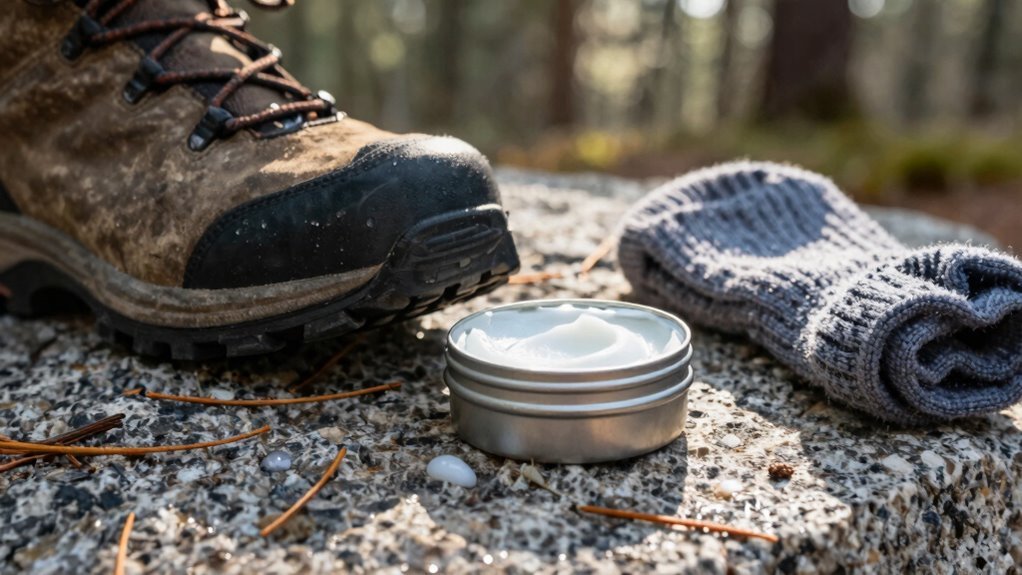
Most days, your feet just want a little TLC—and trust us, slathering on some good moisturizer is like sending them a thank-you note after every hike.
Dry skin’s no joke as you age, and skipping moisturizer can lead to cracks, discomfort, or even infections.
You’ve got this: apply a quality foot cream daily, especially after bathing or hiking, to keep skin smooth and elastic.
Focus on the heels and soles—those hard-working spots—but skip the spaces between toes to avoid moisture buildup and fungus.
Think of it as skincare with strategy!
A little massage while moisturizing boosts circulation and feels amazing.
This small habit pays off big when you’re on the trail, reducing friction and helping prevent blisters.
Pair it with clean, dry socks and proper shoes, and your feet will thank you mile after mile.
Who knew healthy feet could feel this good?
DIRECTIONS:
Elevate and Cool Feet After Each Hike
After you’ve treated your tired feet to a soothing smear of moisturizer, it’s time to kick things up a notch—literally. Lie back, prop those tootsies on a pillow at a 45-degree angle, and let gravity drain the day’s puffiness—elevation for 15–20 minutes does wonders. It boosts circulation, cuts swelling, and keeps blisters at bay, especially during the first few tough days on the trail.
Right after hiking, soak your feet in cool (not icy!) water for 10–15 minutes—think “refreshing lake,” not “frozen tundra”—to calm inflammation and whisk away heat.
Do this before drying and elevating, so you max out recovery.
Clean off trail grit, air-dry naturally, and skip soap to stay eco-friendly.
This nightly routine isn’t just pampering—it’s smart strategy.
Your feet will thank you with fewer hotspots, less ache, and way more happy hiking tomorrow.
Who knew resting could be this productive?
Stretch Ankles and Feet Before and After Hiking
Loosening up your ankles and toes isn’t just a warm-up—it’s like sending a friendly heads-up to your feet before they tackle rocks, roots, and uphill battles.
Try wall calf stretches or stepping your heel down off a stair to keep things loose.
Lift a foot onto a step and lean forward to stretch your ankle’s front—your future self will thank you.
Sit and lift onto your toes for a quick toe stretch, or use a resistance band for gentle ankle moves.
Before hitting uphill trails, warm up your joints so your knees don’t have to do all the work.
Balance on one leg like a flamingo—why not add some fun?
Calf raises with support build strength without drama.
These moves boost flexibility, stability, and blood flow, so your feet feel springy, not stiff.
Do them before and after hikes, and your soles won’t ache like they’ve run a marathon.
Think of it as foot love—you’re worth it!
Address Foot Pain or Changes With a Healthcare Provider
You’ve stretched your ankles, wiggled your toes, and treated your feet like the hardworking heroes they are—great job!
But if pain sticks around like an uninvited trail buddy, don’t shrug it off.
Persistent ache could mean more than just overuse—it might be plantar fasciitis, Achilles trouble, or something sneaky like gout.
Skipping a check-up can make things worse, especially as we age and our feet change.
See a podiatrist early; they’ll spot the real culprit and stop small issues from becoming big problems.
Try RICE (rest, ice, compression, elevation) first, maybe some ibuprofen, but don’t play doctor for too long.
If a toenail’s ingrown or a blister turns nasty, get help!
Treatments like orthotics, injections, or even shockwave therapy can get you back on the trail—pain-free and grinning.
Frequently Asked Questions
Can I Hike Barefoot if My Shoes Cause Pain?
Yeah, you can totally hike barefoot if shoes hurt—your feet were made for this!
Start slow on soft trails, though, so you don’t step on something pointy and curse the sky.
Build toughness like nature’s slippers.
Just watch for glass, thorns, and surprise roots.
Your soles heal fast, and your feet will thank you with better balance.
Just don’t forget bandaids—adventure comes with scrapes!
How Often Should I Replace Hiking Socks?
How often should you replace your hiking socks?
Every 6 to 12 months, or sooner if you’re hitting the trails hard—why wait until holes gape like hungry little mouths?
Friction, sweat, and rocky paths take a toll, especially on grips and heels.
Swap pairs regularly, wash them cool, and air-dry to extend their life.
Fresh socks mean happy feet, fewer blisters, and more adventures—don’t let tired threads wreck your trek!
Are Sandals Suitable for Senior Hikers on Trails?
Yeah, sandals can work for you on trails, especially if you pick ones with good arch support and tough outsoles.
Just make sure they’ve got rubber toe caps—nobody wants a stubbed toe at age 70.
They’re light, quick-dry, and comfy on warm days, but watch for rocks and roots.
You’ll need to step carefully, sure, but hey, hiking’s not a sprint anyway.
Your toes will thank you—if you choose wisely.
What Foot Exercises Improve Hiking Balance?
You’ll boost hiking balance with toe taps, heel walks, and single-leg stands—they’re simple but powerful.
Try heel-toe walks and grapevine steps to sharpen coordination while sneaking in core strength.
Don’t skip ankle circles; they wake up sleepy joints and keep your feet agile.
Add calf raises to power uphill climbs with confidence.
These moves make your feet smarter, steadier, and trail-ready—hello, mountain queen!
Should I See a Podiatrist Before Starting to Hike?
Yes, you should definitely see a podiatrist before hitting the trails—they’ve got your feet covered!
They’ll spot any issues you mightn’t even know you have, like early signs of arthritis or circulation problems.
Plus, they’ll give you custom tips and gear, like orthotics or the best shoes.
It’s like a pit stop for your feet, so you can hike farther, feel great, and avoid blisters that’ll make you quit before the summit!
Conclusion
You’ve got this! Just ask 72-year-old Margaret from Colorado—she swapped her stiff boots for supportive hiking shoes, added gel insoles, and now crushes mountain trails every weekend. She even conquered a mile-long summit last fall without a single blister. With the right care, your feet can keep up, too. So lace up, stretch, and hit that trail with confidence—you’re built for adventure, one happy step at a time.
References
- https://community.naturephotographers.network/t/hiking-boots-changes-to-a-much-softer-voice-so-as-not-to-offend-anyone-for-seniors/21878
- https://www.physiopartners.com/Newsletters/Full-Articles/Hiking-and-Proper-Footwear/a~38748/article.html
- https://www.roadscholar.org/senior-travel-tips/recommendations/hiking-boots/
- https://www.outdoorgearlab.com/topics/shoes-and-boots/best-hiking-shoes
- https://www.orthofeet.com
- https://www.mammut.com/us/en/stories-guides/how-to-break-in-hiking-boots-your-ultimate-guide-to-avoiding-blisters
- https://backpackinglight.com/forums/topic/1758/
- https://www.backpacker.com/skills/how-to-break-in-your-new-hiking-boots/
- https://www.rei.com/learn/expert-advice/breaking-in-hiking-boots.html
- https://www.caminodesantiago.me/community/threads/when-how-long-to-break-in-shoes.93615/