Common Pack Fit Mistakes and Easy Fixes
You’re probably wearing the wrong torso size—measuring from neck to hip fixes that fast. This simple step ensures your pack fits properly and prevents discomfort on the trail.
Skip the hip belt adjustment? Big mistake; snug it right on your hip bones, not your waist. A proper fit transfers the pack’s weight correctly, making a noticeable difference in comfort.
Loose shoulder straps? Tighten up, but leave room for two fingers. That’s the sweet spot for support without restricting movement.
Stop stuffing heavy gear in the top lid, and actually use those load lifters at 45 degrees. Proper weight distribution improves balance and reduces strain.
Oh, and clip the sternum strap where it belongs—no choking yourself. Keep compression straps tight, and never ignore hip stabilizers.
When your pack fits well, it works *with* you, not against you. You’d be surprised how much better every hike feels with the right common pack fit.
Wearing the Wrong Torso Size
Ever wonder why your backpack feels like it’s working against you instead of with you?
Chances are, you’re wearing the wrong torso size.
If it’s too long, the weight sits high on your back, not your hips, leaving your shoulders strained and your neck cranky.
Too short? It rides up and rubs, making every step feel like a battle.
Getting the right fit starts with measuring from that bony bump at your neck (yes, tilt your head—go ahead, look silly) down to the top of your hip bones.
Most brands split sizes between small (15–17”), medium (17–19”), and large (19–21”), but ranges vary—always check the brand’s chart.
When stuck between sizes, lean toward smaller for better hip support.
Don’t guess—measure twice, hike happy, and let your pack do the heavy lifting, not your shoulders.
The precise starting point for this measurement is the C7 vertebra, located at the base of your neck when your chin touches your chest, which ensures consistent C7 vertebra alignment across all fittings.
Not Adjusting the Hip Belt Properly
When your hip belt’s not sitting just right, your backpack might as well be a rebellious mule refusing to cooperate.
You’ll feel every jolt in your lower back, and your hike turns into a comedy of errors—pack swaying, shoulders aching, breath stuck.
Don’t let that happen! Nail the fit with these pro tips:
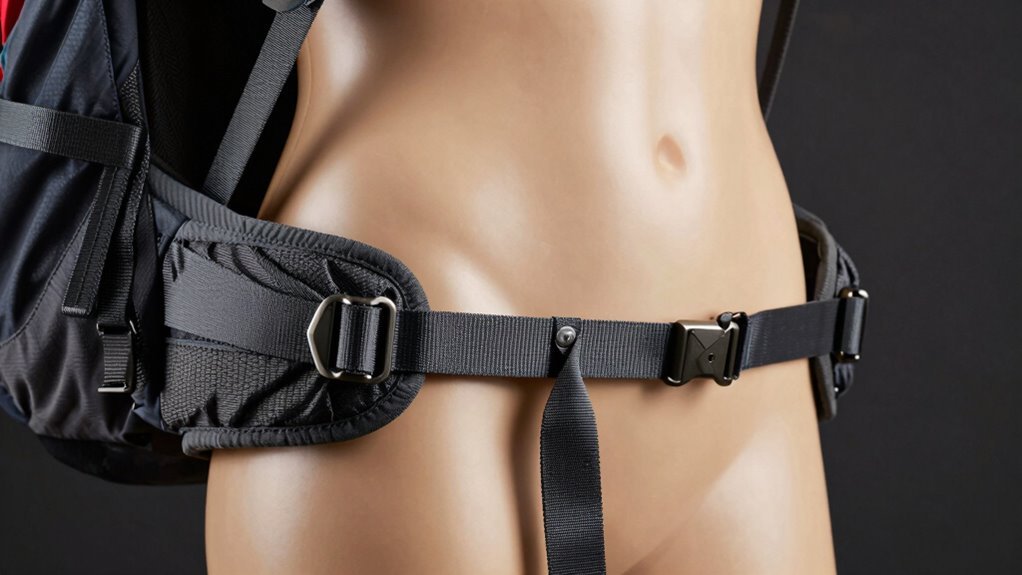
- Position the padded belt snugly on your iliac crest, not your waist or thighs
- Keep it about 2 inches below your belly button, clearing your hip bones
- Tighten the buckle so it hugs without pinching or digging into your stomach
- Use shoulder straps to fine-tune height—tighten to lift, loosen to drop
- Make certain padding wraps your hips fully, with at least an inch of side clearance
- The hipbelt should rest directly over the iliac crest for optimal weight transfer and comfort
A well-fitted hip belt turns your pack into a trusty sidekick, not a troublemaker. You’ll walk farther, breathe easier, and actually enjoy the trail—no mule drama included.
Ignoring Shoulder Strap Tension
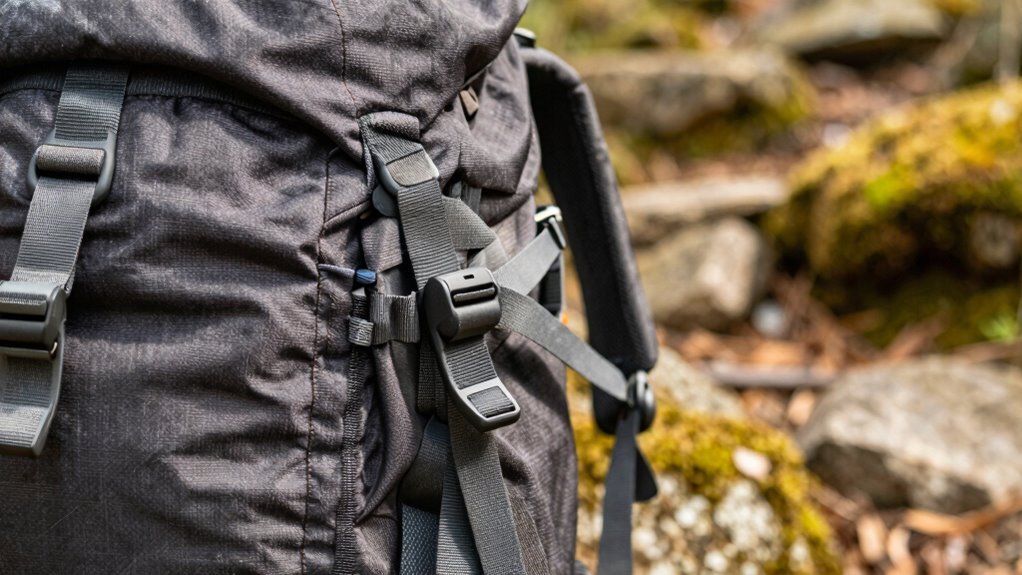
Now that your hip belt’s locked in and hugging your hips like it’s supposed to, it’s time to give some love to those shoulder straps—because they’ve got a job to do, and it isn’t to pinch, dig, or play hide-and-seek down your arms.
If they’re too tight, you’ll see red marks or feel numbness—never a good sign.
You want a snug fit, not a blood-flow blockade.
Aim for that sweet spot where you can slide two fingers underneath.
Too loose, and your pack starts swaying like a pendulum, forcing you to hike with one hand constantly hoisting it back up.
Nobody’s got time for that circus act.
Adjust them after loading, keep the pack close to your back, and check tension as you walk.
A quick fix now saves a world of shoulder drama later—because happy shoulders mean happy trails.
Proper tension helps distribute weight evenly across your shoulders and back, reducing strain and improving endurance.
Overloading the Top Lid and Front Pockets
While you might be tempted to stuff snacks, layers, and random trail essentials into the top lid and front pockets for quick access, piling too much weight up there turns your pack into a wobbly Jenga tower with every step.
It pulls your balance forward, strains your neck, and hikes your hip belt up like overzealous tighty-whities. Keep it light up top—your spine will thank you.
- Place heavy gear low and close to your back
- Use front pockets only for quick-grab, lightweight items
- Stick to fluffy things like puffy jackets in the lid
- Never exceed your pack’s recommended max load
- Balance weight so your pack hugs your body, not fights it
Think of your pack like a well-packed suitcase—only cooler, because, you know, adventure
A little strategy goes a long way in keeping your hike happy and pain-free.
Failing to Use Load Lifters
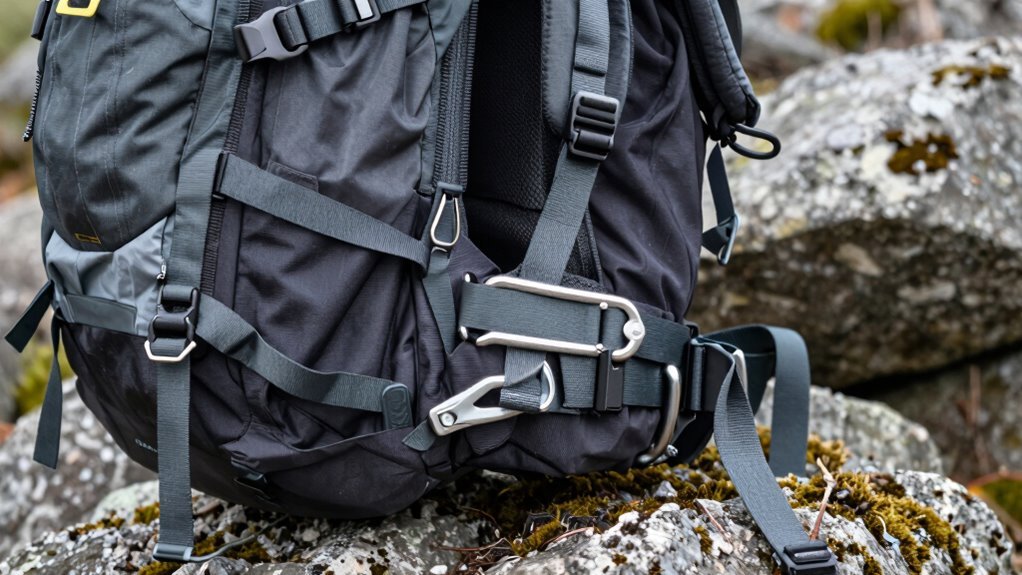
You’ve nailed keeping the top lid light and your pockets sane, so don’t blow it now by ignoring those nifty straps perched right on your shoulders—your load lifters are more than just extra webbing to fidget with. They’re your secret weapon for shifting weight off your shoulders and onto your hips, where it belongs. Snap them in at a 45-degree angle after securing your hipbelt and shoulder straps, and feel the difference instantly.
Skip this step, and your pack sags like a sleepy sloth, dragging you backward and turning your shoulders into overworked pack mules. Too loose? The load wobbles on rocky trails. Too tight? Ouch—hello, stiff shoulders!
For heavy loads over 20 pounds, these little helpers keep you balanced, comfy, and upright. Think of them as your pack’s training wheels—until you’re too cool to need them (spoiler: you’re not).
Misplacing the Sternum Strap
Ever wonder why your chest feels like it’s in a tug-of-war every time you hike uphill? You’re probably misplacing the sternum strap. It should sit nice and cozy—above your pecs but below your collarbone—where it stabilizes shoulder straps without squashing your lungs. Too low? You’ll wrestle for breath. Too tight? You’re hugging your ribs like an overpacked suitcase. Fix it in seconds with adjustable sliders, and don’t forget to snap the buckle properly—no half-zips allowed!
- Position it above pectorals, below clavicles
- Snug it gently—no chest crushing needed
- Secure the buckle with a full click for safety
- Adjust to keep shoulder straps centered
- Customize height based on your torso and comfort
A well-placed strap keeps your pack steady and your breathing free.
Because hiking’s hard enough without wrestling your gear.
Packing Too Much Weight Too High
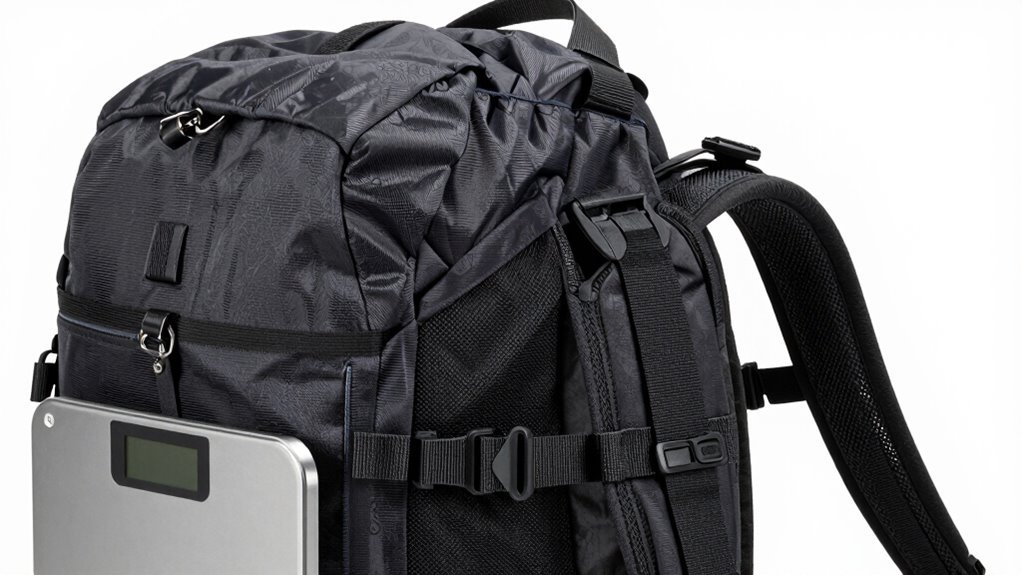
Why does your pack feel like it’s trying to flip you backward every time you step off the trail?
Because you’ve stacked the heavy stuff too high, turning your backpack into a top-heavy teeter-totter.
When dense gear sits above your shoulders, it pulls your center of gravity upward, making you wobble like a shopping cart with a broken wheel.
You can’t lean forward to balance, your hips can’t do their job, and suddenly every uphill feels like a fight.
Here’s the fix: slide those heavy items—like your stove, food, or water—into the middle of your pack, right between your shoulder blades.
Pair them with soft gear like clothes or sleeping pads around the sides to lock everything in place.
A balanced pack stands upright on its own—no tipping, no drama—just smooth, stable hiking from trailhead to summit.
Skipping Compression Strap Adjustment
How’s your pack behaving on the trail—like a loyal companion or a wobbly sack of potatoes?
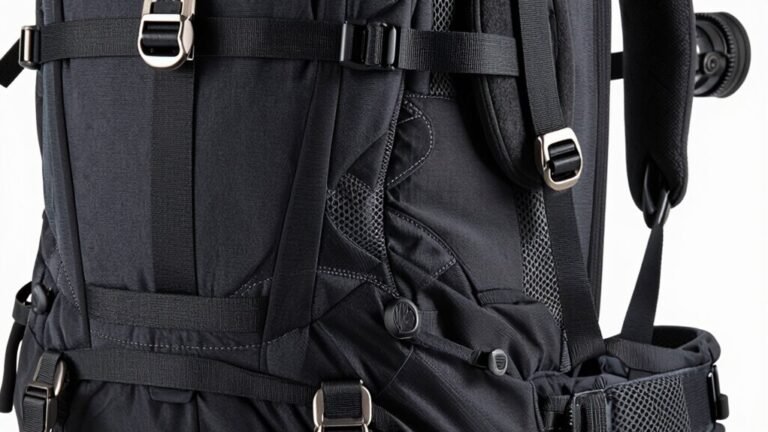
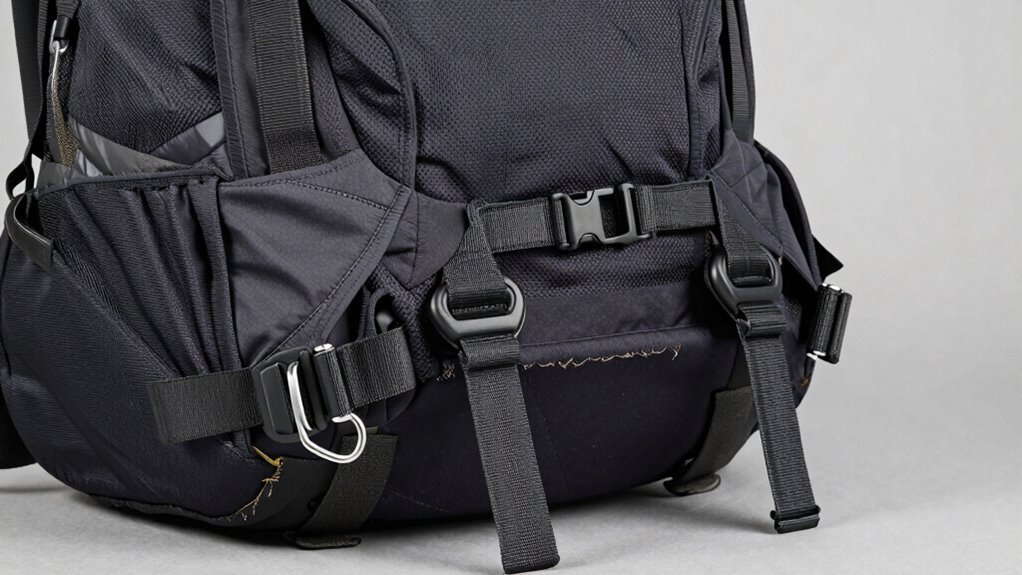
If it’s wobbling, you’re probably skipping compression strap adjustment—and that’s an easy fix. These side straps aren’t just extras; they pull your load tight, keep things stable, and help your pack move with you, not against you.
- Stop side-to-side sway by tightening the compression straps after you’ve set your hipbelt and shoulder straps.
- Secure loose gear in side pockets, so your water bottle doesn’t leap out mid-step.
- Balance top and bottom sections separately for smarter weight control.
- Prevent forward lean and awkward hunching caused by a loose, bouncy load.
- Tweak as you go using quick-adjust buckles—no pit stops needed.
Snug it down just right, and suddenly, your pack feels like part of you—light, calm, and ready for anything.
Neglecting Hip Belt Stabilizers
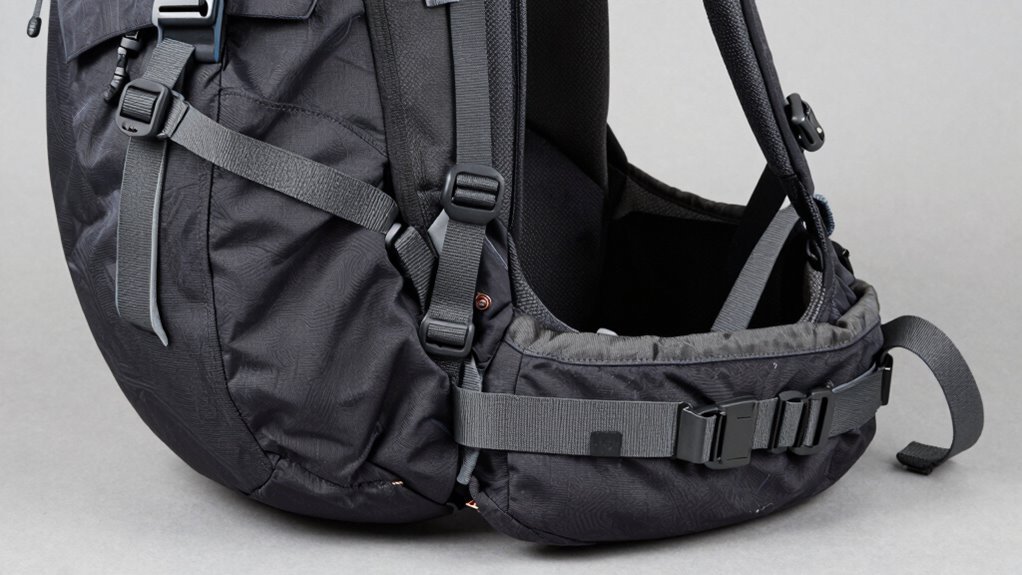
You just tightened those compression straps and everything feels locked in—awesome!
But wait—did you actually *use* those hip belt stabilizers, or just let them dangle like fashion accessories?
Because here’s the deal: your hips are built to carry up to 80% of that pack weight, but they can’t do it if the belt’s riding on your waist like a misplaced belt.
Nope, it’s got to sit snug on your hip bones, buckle centered, so weight transfers smoothly.
Loose, crooked, or poorly padded belts mean your shoulders take the hit—hello, sore back!
A wide, padded belt adjusted evenly beats flimsy webbing any day.
And please, make sure your pack’s height actually matches your torso—otherwise, it’s like wearing someone else’s shoes.
Fix this, and you’ll hike longer, lighter, and way more comfortably.
Promise!
Frequently Asked Questions
How Do I Know if My Pack Is Too Wide?
You’ll know your pack’s too wide if it wobbles side to side like a dancing penguin when you walk.
It’ll feel loose, shift with every step, and never sit snug against your back.
You might get pinch points on your ribs or see gaps between your body and the pack.
If the hipbelt won’t stay put or gapes at the sides, it’s definitely too wide—time for a better fit!
Can a Pack Be Too Small for Long Hikes?
Yeah, your pack can definitely be too small for long hikes.
You’ll know it when you’re playing gear Tetris and still can’t fit your sleeping bag, food, or extra layers.
Squeezing everything in leads to bulging zippers, sore shoulders, and a miserable first night.
Plus, you might end up ditching essentials—like that rain jacket you’ll curse not having.
Trust me, you don’t want to fight your pack before you even hit the trail.
Do I Need Different Adjustments for Uphill vs. Flat Terrain?
Yeah, you’ll want different tweaks for uphill versus flat terrain—think of it like shifting gears in life, not just on your bike.
Slide your saddle forward and crank up the height for climbing power, then go a bit more chill with a slack seat tube and comfy bar height on flats.
Pack weight? Keep it low and centered, like a tortoise carrying its home—and move that seat back to avoid feeling like you’re doing a circus act on a tiny bike.
Should I Tighten Straps Before or After Loading?
You tighten straps *after* loading—never before!
Slap on that pack empty, loosen everything first, then add weight.
Once loaded, snug the hipbelt right over your hips—boom, 80% of the load’s now on your powerhouse.
Then tweak shoulders, lifters, and sternum strap.
Do it the other way, and you’ll wrestle a lopsided beast.
Pro move? Walk a lap like you’re strutting on a trail runway—pack settles, you feel great, and voilà: happiness, not harness agony.
How Often Should I Recheck My Pack Adjustments?
You should recheck your pack every 1.5 to 2 hours—yep, that often!
Don’t worry, it’s not fussy, it’s smart.
Tighten those shoulder straps, nudge the hip belt, tweak the load lifters.
Think of it like tuning a guitar: quick fixes keep your hike rockin’.
Gear shifts, sweat happens, and packs slip.
Stay comfy, stay balanced, and your back’ll thank you like you just found extra snacks.
Conclusion
You tighten straps like a pro, yet your pack still rides high—frustrating, right? A perfect fit feels light, balanced, snug. The wrong size digs in, pulls you backward, turns hikes into hurdles. But, a quick hip belt tweak, a load lifter tweak—boom!—suddenly it hugs just right. Small fixes bring big rewards. So laugh at the wobble, embrace the tweaks, and stride on, pack finally dancing, not dragging, with every step. Adventure awaits—light, easy, *you*.
References
- https://www.outdoorsgeek.com/backpack-torso-size/
- https://www.youtube.com/watch?v=e_uai12Gjx0
- https://www.youtube.com/watch?v=3PJRZkjvTPY
- https://www.rei.com/learn/expert-advice/backpacks-adjusting-fit.html
- https://hyperlitemountaingear.com/pages/hiking-backpack-size-chart
- https://atompacks.co.uk/blogs/how-to/how-to-find-your-size
- https://www.granitegear.com/fitting
- https://www.deuter.com/us-en/advice/how-to-adjust-a-backpack
- https://www.youtube.com/watch?v=xsVJwVKfg-k
- https://seekoutside.com/blog/3-tips-for-perfect-backpack-fit-and-adjustment/