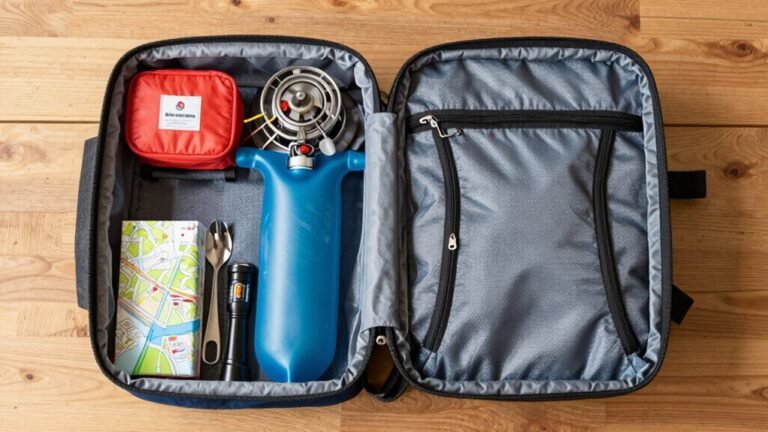
How to Choose Pack Fit
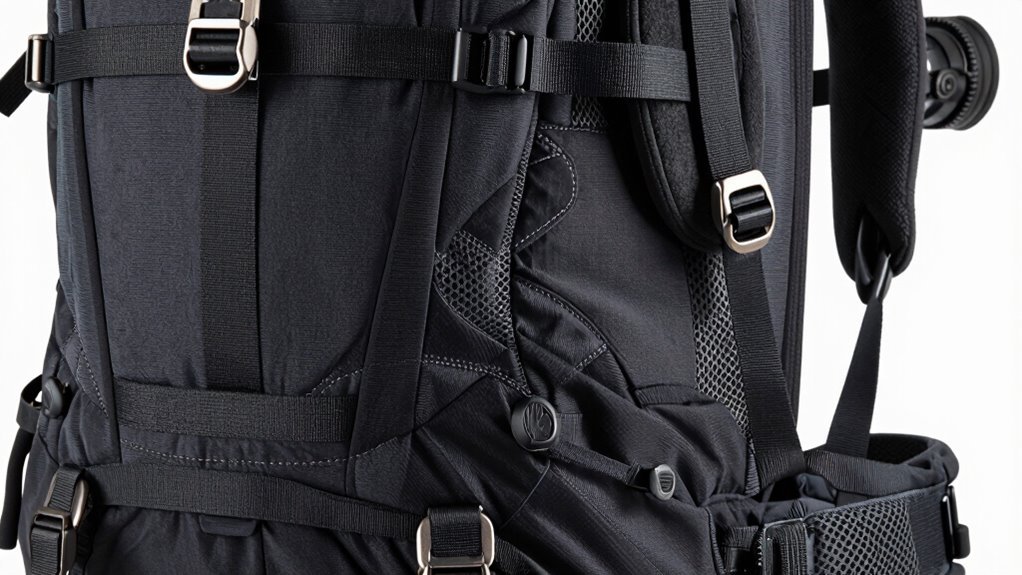
Start by measuring your torso from the top of your hip bones to the base of your neck—yep, that bony spot at the back of your neck counts! This measurement is key to choosing the right pack fit, ensuring comfort and performance on every adventure.
Pick a pack size that matches your adventure, from day hikes to backcountry bashes. Proper pack fit starts with selecting the correct size based on your torso length and intended use.
Dial in the fit: a snug hip belt should hug your hips, shoulder straps should snuggle your shoulders, and load lifters should angle at 45° like they mean it. Adjust, load up, and move around—when it feels like the pack’s part of you, not a burden, you’ve nailed the pack fit.
Women, check those shorter torsos and curved straps—sometimes the “men’s” pack surprises you. Gender-specific designs can enhance pack fit, but individual measurements matter most. Get it right, and you’ll wonder how you ever hiked with a wobbly pack crushing your dreams.
Measure Your Torso Length Accurately
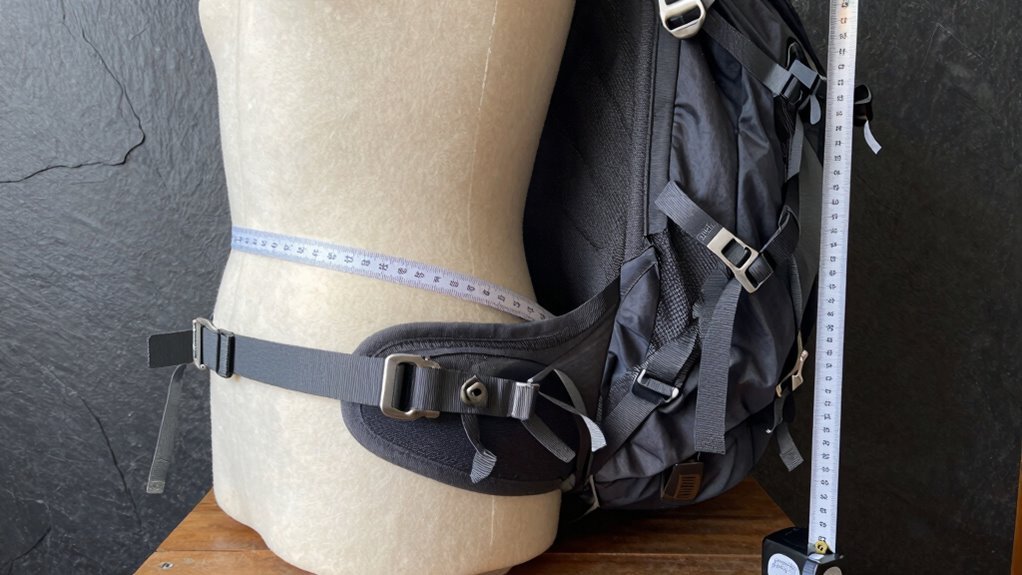
Wondering where your torso actually starts and ends? Let’s find out—your backpack’s fit depends on it!
Place your hands under your ribs and slide down until you hit a hard bony shelf—that’s your iliac crest, your lower anchor.
Now, tilt your head forward and feel that big bump at the base of your neck—hello, C7 vertebra, your top start point!
Stand tall, breathe easy, and grab a soft measuring tape (no stiff ones—they’re useless here).
Have a friend run the tape from your iliac crest up your spine to C7, following the natural curve.
Going solo? Use a wall and mark perpendicular lines.
Keep posture straight, tape snug.
Got it? That number in inches is your golden ticket to a pack that feels like it was made for you—because, with this fit, it basically will be! Using a flexible measuring tape ensures accurate and reliable results for your torso measurement.
Understand Pack Size and Capacity Options
Picking the right pack size sets you up for adventure success—no one wants a backpack that turns a day hike into a wrestling match.
If you’re just heading to work or exploring the city, grab a small pack (15-24L)—it fits essentials like your phone, wallet, and flashlight, and slides under airplane seats.
For short trips or work with a laptop, medium packs (24-40L) are your go-to; they handle clothes, snacks, and even a change of shoes.
Planning a weekend or longer?
Large packs (40-65L) carry camping gear, sleeping bags, and all the snacks you’ll hoard.
Hardcore backpackers need 45-80L for multiday trips—think tents, winter gear, and that inflatable pillow you can’t live without.
Just remember: liters beat looks, so match capacity to your mission.
Too much space?
You’ll overpack.
Too little?
Hello, backpack bulge!
Interior volume is measured in liters and reflects usable space, making it more reliable than exterior dimensions when comparing backpacks.
Choose the Right Frame Type for Your Needs
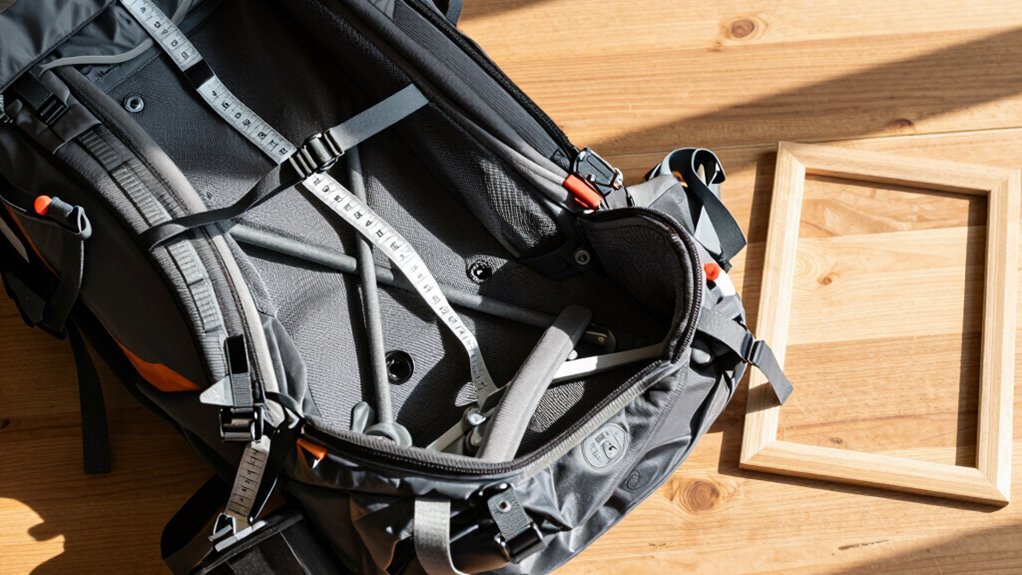
You’ve picked your pack size—now it’s time to think about what’s holding it all together, literally.
The frame type shapes your comfort, stability, and how sweaty your back gets—no big deal, right? Let’s break it down so you don’t end up looking like a pack mule at the trailhead.
- External frames = airflow champs and load-hauling beasts, perfect when you’re toting over 30 lbs and want your back to breathe
- Internal frames = the all-rounder MVP, balancing weight smoothly and moving with you on scrambles or steep climbs
- Frameless = ultralight ninjas for fast, light trips under 20 lbs, ideal when you’d rather hug a tree than fight your pack
- Frame materials matter—aluminum stays add spine, carbon boosts comfort, and combos give you the best of both worlds
Match your mission to your frame, and hiking stays joyful—not grueling.
Frameless packs weigh under 1.5 pounds, making them the lightest option—ideal if you’re chasing less than 0.7 kg.
Adjust the Hip Belt for Maximum Support
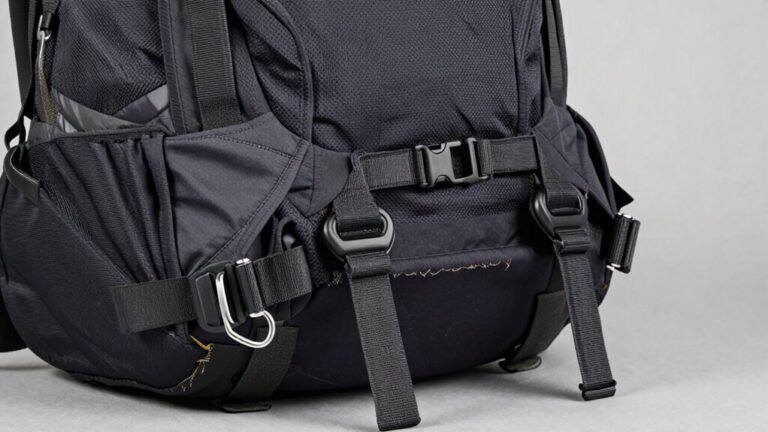
Getting the hip belt right means tipping the scale from “meh” to magic—because when that pack rides high and snug, you’ll feel like a leaf on the wind instead of a pack-laden pack mule. Slide the padded belt so it sits right on top of your hip bones, about two inches below your belly button—think “home base” for comfort.
Make sure the front padding hugs the front of your hips and the middle lines up with your iliac crest for rock-solid stability. Fasten the buckle and tighten it snug, but not so much that it pinches—aim for 80% of the weight on your hips, not your shoulders.
Check that the padding wraps around fully, with no gaps, and leave an inch of room on either side of the buckle. Adjust, wiggle, walk around—your belt shouldn’t slide or squeeze.
When it stays put like it’s glued, you’ve nailed it.
Position and Customize Shoulder Straps Properly
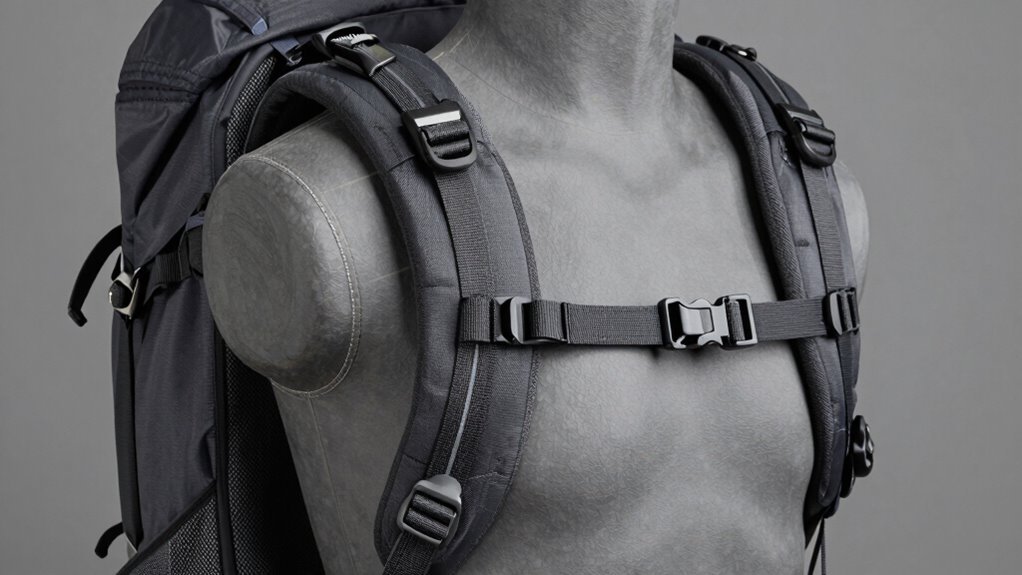
Now that your hips are happily hugging the belt like it’s their job, it’s time to give those shoulder straps some love—because nobody wants pack straps playing hide-and-seek halfway down their arms.
Get them right, and your hike stays comfortable, balanced, and way more fun.
Here’s how to nail it:
- Anchor straps 1–2 inches below your shoulder tops, so they sit snugly on your shoulder blades, not sliding off like socks on a buttered pig.
- Tighten them down and back until snug, wrapping your shoulders without bearing the full load—your hips are the heroes here.
- Match strap angle to your shoulders: square attachments for broad shoulders, V-shaped for sloping ones, so they hug, not slip.
- Customize torso length first, so straps align perfectly—this stops front sag and keeps your posture proud, not peering at your toes.
Done right, you’ll barely feel the pack’s there—except when you brag about how good it fits.
Fine-Tune the Load Lifters and Sternum Strap
Why do some hikers stroll effortlessly while others wrestle their packs like a grumpy bear?
It’s all in the fine-tuning.
After securing your hipbelt, turn to those sneaky little straps at the top of your shoulders—your load lifters.
Slide the tri-glides to angle them at about 45 degrees, then snug them down so the pack frame hugs your spine without pinching.
Don’t overdo it—you’re taming a backpack, not winning a tug-of-war.
Next, hook your sternum strap about an inch below your collarbones.
Buckled up, then tighten just enough to stabilize the shoulders without restricting your breath or arms.
Keep it comfy, not compressed.
These small moves make a huge difference, turning a wobbly load into a seamless extension of your body.
Hike happy, hike light, and let your pack *work* for you—not against you.
Test the Fit With a Loaded Pack
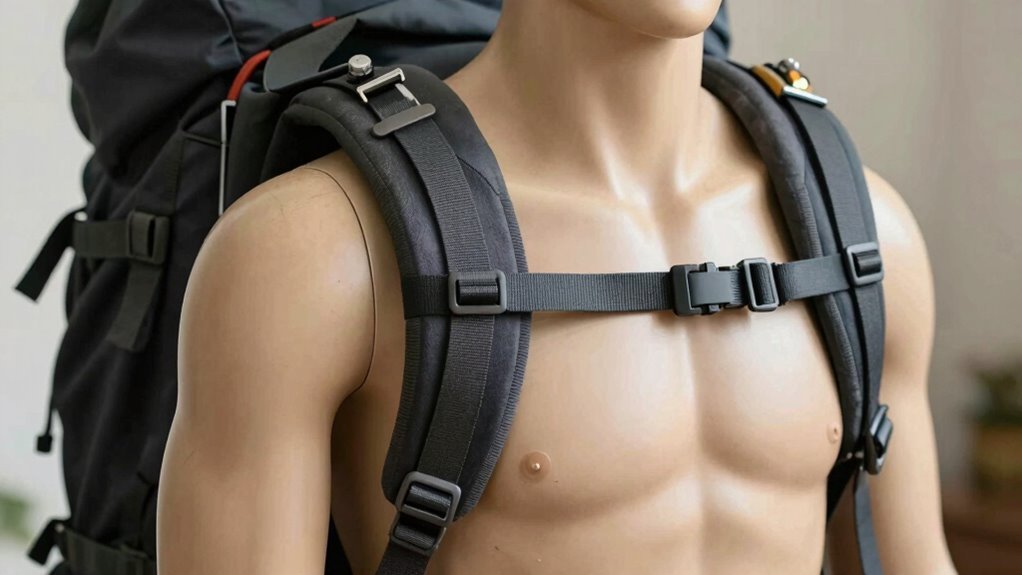
You’ve got your hipbelt locked in and those load lifters and sternum strap snug where they should be—nice work! Now it’s time to load it up and see how it really feels.
Start with at least 15 pounds—think water, books, soup cans, your cousin Steve if he’s small—and work up to your usual hiking weight. Keep that 80/20 rule in mind: 80% of the weight should ride on your hips, not your shoulders.
Walk around, climb some stairs, maybe dance a little. You want the pack to move with you, not against you.
- Pack heavy gear low and close to your back
- Confirm no shoulder strain or awkward gaps
- Check stability through turns, bends, and lunges
- Breathe deep—your lungs shouldn’t feel squished
If it feels like a warm hug from a really organized friend, you’re golden.
Consider Gender-Specific Fit Differences
While everyone’s built a little differently, it’s worth noting that backpacks often come tailored to fit the unique shapes of male and female bodies—and yeah, that’s more than just marketing fluff.
Women usually have shorter torsos—about 16 inches on average—so women’s packs offer smaller frame sizes and shorter adjustments for better load distribution.
Men’s packs? They’re built for longer backs and broader shoulders.
Shoulder straps on women’s packs are narrower and sloped, while men’s are wider—trying to swap them might leave you hiking like a hunched turtle.
Hipbelts differ too: women’s are shorter, angled for curvier hips, and need extra padding to avoid soreness.
And while women’s packs often carry less, it’s not because you can’t handle the load—it’s just design (and sometimes silly marketing).
Test both—you might surprise yourself.
Frequently Asked Questions
Can I Use a Hiking Pack for Everyday Commuting?
Yeah, you can absolutely use a hiking pack for everyday commuting—it’s like giving your daily grind an adventure upgrade!
Just pick one with padded straps and a comfy hip belt so it feels light, even when you’re hauling your laptop, lunch, and that extra hoodie.
A 20–30L size fits carry-ons and keeps your essentials organized.
Plus, bonus points if it has a laptop sleeve and sneaky pockets—because who doesn’t love secret storage?
How Do I Clean and Maintain My Backpack?
You clean and maintain your backpack by emptying all pockets, then shaking out crumbs and debris—yes, even that ancient granola bar from 2019.
You gently scrub stains with a soft brush and mild soap, avoid the washing machine (trust me, it *hates* backpacks), and let it air dry away from sunlight.
You keep zippers zippy and straps snappy by wiping them down and storing it dry—like a responsible backpack parent.
Are More Expensive Packs Always Better Fitting?
No, pricier packs aren’t always better fitting—think of them like fancy shoes that look great but pinch your toes.
You gotta try them on, load them up, and move around.
A perfect fit hugs your back like a backpack-shaped marshmallow, not a price-tag trophy.
Comfort trumps cost every time, so don’t let a shiny label fool you!
What Should I Do if My Pack’s Warranty Expires?
You’re not out of luck if your pack’s warranty expires—act fast and reach out anyway.
Call customer service, explain what happened, and they might still help.
Some brands repair for a small fee or offer discounts on a shiny new pack.
Check if your old one can be recycled.
You’ll be surprised how many companies still care, even when the fine print says “game over.”
How Do I Store My Pack When Not in Use?
You absolutely *must* banish your pack to the attic—that’s basically a backpack graveyard!
Store it in a cool, dry spot away from sunlight, or face sunbaked straps and sad, sagging fabric.
Hang it by the top handle or stash it in a breathable bin, but don’t just toss it in a heap.
Lightly stuff the insides to keep its shape, and boom—your pack stays perky, proud, and ready for adventure, not folded in defeat like last week’s laundry.
Conclusion
You just happen to find the perfect trail snack, your friend spots a hidden waterfall, and—coincidentally—your pack feels like it’s barely there. That’s the magic of a great fit. When your hip belt hugs right, straps lie easy, and weight stays balanced, adventure gets lighter, literally. Suddenly, miles fly by, and you’re grinning, not groaning. Pack fit? It’s not luck—it’s the best gear coincidence ever.
References
- https://sockdolagerequipment.com/blogs/news/how-to-measure-your-torso-backpack-fit-guide
- https://hikemuch.com/average-torso-length/
- https://www.eyeonannapolis.net/2025/05/how-to-measure-your-torso/
- https://eikenshop.com/blogs/products-guide/how-to-measure-torso-backpack
- https://artesands.com/blogs/news/how-to-measure-your-torso
- https://www.youtube.com/watch?v=lak2QrzStsI
- https://www.youtube.com/watch?v=7niQLF_BBBo
- https://knackbags.com/blogs/one-bag-blog/the-comprehensive-guide-to-backpack-sizes-and-liters
- https://www.rei.com/learn/expert-advice/backpack.html
- https://aettactical.com/blogs/industry-knowledge/tactical-backpacks-by-capacities-a-guide