Troubleshooting Blister Care on the Trail
Feel that sting or see a red spot? That’s your skin shouting, “Help!” This is early-stage blister care on the trail—don’t wait. Stop while you can still laugh it off.
Find a flat, safe spot and clean the area with water or a wipe. Let cool air dry it before taking further action.
If the blister’s big or throbbing, drain it gently with a clean needle. Keep the roof on to protect the wound underneath.
Dab on ointment, then pad the area like a tiny treasure. Use moleskin or GlacierGel to cushion and seal with tape.
Adjust your socks and ease pressure on the spot. Keep hiking happy and minimize friction to prevent worsening.
Wondering how to dodge infection or spot danger signs before it ruins your stride? Proper blister care on the trail can keep you moving safely. There’s more where that came from.
Recognizing Early Signs of Blister Formation
Ever wonder why your foot suddenly feels like it’s hosting a tiny, angry protest under your sock?
That heat, that sting—it’s not just in your head.
You’re likely feeling a hot spot, the first red flag your skin sends before a full-blown blister crashes the hike.
The area turns pink or red, feels warmer than the skin around it, and might tingle or burn like a sunburn in slow motion.
It’s subtle, yeah, but don’t brush it off—this stage doesn’t last long.
Friction’s already whipping up trouble, separating skin layers beneath the surface.
Sweat and heat are teaming up, softening your skin and making it way more vulnerable.
If you ignore it? That little flame turns into a painful, fluid-filled bubble fast.
So when your foot starts whispering “ouch,” listen.
That’s your cue to act—*before* the drama kicks in.
Maintaining dry feet can significantly delay or even prevent blister formation by reducing skin softening and friction.
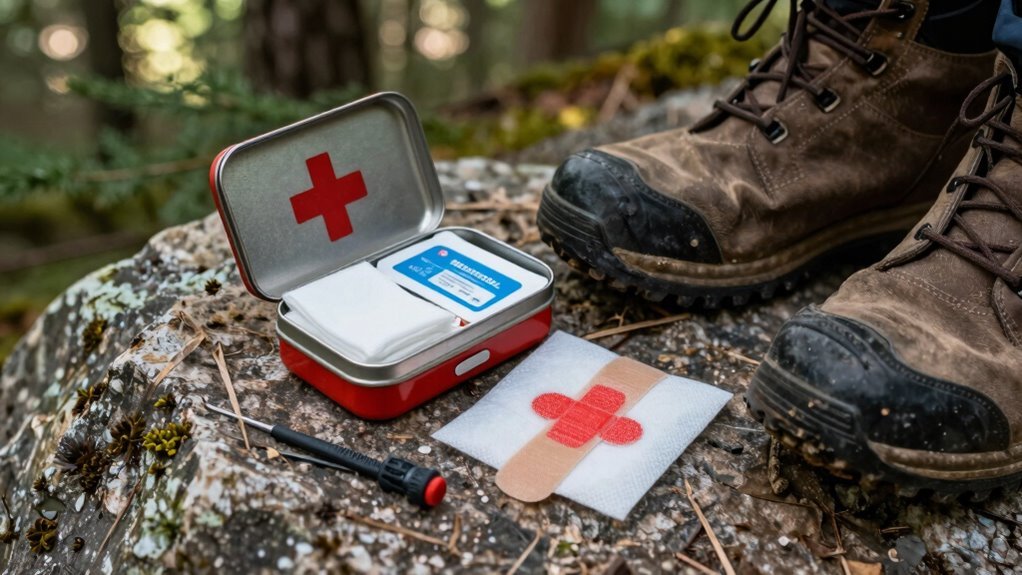
Choosing the Right Spot to Stop and Assess
Where should you pull over when your boot starts staging a rebellion? Simple—pick a spot that’s safe, stable, and smart.
Don’t just plop down anywhere; your foot shouldn’t be auditioning for a balance challenge.
- Flat & steady: Avoid wobbly rocks or slopes—your foot shouldn’t be auditioning for a balance challenge.
- Safe & sheltered: Steer clear of falling rocks, sketchy weather, or angry marmots eyeing your snacks.
- Accessible & roomy: You’ll need space for your kit, your crew, and maybe a dramatic sigh or two.
Make sure it’s easy to get back on the trail if needed, and that everyone can gather without tripping over roots.
You’re not just treating a blister—you’re directing a mini medical mission, and even small blunders can blow up like popped bubbles.
Pick wisely, stay safe, and keep the adventure rolling. Consider the limited resources available in the backcountry when choosing your spot, as you may need to improvise care with what’s on hand.
Properly Cleaning the Affected Area
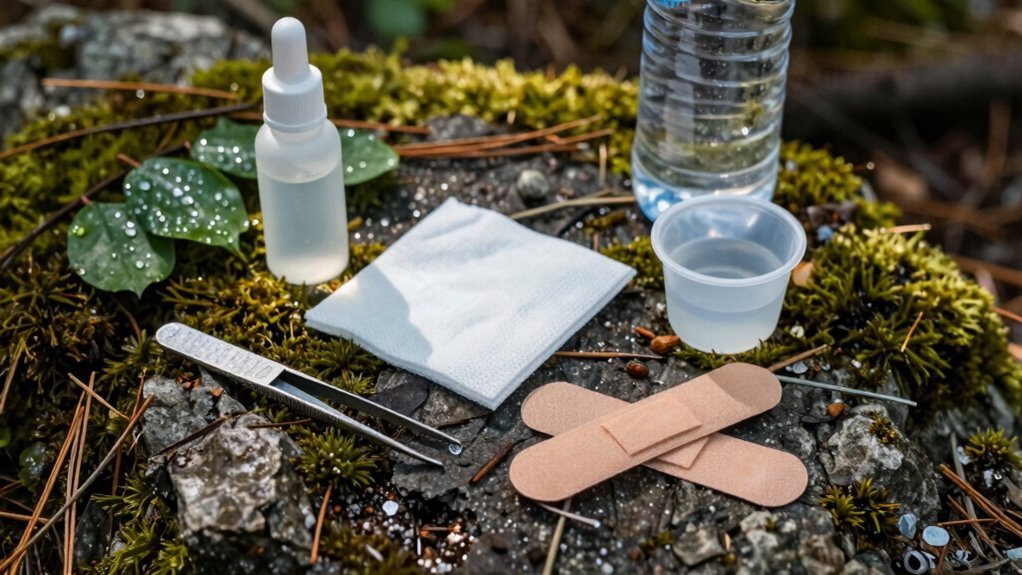
Now that you’ve found your chill spot off the trail—flat ground, no marmot sabotage, plenty of room to spread out—it’s time to give that angry blister some attention.
First, wash your hands and the area with antibiotic soap—yes, even out here, hygiene wins.
Rinse the blister gently with clean water to flush out dirt and debris.
If it’s popped, be extra kind: clean it with water, then swipe around it with an antiseptic wipe.
Avoid harsh scrubbing, especially if it’s still intact.
Dry the area completely—you want it clean *and* dry for what’s next.
Use alcohol wipes or antiseptic to prep the skin, killing sneaky germs.
Slather on some antibiotic ointment like it’s trail sunscreen—it’s a must.
Keep everything sterile, laugh off the sting, and remember: clean now saves hurt later.
Changing into clean, dry socks can prevent further irritation and promote healing.
Deciding Whether to Drain the Blister
How do you know when to pop that puffy bubble on your foot?
It’s not just about size—though if it’s bigger than 1 cm or feels tight and tense, you’re likely in drain territory.
Pain matters too: if it’s throbbing or making every step a struggle, letting the fluid out could save your hike.
And let’s be real—no one wants a surprise pop mid-stride on rocky terrain.
Consider these signs before pulling out the needle:
- Big and tense? Large, dome-shaped blisters often need draining to stop a messy rupture.
- Hurting badly? Severe pain from pressure means relief is worth the risk.
- Looking sketchy? If the roof’s thin or peeling, drain it clean instead of letting trail gunk in.
Keep calm, assess smart, and remember: sometimes popping is the hero move your hike needs.
Safe Techniques for Draining a Blister
Grab your gear and take a deep breath—draining a blister doesn’t have to be scary, especially when you do it the smart way.
Wash your hands and the blistered area with clean water or soap, then swipe the skin around it with alcohol or iodine.
Dry everything well—no soggy skin allowed!
Sterilize your needle with fire or alcohol—yes, even that trusty pocketknife tip works.
Poke the blister at the edge, not the center, sliding the needle in horizontally to let the fluid out.
Gently massage it down while standing, like you’re walking.
Leave the roof intact—it’s nature’s bandage!
If it’s a blood blister or you’re deep in the backcountry, just drain a little to avoid boot explosions.
Clean again if dirt sneaks in, then dab on some antiseptic.
You’ve got this—happy (and less squishy) trails!
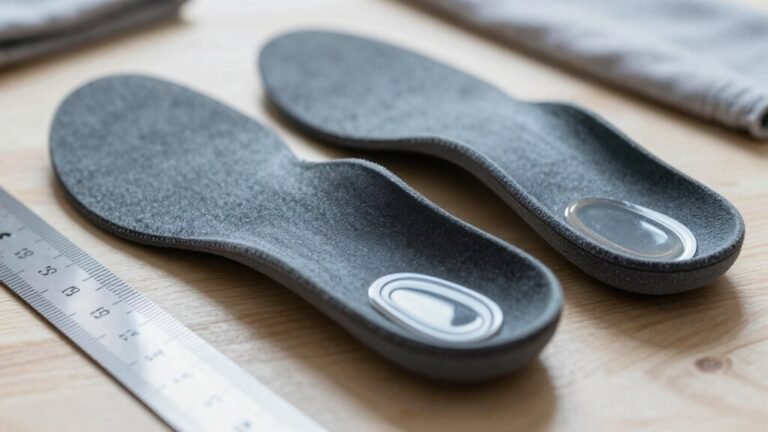
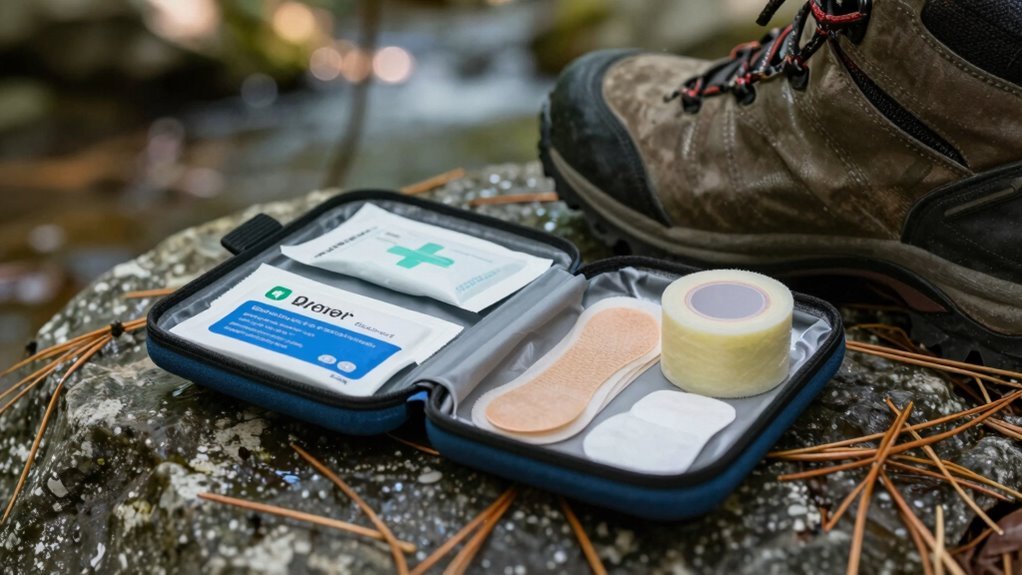
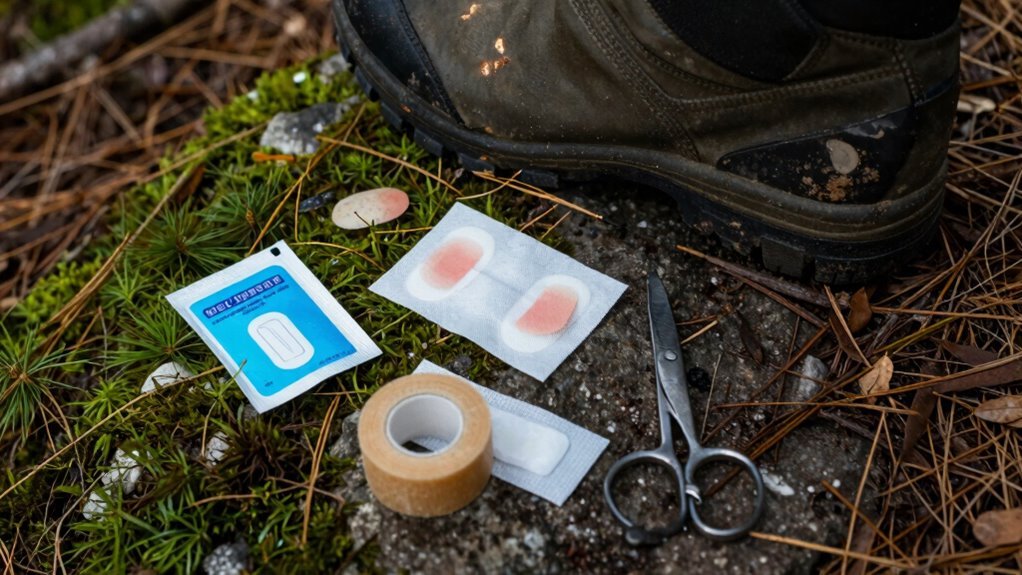
Applying the Best Dressings Outdoors
Padding your blister like a tiny fortress?
Smart move—proper dressing keeps you hiking in comfort.
When you’re outdoors, picking the right materials makes all the difference.
Here’s how to shield that sore spot like a pro:
- Use moleskin like a doughnut: Cut it an inch larger than the blister, snip a half-circle hole, and center it over the sore spot. Stack layers if needed to cushion deep blisters.
- Try GlacierGel for magic healing: Slip this hydrogel over ruptured blisters or hot spots, keep your ankle flexed while taping, and add a moleskin ring for extra support.
- Lock it in place: Cover with non-stick pads, hydrocolloids, or gauze, then seal everything with duct or medical tape—friction doesn’t stand a chance!
Your feet will thank you with every happy step.
Adjusting Footwear and Socks Mid-Hike
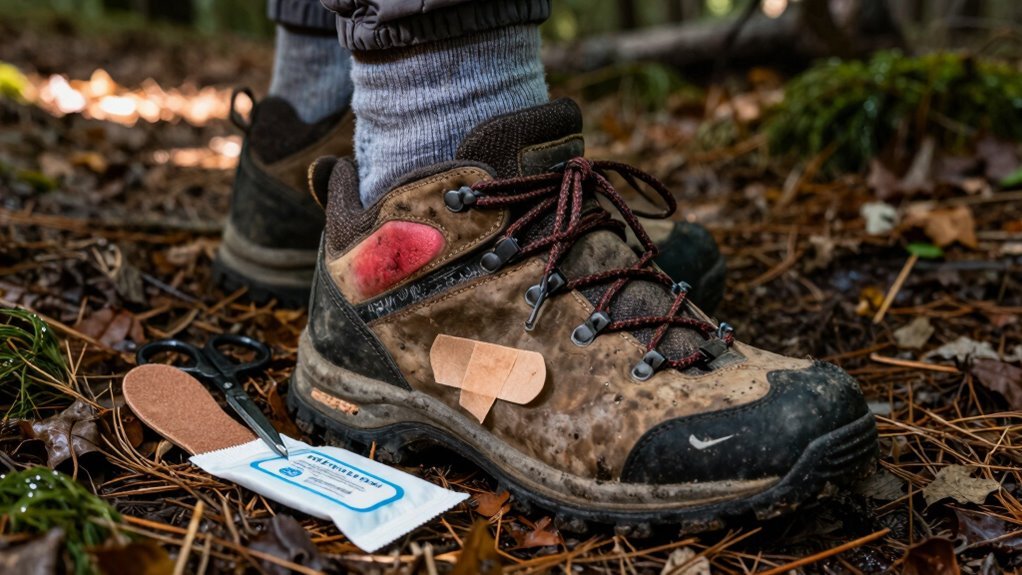
You’ve got your blister wrapped up like a pro—solid move—but now let’s talk about what’s hugging your feet all day: your socks and shoes.
Laces loosen as you hike, so retie them to stop slippage and rubbing—try a heel lock or surgeon’s knot for extra grip.
If your feet swell (they will!), check your fit often and adjust so your toes aren’t jamming or sliding.
Swap out damp socks for dry, moisture-wicking pairs every few miles—blisters hate dry feet.
Skip cotton like the plague; go for wool or blends, maybe even liner socks underneath.
Darn Tough? Yes, please.
Feel a hotspot? Tighten or loosen your laces fast—especially uphill or down.
Switch to trail runners mid-hike if boots turn into torture devices.
Lighter, breathable, faster drying—your feet will thank you.
And hey, new shoes? Break ‘em in on the trail gently.
Smart tweaks now save epic blisters later.
Preventing Further Friction and Pressure
Even if you’re not feeling pain yet, chances are your feet are already whispering warnings—listen up, because catching trouble before it blisters your hike is where the real trail magic happens.
Don’t wait for full-blown blisters to slow you down.
Tackle friction and pressure early with proven tricks that keep you light on your feet:
- Slap on Leukotape or moleskin at the first hint of a hot spot—it’s like armor for your tootsies.
- Wear moisture-wicking socks (not cotton!) and swap them out if they’re damp; dry feet don’t slide, and sliding causes blisters.
- Use gel pads or Spenco 2nd Skin on tender zones to cushion shear and soothe stingy spots before they scream for mercy.
Stay proactive, not reactive, and your feet will thank you with every mile.
After all, happy feet make for epic stories—no bandage drama required!
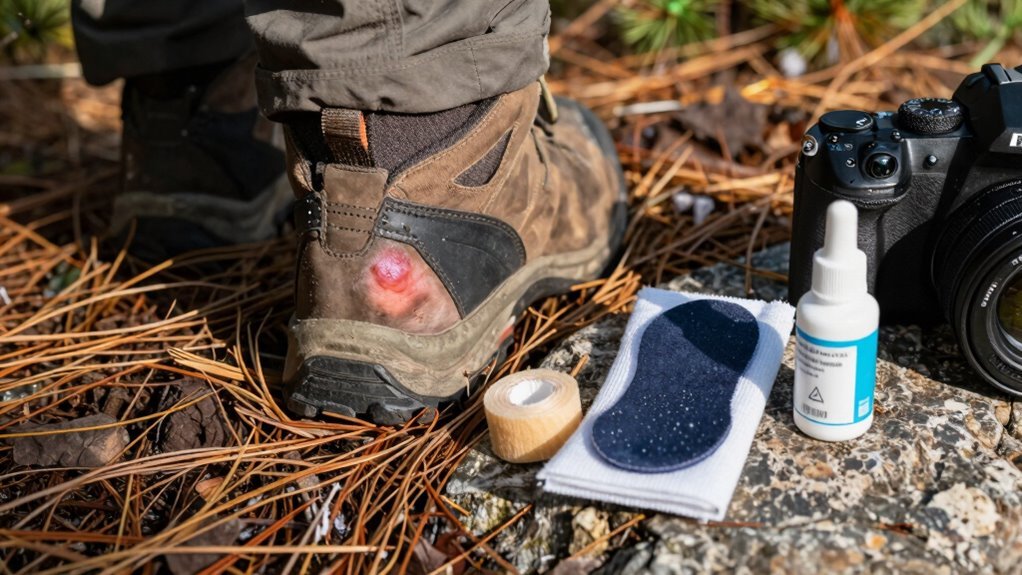
Monitoring for Signs of Infection
Keep an eye on that blister like it’s the final slice of campfire banana bread—because no one wants their hike derailed by an angry, infected hotspot.
Check it daily: if you see redness spreading, swelling, or warmth around the area, it’s sounding alarms.
Pus, cloudy fluid, or a foul smell? That’s a red flag—your body’s throwing a protest.
If the pain turns sharp, throbs, or gets worse even after treatment, don’t ignore it.
Watch for red streaks or fever—that’s your body waving a white flag.
Diabetes or a busted-up blister from dirty gear? You’re at higher risk.
Healing should start in a few days; if it’s not, or skin turns dark or hard, it’s time to rethink your trail plan.
Catching infection early keeps your adventure on track—and your feet happier!
Frequently Asked Questions
Can I Continue Hiking After Popping a Blister?
Yeah, you can totally keep hiking after popping a blister—just do it right.
Sterilize a needle, drain the fluid gently, and slap on some antibiotic ointment.
Cover it with moleskin or a bandage, toss on clean socks, and you’re good to roll.
Your skin starts healing fast, and with a little TLC, you’ll toughen up quicker than you’d think.
Blisters? Just part of the trail’s charm.
Are Certain Socks Better for Blister Prevention?
Yeah, some socks really do beat blisters better than others—no joke!
Merino wool wicks sweat, stays soft when damp, and fights friction.
Toe socks? They let your toes spread out like they’re on vacation.
Double-layer socks slide against each other, not your skin.
And brands like Darn Tough or Injinji? They’ve got your back (and feet) on long hikes.
Your feet will thank you—no blister drama, just happy trails!
How Do I Handle a Blister at Night?
You pop, pad, and pamper it—just like a midnight snack for your sore spot.
Drain gently if needed, slap on antibiotic ointment, then cozy it up in a loose bandage or hydrocolloid hug.
Leave the roof on, let it breathe if you can, and sleep easy knowing you’ve got this.
Wake up like a blister boss—fresh, firmed, and trail-ready!
Do Blister Patches Work on Wet Skin?
Yeah, some blister patches work on wet skin—no need to panic if your feet are damp!
Leukotape sticks like glue even when wet, and hydrocolloids like BlisterPod handle moisture like pros.
Just give the area a quick wipe if you can, slap it on, and boom—protection’s on duty.
Others might slip, but these bad boys stay put, keeping blisters happy and healing while you trek on!
Can I Use Duct Tape for Blister Protection?
No, you shouldn’t use duct tape for blister protection—it traps bacteria, bunches up, and falls off fast.
It’s kind of like putting a banana peel on your boot: messy and useless!
Instead, grab something made for feet, like Leukotape or paper surgeon’s tape.
They stay put, feel better, and actually prevent blisters. Your feet will thank you, and hey, saving duct tape for gear fixes? Now that’s smart packing!
Conclusion
You’ve got this! Now that you know how to spot blisters before they blow up like a popped balloon, you’re ready to tackle the trail with confidence. Clean, drain, patch, and adjust—simple steps that keep you moving. Just remember: happy feet mean happy trails! And hey, if all else fails, laugh it off—blisters hate a good sense of humor.
References
- https://mountaineerjourney.com/blog/surviving-hiking-with-blisters
- https://www.drgordonfosdick.com/blog/managing-blisters-from-hiking.html
- https://www.thehiking.club/blog/blister-management-for-hikers
- https://www.sixmoondesigns.com/blogs/newsletter/the-blister-queens-guide-to-treating-blisters-while-trekking-by-raquel-mogado
- https://certifiedfoot.com/blister-under-foot-what-causes-it-how-to-treat/
- https://americanhiking.org/blisters/
- https://cpraedcourse.com/blog/friction-blister-treatment-guide/
- https://www.greaterhoustonfootcenters.com/blog/item/710-causes-and-relief-from-blisters-while-hiking.html
- https://stories.hanwag.com/en/how-to-prevent-blisters-when-hiking/
- https://www.rei.com/learn/expert-advice/wilderness-first-aid-basics.html