How to Use Trail Runners the Right Way
You’ve got trail runners? Awesome. Make sure they fit just right—snug through the midfoot but with enough room to wiggle your toes, so you avoid blisters and blackened nails on long runs.
Break in your trail runners with short hikes or easy runs before tackling rugged terrain. Never wear brand-new trail runners on a long race or backcountry adventure—comfort comes with gradual use.
Use a heel-lock lacing technique to keep your feet from slipping inside the shoe on steep descents. Proper lacing enhances control and reduces the chance of ankle rolls when the trail gets tricky.
Choose the right lugs for the terrain: deep, chunky lugs grip muddy trails, while low-profile lugs roll faster on hardpack or rocky paths. Matching your trail runners to the surface boosts traction and efficiency.
Shorten your stride on technical ground to stay balanced and react quickly to obstacles. Quick, light steps help maintain stability and reduce impact on joints over rough sections.
Rotate between two pairs of trail runners if possible to extend their life and let materials breathe. Cleaning off mud and debris after each run keeps your trail runners performing like new.
Retire your trail runners when the midsole feels flat or the outsole is visibly worn—your knees and hips will thank you. Worn-out trail runners lose support and increase injury risk over time.
Choose the Right Fit for Your Foot Shape
Ever wonder why your trail runs feel like a battle against blisters and cramped toes?
It’s probably because your shoes don’t match your foot shape.
Grab a Brannock Device or visit a specialty store—your feet deserve it.
Measure them at day’s end when they’re slightly swollen, and don’t skip checking both feet; one’s likely bigger.
Size up by half to a full size from your everyday shoes—your feet swell mid-run!
Got a Greek foot with a long second toe?
Or an Egyptian shape with a dominant big toe?
Either way, leave a thumbnail’s width of space at the toe.
Too much room and you’ll slide; too little and you’ll lose toenails.
Wide feet? Look for 2E or 4E fits.
Narrow? Avoid balloon-sized toe boxes.
And bring your running socks—yes, even those funky ones.
Your perfect fit is out there, ready to crush miles, not toes.
Choose shoes with a wider toe box if you have a wider forefoot to maintain proper alignment and comfort.
Understand Lug Depth and Tread Patterns
Why do some trail shoes grip like they’ve got claws while others feel slicker than a banana peel on pavement?
It’s all about lug depth and tread patterns.
If you’re tearing through mud, you want deep lugs—over 5mm, like on the Speedcross or Speedgoat—that dig in like nature’s cheat code.
For hard-packed trails or road connectors, shallow lugs under 3.5mm, like on the Hoka Challenger or Brooks Ghost Trail, keep things smooth and snappy.
Medium lugs around 4mm? They’re the Swiss Army knife of trail shoes, great for mixed terrain.
Aggressive, multidirectional treads with wide spacing shed mud and bite into slippery slopes, while sticky rubber hugs wet rocks.
Don’t let chunky lugs flop around on pavement—they’re overkill.
Match your shoe’s lugs to your terrain, and you’ll fly with grip, not slip.
Your trails, your rules—choose smart and stomp harder.
Shallow lugs (2.5 – 3.5 mm) suit road-to-trail shoes and hard-packed surfaces.
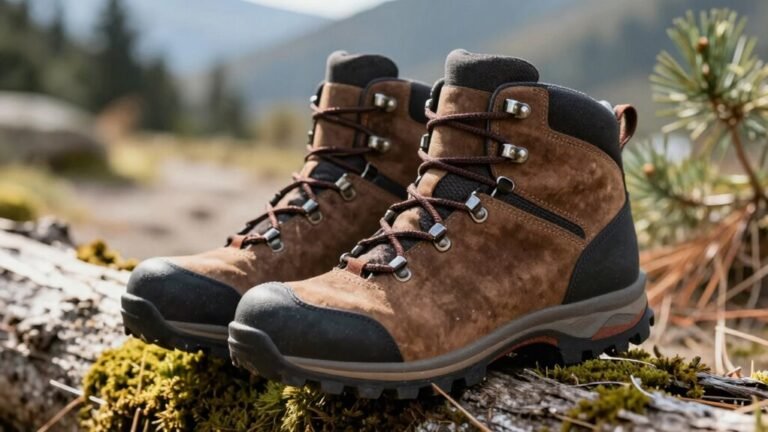
Break In Your Trail Runners Before Race Day
Lacing up a fresh pair of trail runners feels like revealing a new level—exciting, full of promise, but not quite ready for the boss battle.
New shoes are stiff, which can stress your feet and legs if you go all-in too fast.
Don’t wing it—break them in!
Start by wearing them around the house with your trail socks and insoles for a few hours.
Check for blisters or slips—no one likes surprise hot spots.
Then hit short walks, maybe the block or a treadmill, for about 3 to 5 miles.
Most only need 5–10 miles before they’re race-ready; flexible pairs like Nike?
Two or three runs and they’re golden.
Gradually ramp up, maybe toss in a daypack.
Listen to your feet—pain means stop.
No cheating by soaking or forcing long hikes.
Your feet and shoes need to adapt together, so take the time.
It’s not just prep—it’s peace of mind.
This gradual process helps reduce injury risk by allowing increased footstrike ROM.
Adjust Your Stride for Uneven Terrain
When the trail throws rocks, roots, and ruts your way, your trusty road-running stride just won’t cut it—time to shorten up and stay nimble.
Keep your feet under you, not out ahead, so you don’t trip like a clown on a banana peel.
Short, quick steps help you hop over obstacles and keep your balance, especially uphill or down.
Aim for a snappy cadence—it eases impact and keeps you light on your feet.
Land midfoot, not heel-first, for smoother, quieter footfalls.
Think soft, not stompy.
Scan 10–15 feet ahead to spot trouble early, then adjust without panic.
Uphill? Tiny steps, stay upright.
Downhill? Lean back slightly, use small strides to stay in control—don’t let gravity turn you into a runaway shopping cart.
Muddy patch? A little bounce or heel dig keeps you moving.
Stay playful, stay alert, and let your stride flow with the trail’s twists.
Use Proper Lacing Techniques for Stability
Tighten up, trail lover—your laces can do way more than just hold your shoes on!
Try the HeelLockLacing trick: after criss-crossing up, loop the ends and thread the opposite lace through—boom, heels stay locked and don’t slip.
For aggressive runs, use LockdownLacing around the midfoot; those little loops lock your foot in tight, so you stay stable on rocky scrambles.
If your heels are narrow, LockInTechnique saves the day—no need to crush your ankle, just double-knot and tuck the laces.
Overpronators, flip your laces inside-out at the midfoot for FlatArchSupport, creating a snug wall that stops wobble.
High-arched buddies, go outside-to-inside to boost ground contact and push-off power.
These hacks aren’t magic, but hey, they’re close—your feet will thank you when the trail gets rowdy!
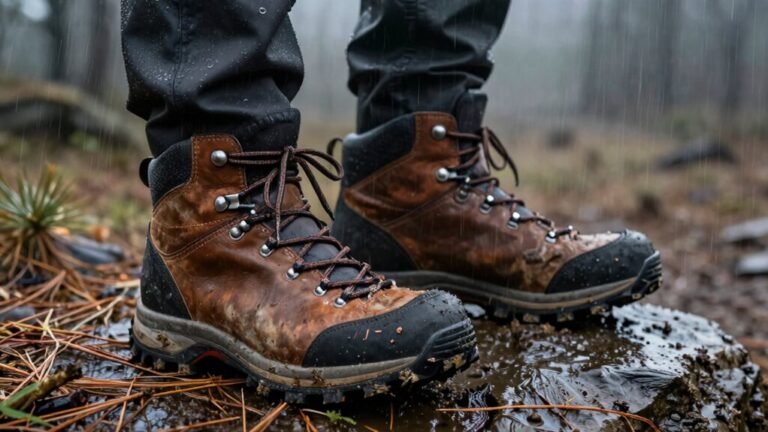
Protect Your Feet on Rocky and Rooted Trails
Even though you’re ready to crush every root and rock in your path, your feet will thank you later if you set them up for success now.
Protecting them isn’t rocket science—it’s smart prep with a dash of love.
Here’s how to keep your feet happy mile after mile:
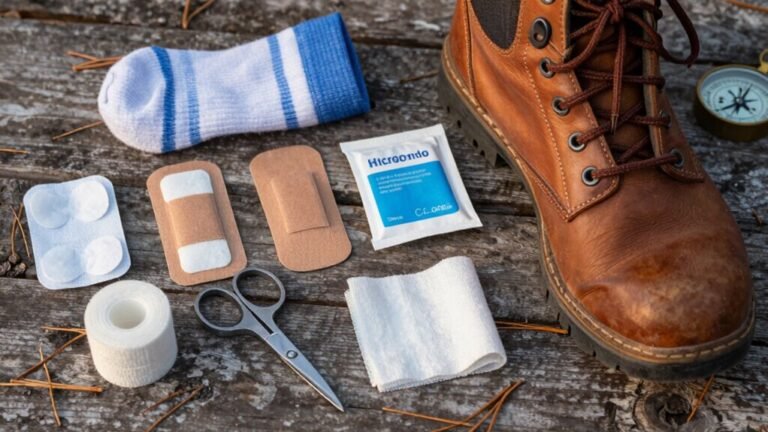
- Size up half a size and leave a thumb’s width at the front so your toes won’t rebel on rocky downs.
- Wear moisture-wicking socks, like merino wool, and skip cotton—it’s basically a blister invitation.
- Trim your toenails neatly—not too short, not too long—just right to dodge blackened toes.
- Strengthen feet and ankles with daily moves so wobbles don’t turn into wipeouts.
- Pre-tape hot spots with breathable tape—because nobody wants surprise blisters singing backup.
Maintain Traction on Wet and Slippery Surfaces

You’ve got your feet prepped and protected—smart move—now let’s talk about keeping them from turning into slippery circus acrobats when the trail throws down a wet, slimy challenge.
Sticky rubber compounds, like Vibram Megagrip or Missiongrip, are your best friends here—they bite into wet rock and moss like they mean it.
Deep, widely spaced lugs, around 5mm, shed mud and grip loose dirt, while multi-directional angles keep you stable on roots and slop.
Grooves in the tread push water away so you don’t slide like you’re on a water park slide.
Skip exposed foam—it’s a slick disaster on wet concrete.
Instead, go for full rubber coverage underfoot.
Aggressive lugs dig in, and updated geometries hold up even after miles.
With high-traction outsoles, you’ll stride with confidence, not panic, when the trail gets frog-kissing wet.
Clean and Dry Your Shoes After Every Run
Pull off those muddy trail beasts and give them the spa treatment they deserve—your shoes will thank you later.
Keeping them clean and dry isn’t just about looks; it’s how you keep them fresh, functional, and ready for the next adventure.
- Knock out debris by tapping shoes upside down, then brush off caked mud with a stiff brush
- Remove insoles and laces so air can flow and gunk doesn’t hide in dark corners
- Rinse with water (no machines!) and scrub gently—don’t murder your mesh with harsh treatment
- Stuff with newspaper, set near a fan, and let them breathe like they’re at a forest yoga retreat
- Toss in baking soda overnight to nix stank, because nobody wants foot-cheese vibes
Let everything dry fully—no damp surprises—before reassembling.
Your trail runners aren’t just gear; they’re your muddy companions. Treat ’em right, and they’ll carry you farther, longer.
Rotate Pairs to Extend Shoe Lifespan
Switch up your shoes like you’re rotating playlists—because your feet don’t want to hear the same beat every day.
When you rotate pairs, you let midsoles decompress and extend their life—those squishy foams like PEA or Zumx bounce back better with a little rest.
You’ll get more total miles, spreading wear across shoes instead of pounding one pair into the ground.
Plus, alternating cushion levels, drops, and stack heights keeps your legs guessing, reducing repetitive stress.
Different shoes tweak your stride, engaging varied muscles and cutting injury risk by up to 39%.
It’s not just about saving shoes—it’s about smarter training.
Use two or more pairs at different wear stages, match them to terrain or workout type, and keep things fresh.
Your feet, joints, and shoe budget will thank you.
Rotation isn’t lazy—it’s genius.
Replace Them Before Performance Suffers
Rotating your trail runners keeps them fresh, but even the best rotation can’t stop time—sooner or later, every pair hits its expiration date. Don’t wait until your legs scream or your shoes flap like flip-flops—replace them before your runs suffer.
Keep an eye (and a foot) out for these signs:
- Your once-bouncy midsole now feels flatter than yesterday’s soda
- Tread’s smoother than a dance floor, slipping on rocks and roots
- You’re sore more often, like your shoes forgot how to cushion
- Holes, rips, or a sole peeling away like old wallpaper appear
- Every run feels harder, like your legs are doing extra reps
Track miles with your watch or jot them in a log—most shoes die between 300–500 miles. When in doubt, swap ’em out. Your knees will thank you, and your trail days will stay springy, safe, and way more fun.
Frequently Asked Questions
Can I Use Trail Runners on Pavement Regularly?
Yeah, you can use trail runners on pavement, but you’ll feel the difference fast—those chunky lugs grab dirt, not sidewalks, making each step clunkier than a robot in socks.
Plus, the soft outsoles wear down quicker than ice in July.
Stick to trails where they shine, or grab a hybrid if city stomping’s your jam.
Your feet (and wallet) will thank you later—no one likes replacing soles before their first adventure!
Are Trail Runners Suitable for Long-Distance Road Races?
Yes, you can rock trail runners in long-distance road races, but you’ll trade some speed for grip and grit.
Their beefy soles handle miles like champs, yet deep lugs add bounce, not efficiency, on pavement.
You’ll feel every ounce over 26.2.
Lightweight hybrids? That’s your sweet spot—trail toughness with road-smooth roll.
Just don’t expect a race-day rocket—unless you’re racing *through* a mud pit!
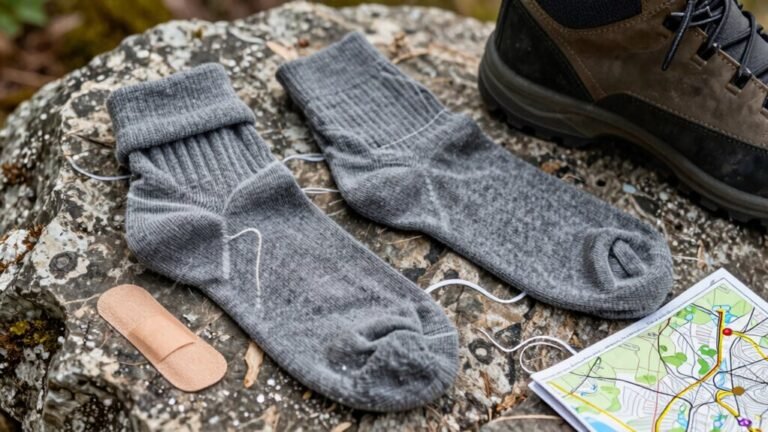
Do Trail Runners Require Special Socks?
Yeah, trail runners do need special socks—don’t just grab your cotton gym pair!
They’ll trap moisture, turn soggy, and leave you with blisters fast.
Grab synthetic or Merino wool blends that wick sweat like magic.
Pick cushioning based on terrain: light for muck, thick for rocks.
Go mid-height for debris defense, and always choose a snug, blister-busting fit.
Your feet will thank you—and hey, stinky socks aren’t a trail badge of honor!
How Do I Store Trail Runners When Not in Use?
You let your trail runners breathe, just like they did on the trail—no suffocating them in sealed bins!
Air-dry them first, then stash in open racks or breathable boxes.
Pull out insoles, toss in newspaper, and keep them in a cool, dry spot.
No damp closets or hot garages—those are shoe nightmares!
Rotate pairs, avoid five-year storage, and your runners’ll stay springy, ready to crush dirt like new.
Can I Use Trail Runners for Hiking?
You can totally use trail runners for hiking—just pick the right trail.
Stick to well-maintained paths and light terrain where their grippy treads shine.
You’ll love how light and comfy they feel, especially when your feet swell mid-hike.
Just don’t push them on super rocky or muddy slopes—they’ll slip faster than socks on a dance floor.
Save the heavy loads and wild terrain for boots, and you’ll be golden.
Conclusion
You’ll fly faster than a squirrel on rollerblades when you nail the trail runner game! Pick your perfect fit, crush rugged paths with confidence, and dodge muddy wipeouts like a pro. Lace up tight, clean ’em like a proud parent, and rotate pairs so your soles never beg for mercy. Replace them before they turn into slippers—trust me, your ankles will thank you!
References
- https://iancorless.org/2020/10/07/how-to-find-your-running-shoe-size-and-fit/
- https://www.rei.com/learn/expert-advice/trail-running-shoes.html
- https://www.treelinereview.com/howtochoose/trail-running-shoes
- https://backpackinglight.com/forums/topic/104057/
- https://www.rei.com/learn/expert-advice/how-should-running-shoes-fit.html
- https://runrepeat.com/guides/runners-guide-choosing-toebox
- https://www.runnersneed.com/expert-advice/gear-guides/gait-analysis.html
- https://www.rundna.com.au/blog/trail-running-finding-your-grip
- https://runtothefinish.com/trail-shoe-lugs/
- https://www.intothehills.co.uk/post/trail-running-shoes-for-beginners