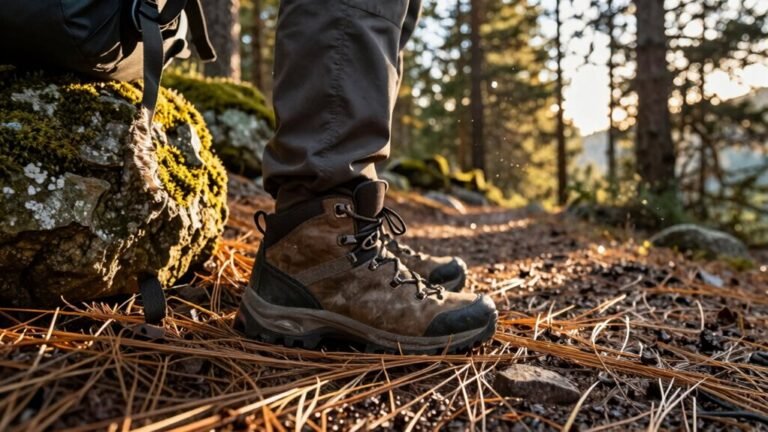
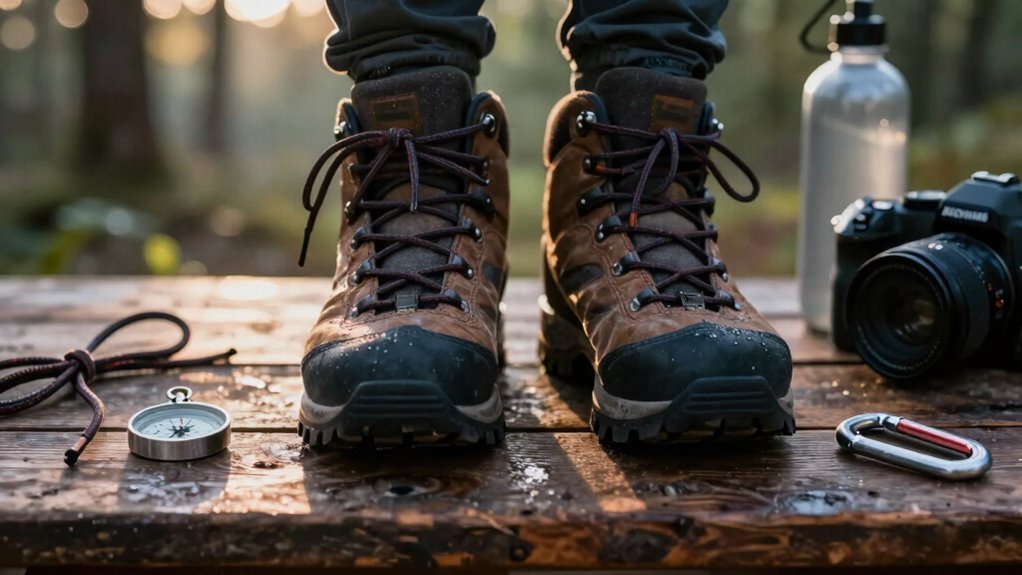
Hiking Boots Checklist for Your Next Hike
Make sure your hiking boots fit just right—snug at the ball, room for toes, and a thumb’s width of space for swelling. A proper fit ensures comfort and prevents blisters on long trails.
Hug your ankles with mid-cut support and lock them down with tight laces. This stability is essential when navigating uneven terrain.
Test for leaks by splashing through puddles, and check for deep lugs that grip muddy trails like a boss. These features keep you steady and dry during tough hikes.
Go mesh for breathability, but pack GORE-TEX if rain’s in the forecast. The right materials make all the difference in changing weather.
If your hiking boots feel like bricks, you’re in for a long day—trust me. Lightweight, supportive boots enhance endurance and overall performance on the trail.
Check the Fit and Sizing
Ever wonder why your feet ache halfway through a hike? It’s probably your boot fit.
When trying on hiking boots, slide your foot forward until your toes just touch the front—there should be a full thumb’s width of space for swelling.
Now, have a buddy check the heel: about two fingers should fit snugly between your heel and the back.
You can’t do it alone—your heel lifts when you bend, so don’t guess!
Width matters too—your foot shouldn’t slide side to side, and the ball of your foot should feel snug, not squeezed.
Most boots stretch about 5%, especially leather ones.
And hey, don’t size down—go a half or full size up from your street shoes.
Trust us, your toes will thank you when you’re barreling down a trail with a loaded pack.
Proper fit? That’s trail bliss.
ideal heel lift should be minimal to none during walking and when standing on your toes.
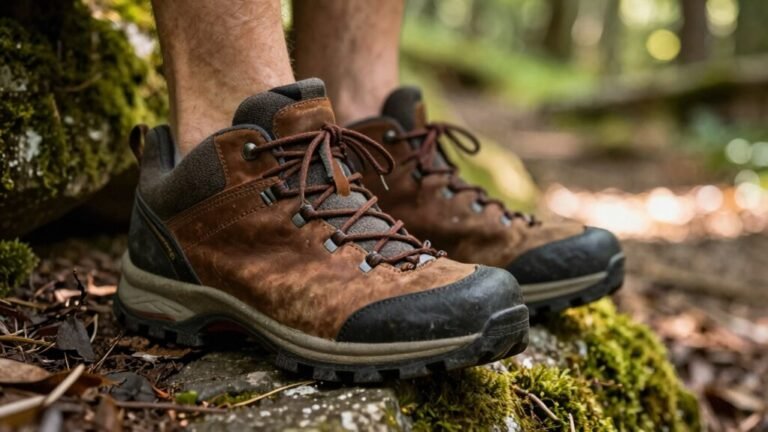
Ensure Proper Ankle Support
You’ve nailed the fit, so now let’s talk about keeping your ankles happy when the trail gets rowdy.
Nobody wants a surprise twist just because your boots slacked off.
Go for mid- or high-cut styles—they rise above your ankle to block wobbles on rocky scrambles.
Stiff, high collars team up with full-grain leather, nubuck, or suede to lock things down, while reinforced collars add extra backup.
Lace up tight—adjustable lacing stops slippage and lets you dial in support, especially if your ankles feel wobbly.
Some boots even have wire yokes for serious sidehilling grip.
Inside, a 3–5 mm shank and semiflexible rock plate fight foot twist, and memory foam collars cushion swelling like a hug.
Pair those Vibram or TPU outsoles with trekking poles, and boom—you’re basically an ankle fortress.
Trail got drama? You’re ready.
Models like the Oboz Bridger Mid B-Dry deliver superb ankle support on varied terrains.
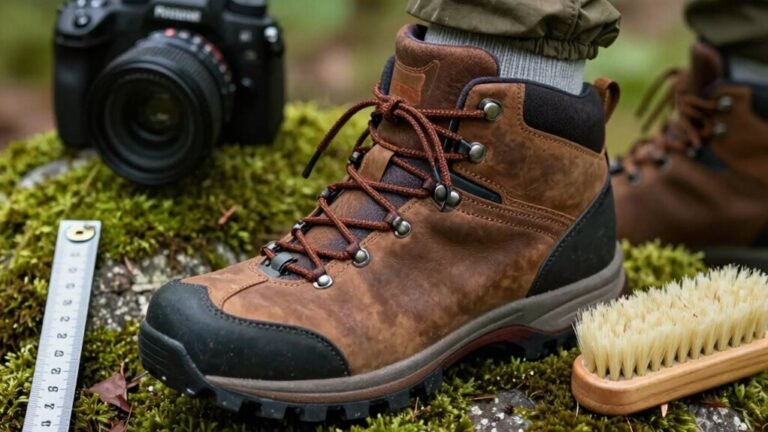
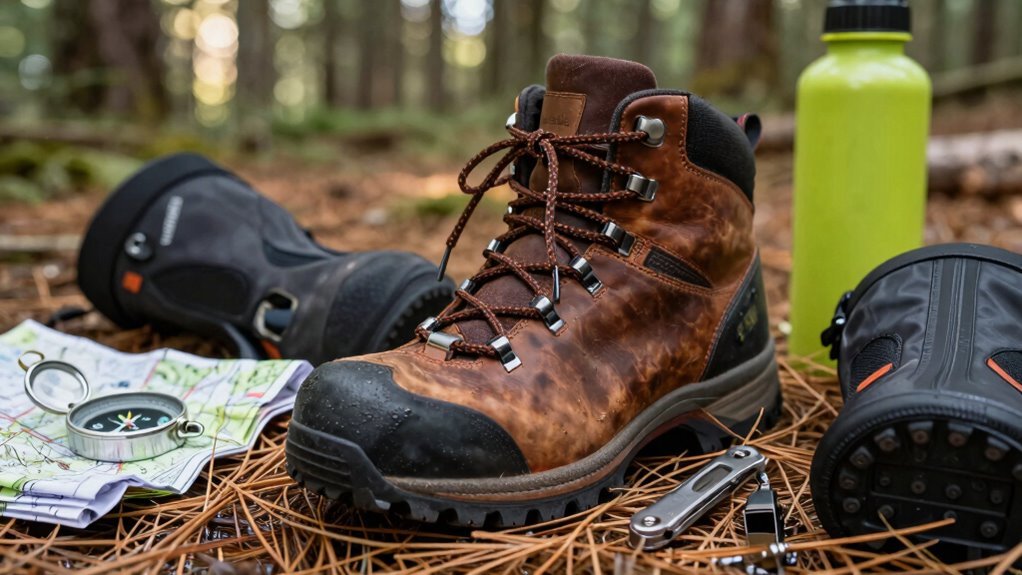
Test the Waterproofing Features
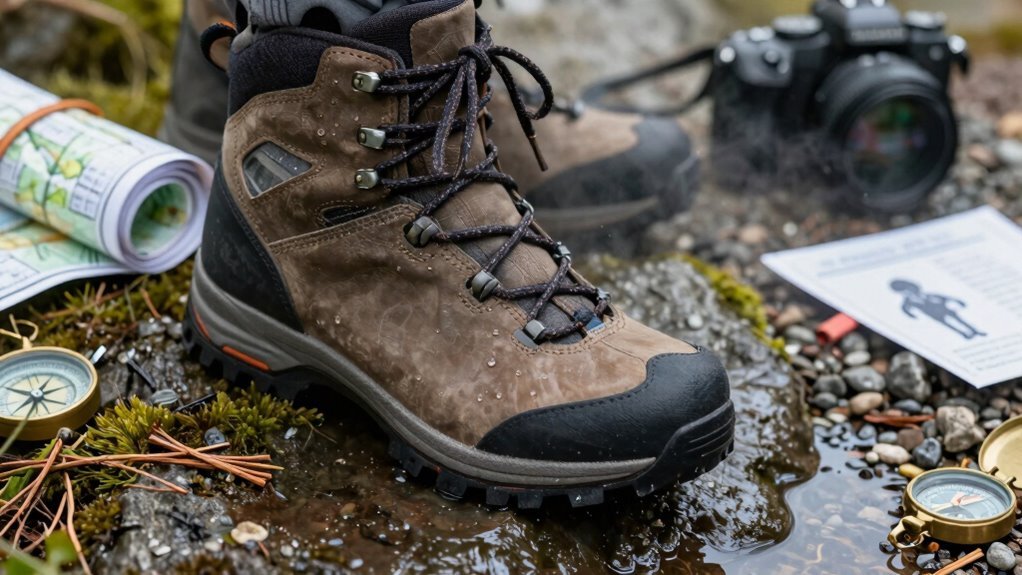
Grab your boots and give them a once-over—like a detective on the hunt for clues, you’re looking for anything that might let water sneak in where it shouldn’t.
Check seams, zippers, and stitching—no cracks or wear that could invite a surprise foot bath.
See how water beads up on the surface? If it soaks in, your DWR coating’s had it.
Dunk the lower part in water, flex it like you’re stomping through mud, and watch for bubbles—those mean leaks.
No lab gear? No problem! Walk through puddles or wet grass and see if your socks stay dry.
If water’s seeping in, the waterproof membrane might be compromised.
Reapply wax to leather or spray on fresh DWR—it’s like a raincoat for your boots.
And hey, nobody likes soggy socks, so treat your boots right and they’ll keep your feet high and dry! This is especially important because a reliable waterproof membrane ensures lasting protection in wet conditions.
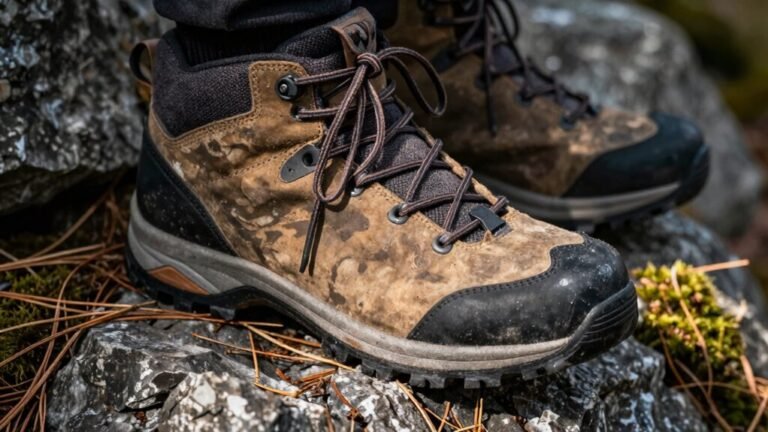
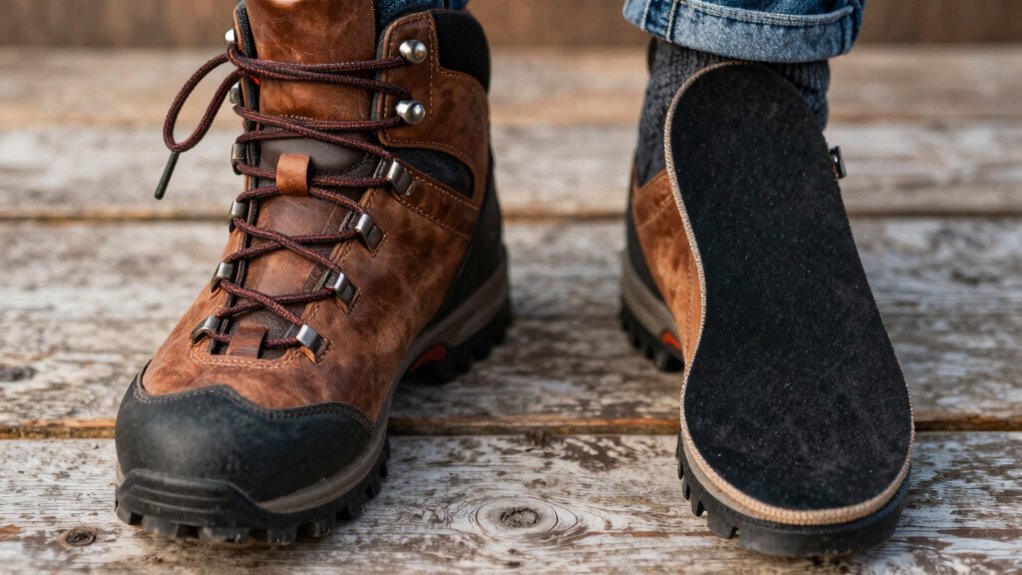
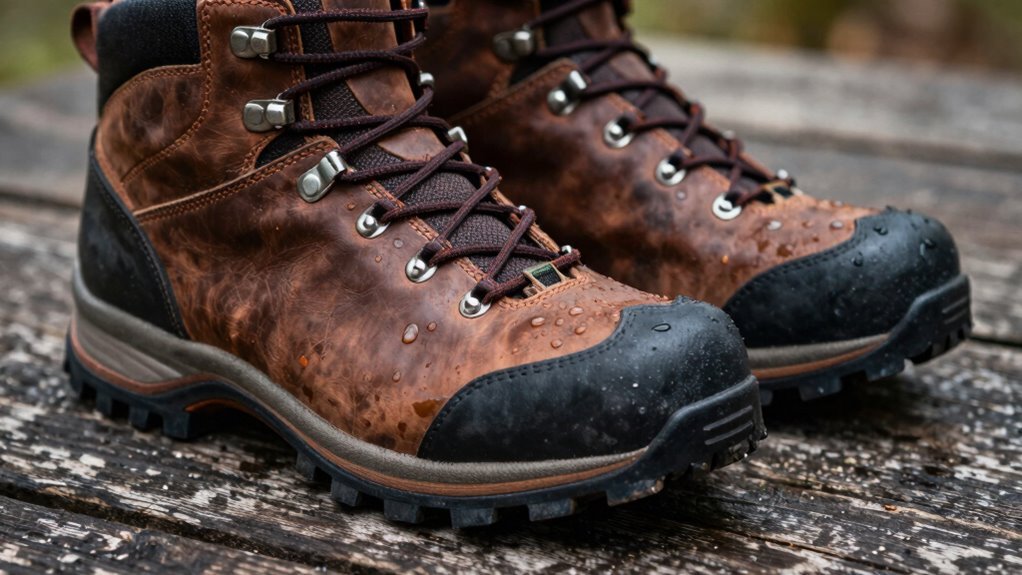
Inspect the Outsole Tread Pattern
While your boots may look like they’re ready for adventure, a worn-down tread can turn a trail into a slip ‘n slide.
Flip them over and check the outsole—you’re looking for deep, defined lugs that still bite into mud and rock.
If the knobs are flattened or uneven, your grip’s probably slipping too.
Press your nail into the rubber; it should give a little, showing the compound’s still flexible.
Peek at the pattern: Vibram Fuora soles, for example, pack 6mm treads perfect for muck.
Look for cracks, cuts, or smooth patches—those are red flags.
See how the heel brake and center braking blocks wear? They keep you steady going downhill.
And if the grid pattern’s worn thin, especially underfoot, it’s time for an upgrade.
Fresh tread means confidence on slick roots, wet rocks, or surprise mud pits.
Don’t let bald lugs ruin your rhythm—happy trails start from the ground up!
Evaluate the Boot’s Weight
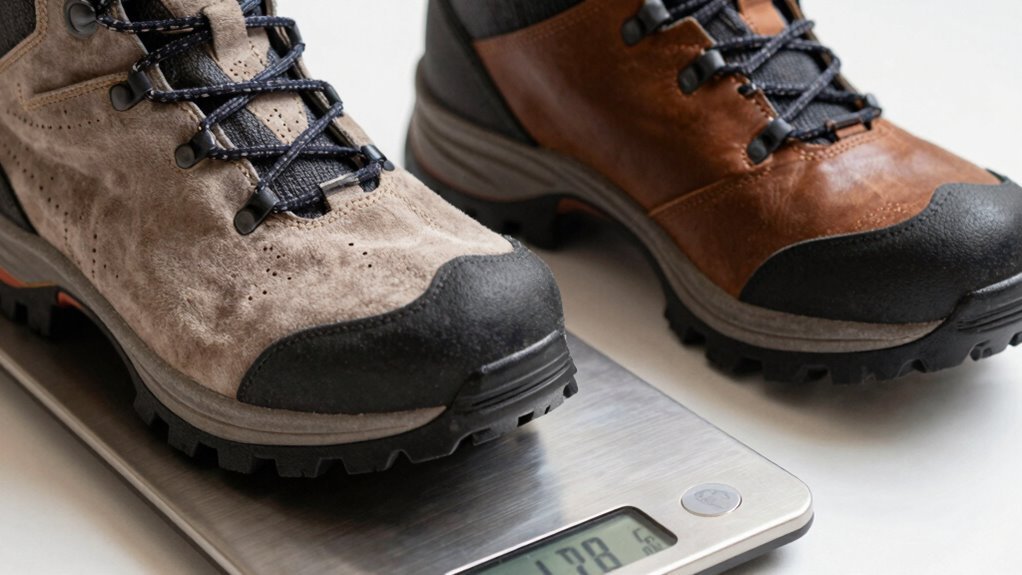
Why do some boots feel like they’re laced to cinder blocks while others practically float up the trail?
It’s all about weight.
Most hiking boots average around 18.4 oz each, but that can vary a lot.
If a boot’s over 17.6 oz, it’s not considered lightweight—anything under 16 oz is where the real ease begins.
Want light? Look for under 1 lb per boot.
Models like the Salomon X Ultra clock in at just 360g for men’s, 315g for women’s—super light and snappy.
Heavy boots, especially full-grain leather ones, can top 3.3 lbs per pair!
That extra weight wears you out fast—literally sucking energy and slowing you down.
Newer boots are shedding pounds thanks to smarter materials.
Skip the bricks—go light, stay fast, and let your legs thank you mile after mile.
Every ounce counts!
Confirm Breathability and Ventilation
Ever wonder why your feet sometimes feel like they’re hosting a sauna party halfway through a hike?
That’s your boots begging for better breathability.
If you’re trudging in hot, dry weather, skip the waterproof membranes—they trap heat and make your feet sweat buckets.
Instead, grab a pair with mesh uppers, like Merrell Moab Ventilators or Teva Grandview Max Vents.
They let air flow freely, keeping your feet cool and dry.
Materials like mono mesh and quick-drying polyester lining are total game-changers, especially in summer or desert trails.
Nubuck paired with nylon mesh? Also smart—tough enough for rugged paths but still airy.
Non-waterproof models shine when you want speed, comfort, and less sogginess.
Just avoid GORE-TEX or eVent unless it’s raining—you won’t miss the swampy toes.
Pick breathable, stay comfy, and let your feet thank you.
Assess the Break-In Period
How’s your boot game looking—ready to roll or still breaking the ice? Don’t rush—most boots need 1–4 weeks to mold to your feet, and leather ones? They’re marathoners, not sprinters.
Start easy: wear them around the house with trail socks, then stroll the block.
Gradually bump sessions from 30 minutes to an hour, listening to your feet every step.
When sidewalks feel fine, hit dirt trails and add a little pack weight.
Aim for 10–12 miles total before going wild.
Spot a hot spot? Tackle it fast with tape or moleskin—don’t tough it out.
Skipping breaks or soaking boots won’t speed things up; it just risks blisters or bad fits.
Remember, no magic formula fits all—your feet, your timeline.
And if they pinch now, they won’t magically improve.
Test drive on short hikes first—your big adventure will thank you.
Verify Compatibility With Socks and Insoles
Where’s your foot comfort headed on the trail—sky-high or stuck in the mud?
Make sure your socks and insoles play nice with your boots.
Skip no-shows with high-cuts—they’ll rub you the wrong way.
Go for crew socks with mid- or high-top boots to avoid blisters and keep your ankles cozy.
Merino wool’s your best buddy: it fights stink, handles sweat, and blends well with synthetics for extra toughness.
Ankle or synthetic socks? Fine for light hikes, but not for rugged terrain.
Test your boot with the exact sock and insole combo you’ll wear—thick memory foam or gel inserts need room, so your toes aren’t screaming.
Too much bulk means friction, and friction means trouble.
And hey, if your boots feel off on pavement, they’ll hate the trail.
Match insole type to boot design—arch support, heel cushion, the works—so your feet stay happy, not grumpy.
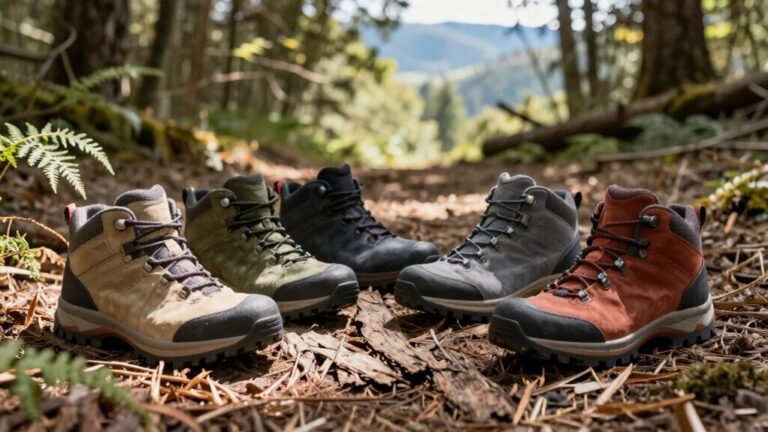
Examine Durability and Material Quality
What’s standing between you and a trail that throws rocks, roots, and sideways rain your way?
Your boots’ durability and material quality.
Pick right, and you’ll stomp through muck, scramble over sharp stone, and stay high and dry—no drama, just adventure.
- Choose full-grain leather for toughness and water resistance, even if it takes a few wears to loosen up.
- Try nubuck or split-grain if you want lighter weight and breathability, especially when paired with nylon uppers.
- Look for TPU midsoles or supercritical foam—they’re bouncy, supportive, and won’t quit on long hauls.
- Demand Vibram outsoles and rock plates; they grip slick rock and save your soles from bruising agony.
Your boots aren’t just footwear. They’re your trail partners. Make sure they’ve got your back—every muddy, glorious step of the way.
Frequently Asked Questions
How Long Do Hiking Boots Typically Last?
Your hiking boots usually last 500 to 1,000 miles, depending on how tough you’re on them.
If you’re tromping through rocks and mud like a mountain goat on espresso, they won’t last as long.
But treat ’em right—clean ’em, dry ’em, and give ’em some love—and you could squeeze out even more miles.
Think of them like trusty sidekicks: kind to them, and they’ll stick with you for years!
Can I Use Hiking Boots for Backpacking?
You *can* wear hiking boots for backpacking, but here’s the twist: they’ll work only if your pack’s light and the trail’s tame.
Think of them like sneakers at a dance-off—they’re fun for short rounds, but quit early when the beat gets heavy.
For big loads, rough slopes, or long hauls, they’ll sag and slip.
Upgrade to backpacking boots when the adventure amps up—you’ll stomp, not slump, through the wild stuff!
Are Expensive Hiking Boots Worth the Cost?
Yeah, expensive hiking boots are worth it if you’re tackling tough trails or hiking often—they last years and save cash long-term.
But for casual walks or gentle paths, a solid mid-range pair works just as well.
You don’t need a Ferrari to run errands, right?
Just match the boot to your adventure, try them on, and let your feet decide.
Comfort wins every time!
Do Hiking Boots Need Regular Re-Waterproofing?
Yeah, your hiking boots do need regular re-waterproofing—you’re not stuck doing it monthly, but it’s way easier than soggy socks!
When water stops beading on the surface, it’s time.
Clean ’em first, then spray or condition depending on the material.
Think of it like sunscreen for your boots—skip it, and you’ll pay the price.
A quick treat keeps them happy, dry, and trail-ready, so you stay comfy and stomp through puddles like a boss.
Can I Wear Hiking Boots in Winter Conditions?
You can absolutely wear hiking boots in winter—just make sure they’re built for it.
Look for features like 200g Primaloft insulation and waterproof membranes like Gore-Tex, so your toes stay toasty and dry.
Vibram Arctic Grip soles keep you steady on ice, while roomy fits handle thick socks.
With the right pair, you’ll stomp through snow, splash across slush, and laugh at frosty trails like a winter ninja—cold feet?
Not on your watch!
Conclusion
You’ve checked the fit, tested the tread, felt the support—now, laces tied tight, you’re ready. But wait, did you remember the secret weapon? That trusty pair of socks hiding in your pack—they might just save your hike. One wrong step, one loose buckle, and adventure turns ugly. Or does it? With the right boots, every trail bends to your stride. So, boots on, wanderer, the wild’s waiting… and it’s whispering your name.
References
- https://www.outdoors.org/resources/amc-outdoors/outdoor-resources/new-hiking-boots-how-to-check-and-adjust-the-fit/
- https://masterfitinc.com/how-to-get-a-good-fit-for-hiking-boots/
- https://www.rei.com/learn/expert-advice/hiking-boots.html
- https://kenetrek.com/pages/boot-fitting-charts
- https://www.akasotech.com/blogs/how-to-check-if-hiking-boots-fit
- https://www.youtube.com/watch?v=Ll3imgiSZik
- https://keenfootwear.com.au/pages/size-chart
- https://outdooradept.com/best-hiking-boots-with-ankle-support/
- https://www.footlocker.com/buy/hiking-boots-with-ankle-support-0bcz01b
- https://backpackinglight.com/forums/topic/76564/