Common Hiking Boots Mistakes and Easy Fixes
Most hiking boots don’t fit perfectly right out of the box—you might be squishing your toes or dealing with heel slippage without even realizing it. These common hiking boots mistakes can turn a great adventure into a painful trek.
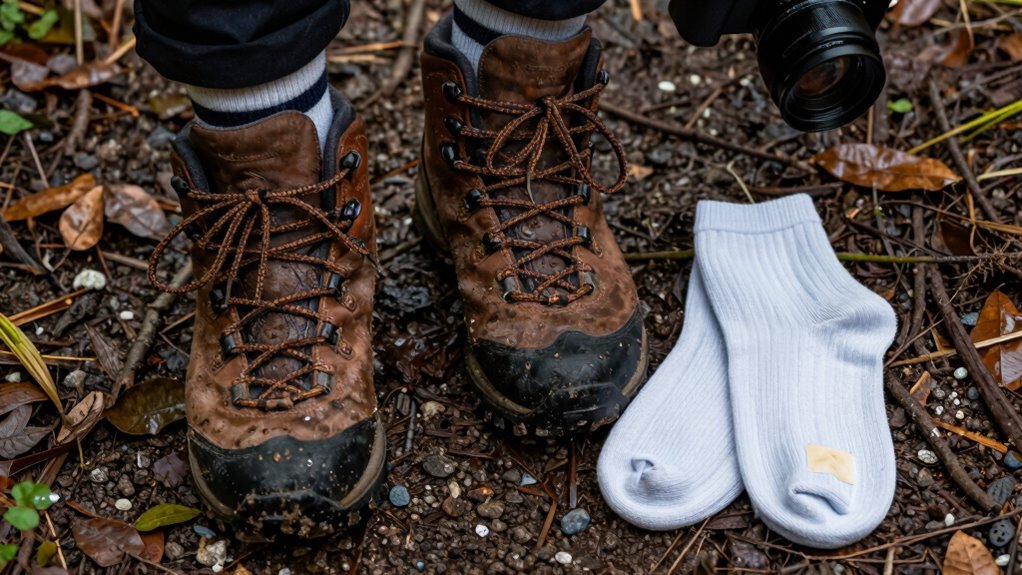
Skip cotton socks; they trap moisture and set you up for blisters. Instead, opt for moisture-wicking materials that keep your feet dry and comfortable on the trail.
Break in your boots gradually before hitting long hikes to prevent discomfort and avoid injury. Don’t lace them too tightly—over-lacing restricts circulation and can cause foot problems.
Always clean your hiking boots after muddy adventures to extend their life and maintain performance. A quick sock switch, smart lacing technique, or timely tap on the heel can make all the difference.
Tiny fixes like these deliver a huge payoff in comfort and durability. Stick around to uncover more trail-smart tricks that keep every step blissful.
Wearing the Wrong Boot Size
Even if you think you know your boot size, chances are you’ve been wearing the wrong one—turns out, most people do.
Yep, 63–72% of us are squishing or sloshing around in ill-fitting footwear, whether too narrow, too long, or just plain awkward.
Think your bruised toenails are normal?
Nope—that’s your boot yelling, “I’m too small!”
Slide forward with every step?
Hello, blisters and blackened nails—your boots are too big.
And if your heel’s playing peekaboo or your toes are hammertoe-ing it, that’s a cry for better width or length.
A good fit means a thumb’s space at the toe, snug width, and only one finger at the heel.
Trust us, your feet swell by evening, so check then!
Get it right, and say goodbye to pain, bunions, and sad little toenails.
Your trail adventures just got comfier—no magic, just smart sizing!
Banging nails against the shoe can lead to badly bruised toenails.
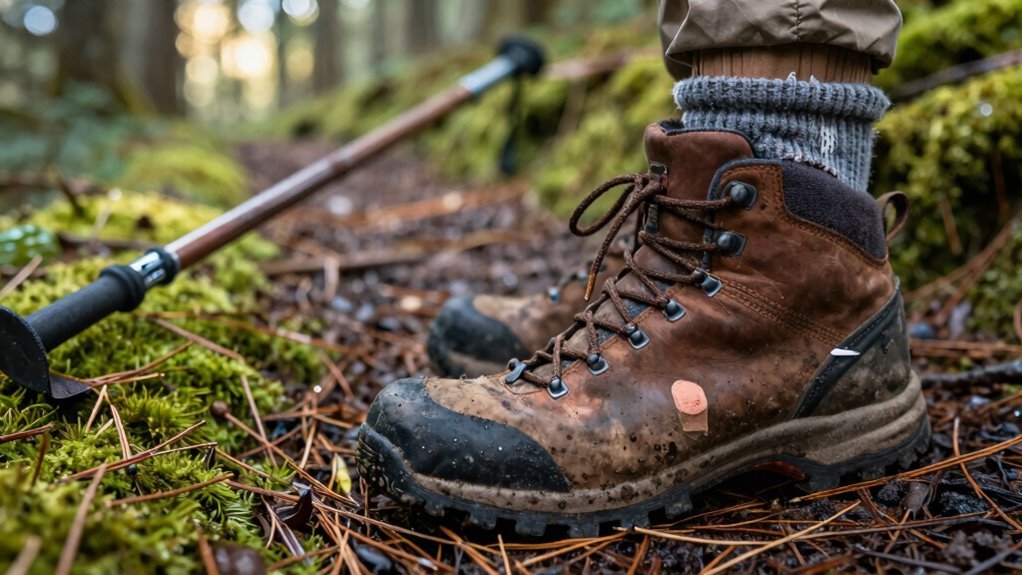
Skipping the Break-In Period
Ever wonder why your new boots feel like medieval torture devices on your first hike?
You skipped the break-in period, and now your feet are paying the price.
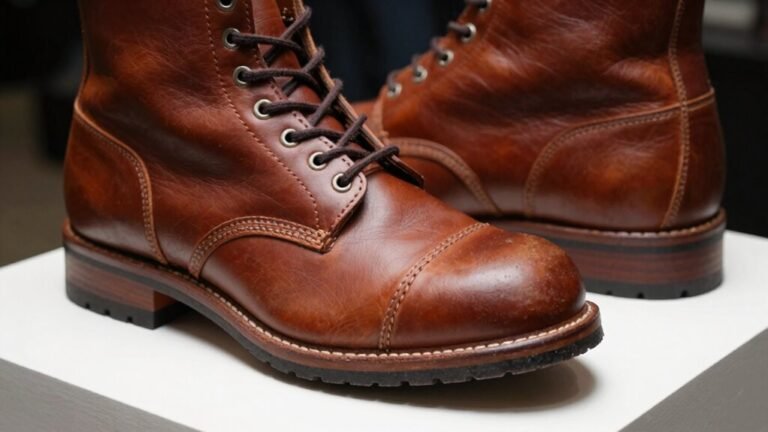
Those stiff leather boots need time to soften and mold to your feet—think days, not minutes.
Wearing them straight out the box means blisters, hot spots, and a miserable trail experience.
Start two to three weeks before a big hike, walking around the house, then the block, then the trail.
Let the material adapt, and your feet toughen up together.
Stiffer boots take longer, no way around it.
Dampen them slightly for faster molding, and always monitor for rubbing or pressure.
Catch issues early with tape or moleskin.
Break them in right, and your boots become trusty trail allies—not foot prisons.
Your future self will thank you when you’re striding comfortably through the wilderness, blister-free and grinning.
Synthetic boots may feel easier at first, but they still need gradual use to reach optimal comfort, especially if they have more rigid constructions.
Using Cotton Socks Instead of Moisture-Wicking Ones
Why do your feet feel like they’re swimming halfway through the hike?
Because cotton socks soak up sweat like little sponges and hold onto it, leaving your feet soggy, chilly, and ripe for blisters.
That damp mess increases friction, and boom—hot spots turn into painful blisters fast.
Cotton’s insulation tanks when wet, so your toes feel cold even on mild trails.
Unlike moisture-wicking socks, it doesn’t dry quickly, so discomfort lingers mile after mile.
Merino wool or synthetics?
They pull sweat away, stay dry, and slash blister risk by up to 90%.
Plus, they fight stink—because let’s be real, nobody wants smelly socks.
Switching feels amazing: drier feet, fewer blisters, and way more comfort.
It’s a tiny change with huge payoff.
Your feet will thank you, and honestly, it might just make your hike a heck of a lot more fun.
Wet cotton also adds noticeable weight with every step, increased weight when wet.
Lacing Boots Incorrectly
How’s it feel when your boots just won’t stay put—like your feet are playing pinball every time you step downhill?
Yeah, improper lacing is probably to blame.
You’re not just hiking—you’re wrestling your boots with every stride.
The fix? Ditch the basic crisscross and get smart with your laces.
Tighten the right zones, skip the pressure points, and lock things down where it counts.
A few tweaks can turn a miserable trek into a joy.
- Try a heel lock to stop slippage and keep your heel snug
- Use window lacing to bypass sore spots without losing support
- Tie a surgeon’s knot for extra grip over the instep
- Secure the ankle cuff with vertical lacing through D-rings
No more foot fatigue or wobbles—just happy feet all trail long.
Ignoring Blisters Until It’s Too Late
You’ve nailed the lacing, your heel’s locked in tight, and your feet are feeling solid—until that first hot spot flares up like a tiny rebellion under your sock.
Don’t ignore it—83% of hikers develop blisters, and that little burn could blow up fast.
Moist, soft skin from sweat or wet socks lets friction wreak havoc, especially in cotton.
Women and younger hikers are especially prone, thanks to higher foot moisture.
But here’s the good news: act fast and you can stop it cold.
Spot a hot spot? Stop, change into dry socks—merino wool works great—and slap on a padded bandage or paper tape.
Pre-taping heels cuts blister risk by 40%, and taped areas stay blister-free 92% of the time.
Think of it as armor for your feet.
Skip the drama of popped blisters—protect early, hike happy.
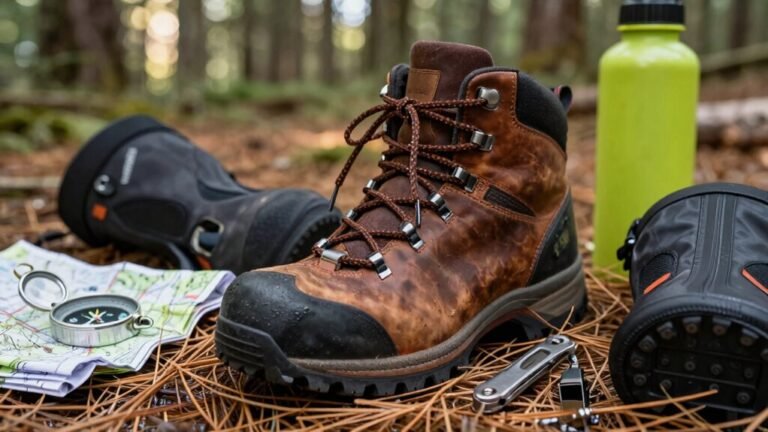
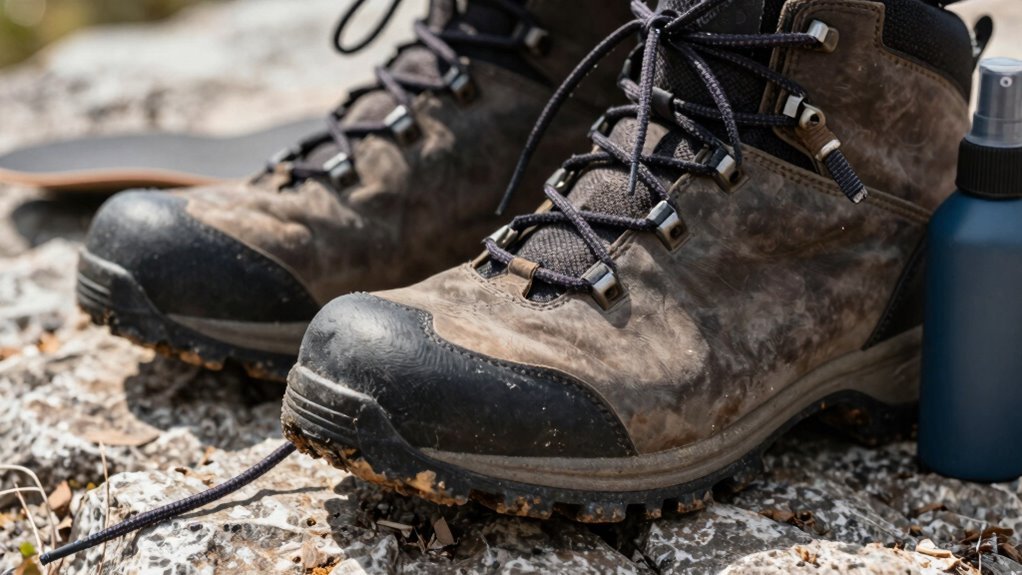
Not Waterproofing Leather Boots
Ever splashed through a stream only to feel your boots soak up water like a sponge?
That’s a clear sign you’ve skipped waterproofing your leather boots. Over time, the factory DWR coating wears off, leaving your boots defenseless against rain, puddles, and dew. But don’t worry—reviving their water resistance is quick and easy.
- Check for water beading – if it soaks in, it’s time to treat
- Clean first – use a scrub brush and Nikwax Gel to remove grime
- Pick the right product – try Nikwax Wax or Sno-Seal for full-grain leather
- Apply evenly and let dry – rub it in, wait 24 hours, then test the results
A little upkeep keeps your feet dry, warm, and ready for any trail—even if you *do* treat creeks like puddle-jump challenges.
Overlooking Insole Support
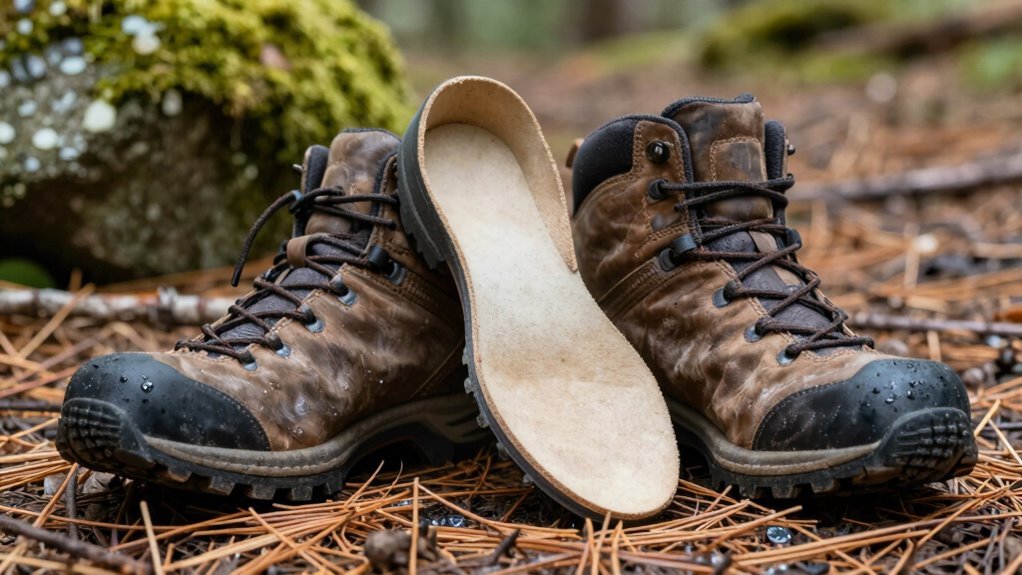
Most of the time, your hiking boots’ stock insoles are about as helpful as a screen door on a submarine—well-intentioned but basically useless when it counts.
They’re flat, flimsy, and offer almost zero arch support, leaving your feet tired, sore, or worse—prone to plantar fasciitis or overpronation.
Without proper support, strain creeps up from your arches into your knees, hips, even your back.
Ouch.
But here’s the fix: swap them out.
Toss in aftermarket insoles like Superfeet or Tread Labs Pace—they hug your arches, cradle your heels, and banish pressure imbalances.
Whether you’ve got flat feet or high arches, there’s a firm, comfy option that fits just right.
They boost balance on rocky trails, cut fatigue on long hikes, and make every step feel spring-loaded.
You’ll stand taller, walk smoother, and laugh at hotspots.
Your boots already work hard—don’t make them do it all solo.
Upgrade your insoles, and feel the difference from trailhead to summit.
Tightening Boots Too Much on Ascents
Lacing your boots until they feel like medieval torture devices might seem like a smart move when scrambling up a steep trail, but that extra squeeze comes at a price. You’re not gaining grip—you’re inviting pain, numbness, and swollen toes.
Tight boots on ascents cut circulation, crank up heat, and turn your foot into a sweaty, aching mess.
Over time, this crush can lead to bruised nails, hammertoes, or even long-term foot trouble.
The good news? A few smart tweaks make all the difference.
- Use a heel-lock lacing technique to secure your heel withoutcrushing your foot
- Loosen laces slightly on steep climbs to keep blood flowing and feet happy
- Pick boots with roomy toe boxes so toes can wiggle, not cramp
- Step with your ankle first on uneven ground to protect your toes from jamming
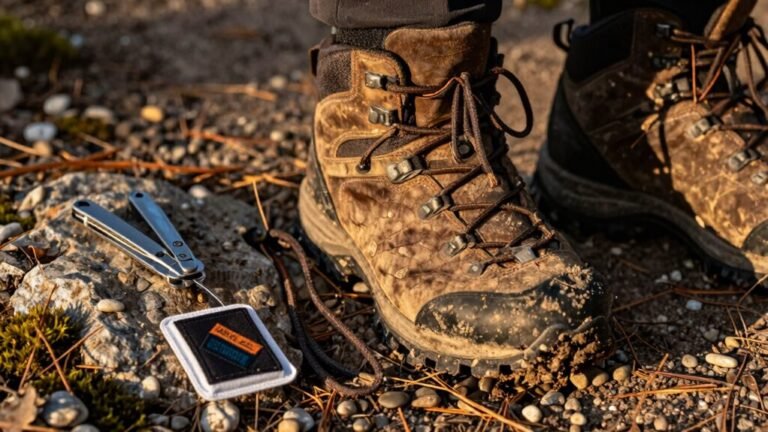
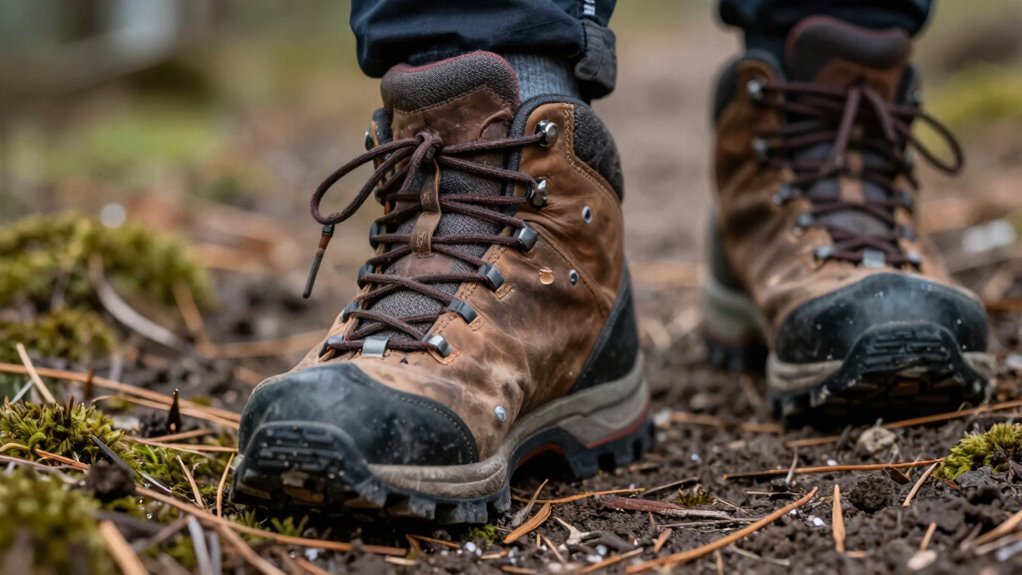
Failing to Clean Boots After Hikes

While you might be tempted to kick off your boots and call it a day after a long hike, skipping the cleanup is like inviting a tiny army of dirt gremlins to throw a rave inside your gear.
Those muddy clumps? They dry out leather and fabric, making them crack and wear down fast.
Grit acts like sandpaper every time you flex your foot, weakening stitches and soles.
Plus, packed mud hides tiny tears or worn spots you should be checking for.
And let’s be real—your boots might be smuggling invasive seeds to your next trail.
Gross, right?
Cleaning’s easy: just knock off the dirt, use a soft brush, and wipe with a damp cloth.
Remove laces and insoles, let everything air dry (no hairdryers!).
A quick post-hike tidy-up keeps your boots happy, safe, and ready for adventure—plus, it’s way more fun than rehabbing blistered feet later.
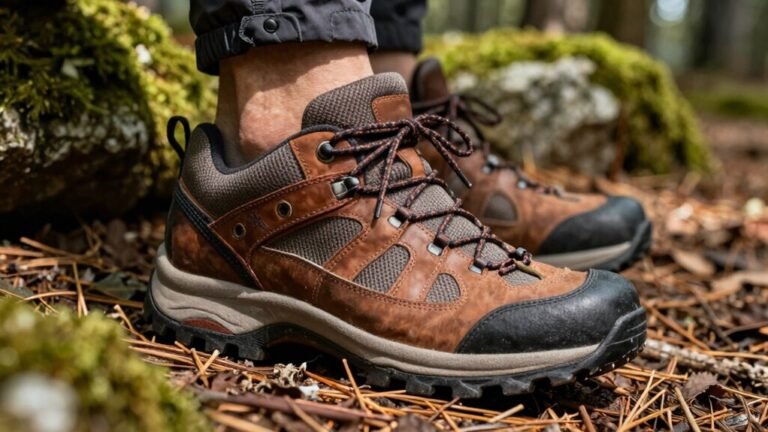
Using Hiking Boots for Non-Hiking Activities
Ever wonder why your feet feel like they’re staging a protest after walking the dog or strolling through town in your hiking boots?
You’re probably overdoing it.
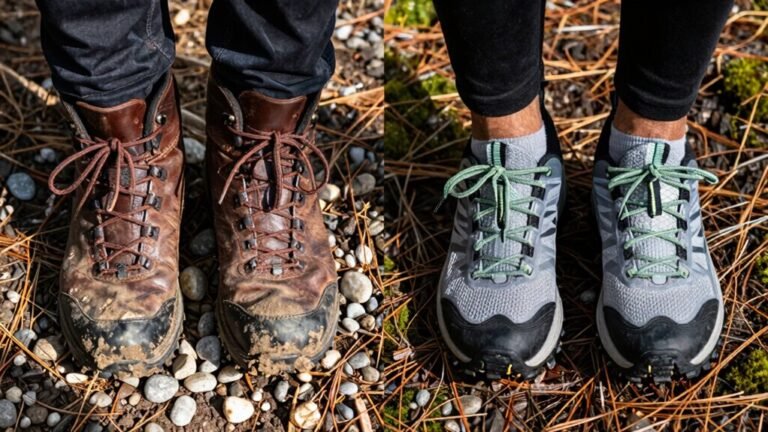
Those sturdy boots are built for rugged trails and heavy loads, not lazy weekends or city walks.
Wearing them for light duties is like bringing a snowshoe to a dance—totally the wrong tool!
Save your energy (and your soles) by switching to something lighter and more flexible.
- Trail runners hug your feet like sneakers but still grip sidewalks and dirt paths
- Low-cut hiking shoes offer freedom of movement, cutting down blisters and boot fatigue
- breathable mesh uppers keep your toes cool when you’re not hauling gear
- Aggressive treads without the bulk? Yes, please—perfect for errands or park hangs
Frequently Asked Questions
How Often Should I Replace My Hiking Boots?
You should replace your hiking boots every 500 to 1,000 miles, or sooner if your feet start complaining—nobody likes a grumpy heel!
If the soles look like they’ve seen better days, or the support’s gone flat, it’s time.
Rough terrain? You might swap them out earlier.
Treat ‘em right, and they’ll last longer than your favorite playlist.
Listen to your boots—they’ll tell you when they’re done!
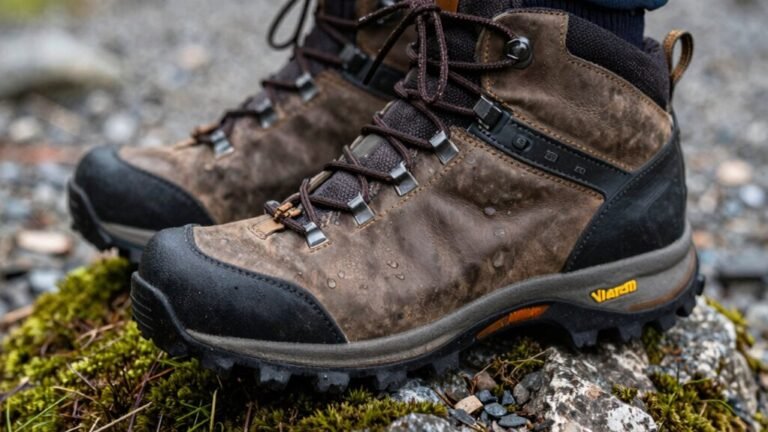
Can I Use Hiking Boots in Snowy Conditions?
Yes, you can use hiking boots in snowy conditions—just make sure they’re built for winter’s icy dance.
Look for deep lugs and soft Vibram soles that grip like a penguin on ice.
Insulation around 200–400g keeps toes toasty without turning boots into bricks.
Waterproof membranes like Gore-Tex? Non-negotiable.
And pick mid-to-high shafts to keep snow out—you’ll stay dry and happy, not crunchy with frost!
Are Expensive Hiking Boots Worth the Cost?
Yeah, expensive hiking boots can be worth it—if you hike a lot.
They last longer, support your feet better, and handle tough trails like champs.
But if you’re just hitting easy paths, you’re not missing much with cheaper picks.
Fancy boots won’t make you a mountain goat, but they do help when the terrain gets real.
Match your boots to your adventures, and your wallet—and feet—will thank you.
Do Hiking Boots Need Arch Support?
Yeah, hiking boots definitely need arch support—you’re walking on uneven trails, not a sidewalk!
Without it, your feet flatten out, and boom: aches creep up your legs like uninvited hiking buddies.
Good arch support cushions each step, keeps your feet aligned, and saves your energy.
Think of it as a trampoline for your soles—your body will thank you when you’re still grinning at mile ten instead of whimpering by mile two.
Can I Wash Hiking Boots in a Machine?
No, you can’t wash hiking boots in a machine—don’t even think about it!
Washers beat up glue, wreck waterproof layers, and can literally tear your boots apart.
But hey, your laces?
Toss ’em in—lucky little stinkers get a free spin.
For the boots, grab a brush, some soapy water, and give ’em a good scrub by hand.
It’s easy, safe, and keeps your boots loyal trail partners for miles to come.
Love your boots, not the washing machine!
Conclusion
Remember that buddy who wore dress shoes on a mountain trail and wobbled back like a penguin? Yeah, don’t be that guy. Avoiding hiking boot mistakes is like packing snacks—skip it, and things go downhill fast. Fix these small slips now, and your feet will thank you every step of the way. Happy trails, blister-free warrior!
References
- https://lowamilitaryboots.com/6-side-effects-of-wearing-ill-fitting-boots-and-shoes
- https://www.overlookboots.com/blogs/boots/how-should-hiking-boots-fit-breaking-in-hiking-boots
- https://pmc.ncbi.nlm.nih.gov/articles/PMC6064070/
- https://altaigear.com/7-common-foot-issues-from-wearing-the-wrong-boots/
- https://www.caminodesantiago.me/community/threads/do-my-feet-change-size-as-i-age-hiking-boot-sizing-question.72622/
- https://obozfootwear.com/en-us/community/mids-vs-lows
- https://www.mammut.com/us/en/stories-guides/how-to-break-in-hiking-boots-your-ultimate-guide-to-avoiding-blisters
- https://meindlusa.com/blogs/meindl-blog/breaking-in-your-boots
- https://northsideusa.com/blogs/news/how-to-break-in-new-hiking-boots-without-blisters
- https://www.whiteblaze.net/forum/showthread.php/20466-Hiking-Shoes-Break-In-Period