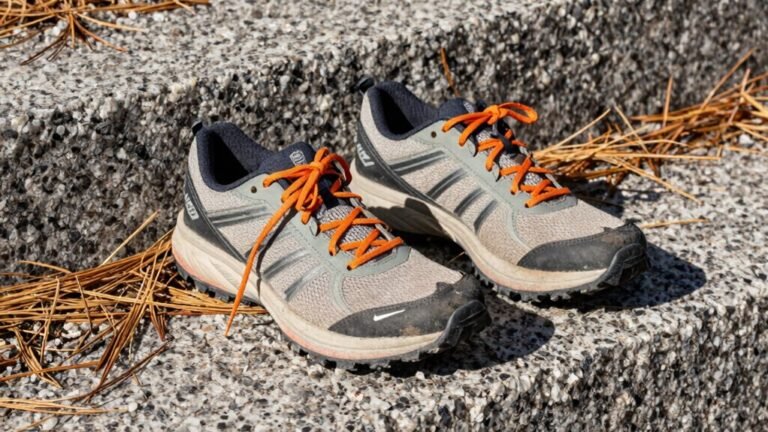
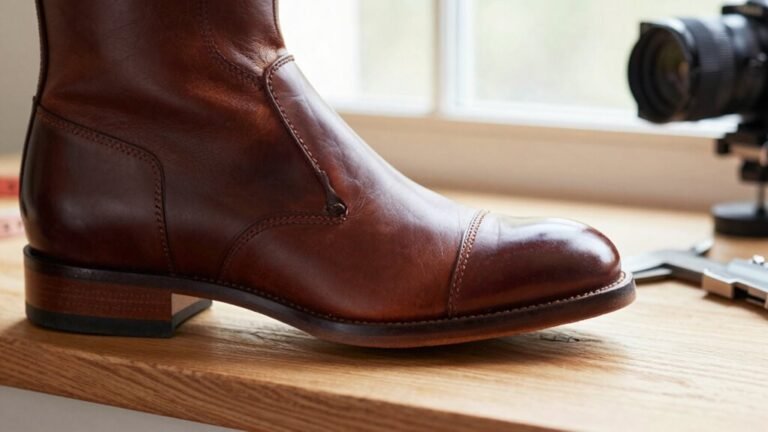
How to Use Hiking Boots the Right Way
To use hiking boots the right way, start by lacing them up snugly and walking around the house to begin the break-in process. Just like a favorite pair of jeans, well-broken-in hiking boots prevent discomfort and trail regrets.
Wear moisture-wicking socks that fit properly to prevent blisters and keep your feet dry. Pairing the right socks with your hiking boots enhances comfort and performance on every hike.
Adjust your laces to suit the terrain—tighten for uphill climbs and loosen slightly for better downhill control. This simple tweak improves stability and reduces foot fatigue.
Keep your hiking boots clean after each use and inspect them regularly for signs of wear. Catching issues early helps avoid boot failures and extends their lifespan.
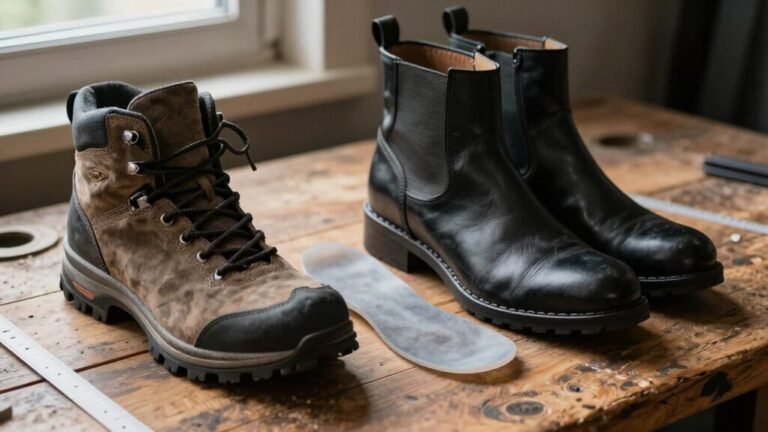
Choose the Right Fit for Your Feet

Ever wonder why some hikers breeze through rocky trails while others are nursing blisters by mile two?
It’s all about fit.
You’ve got to size right—measure both feet in your hiking socks, and go with the longer one.
Slide your foot forward: there should be a thumb’s width between your longest toe and the boot’s end.
Check the width too—snug but not tight, no side-to-side sliding when laced.
Wiggle your toes? Good, they need room!
And press your heel down—two fingers of space at the back means it’ll stay put.
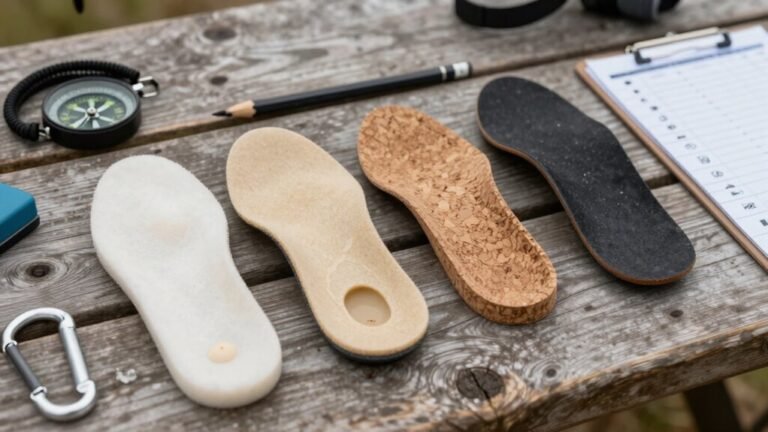
Match your arch to the boot’s flex point so it bends where you do.
Use a Brannock Device if you can—it’s like a foot detective!
Leather stretches a bit, but don’t count on miracles.
Pick the shape that hugs your foot just right, because happy feet mean happy trails—and way fewer “ouch” moments.
Evening fit check ensures your boots stay comfortable after a long day, when feet naturally swell.
Break In Your Boots Before Hitting the Trail
Slipping into your new hiking boots for the first time should feel like the start of an adventure, not a walk of shame with blisters forming by the front door.
Start by wearing them around the house for a couple hours each day—yes, even with the dog giving you side-eye.
Keep your hiking socks on, lace up tight, and make sure everything sits right.
After a week, hit short, flat walks and slowly increase distance.
Test different lacing tricks and watch for hot spots—your feet are talking, so listen!
Leather softens with light dampness, while synthetics break in faster.
Stiff or mountaineering boots? Be patient, they’re worth it.
Skip the hair dryer hacks or wild “urine softening” myths—just say no.
Build calluses, not blisters, and pack moleskin, just in case.
Time and love are your best tools—your boots, and feet, will thank you on day one of the real trail. You’ll also want to buy boots that fit properly to avoid long-term discomfort and performance issues.
Pair Your Boots With Proper Socks
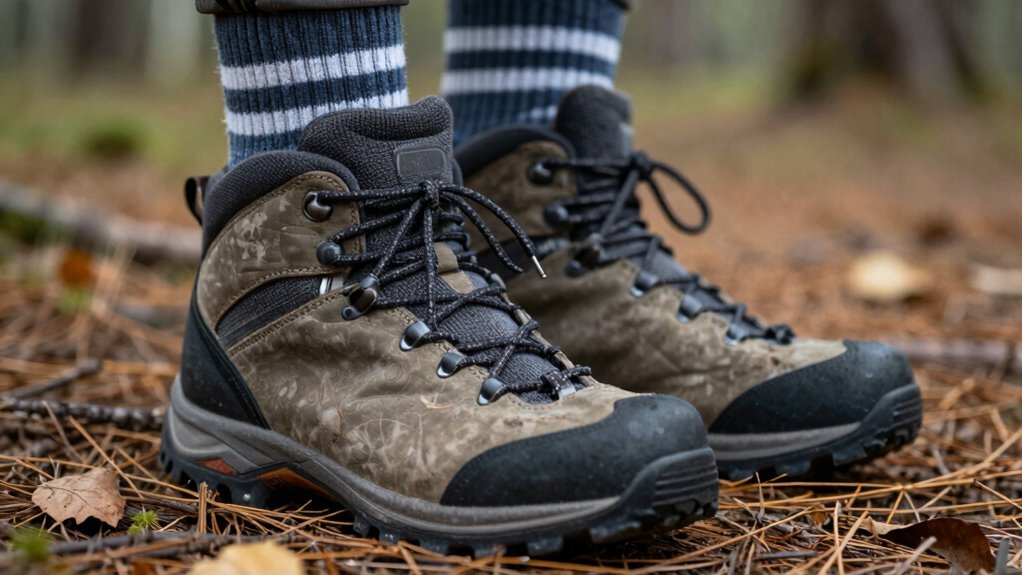
Why do some hikers breeze through rugged trails with happy feet, while others battle blisters by mile two? The secret’s on your feet—proper socks make all the difference.
Match your sock height to your boots: micro crew for mid-calf, over-the-calf for tall boots—no slipping, no raw ankles.
Go for medium to thick cushioning depending on the season; thicker for winter warmth, lighter for summer breathability.
Always pick moisture-wicking materials like Merino wool or synthetics—they keep sweat under control and feet comfy.
Seamless toes and heel grips? Yes, please—fewer hot spots, zero excuses.
Socks too big? They’ll bunch.
Too small? Squeeze city.
Get the right fit, and your feet will thank you mile after mile.
Your boots deserve great partners—don’t hike blind in bad socks! Moisture management is critical in boots because trapped sweat can lead to blisters and discomfort, especially in synthetic & waterproof boots.
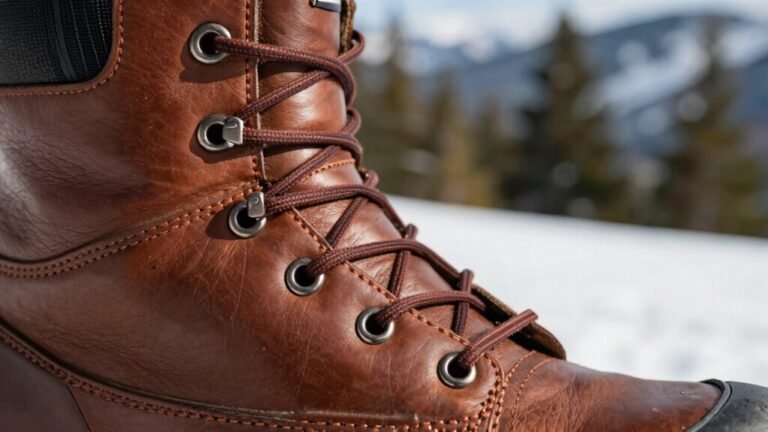
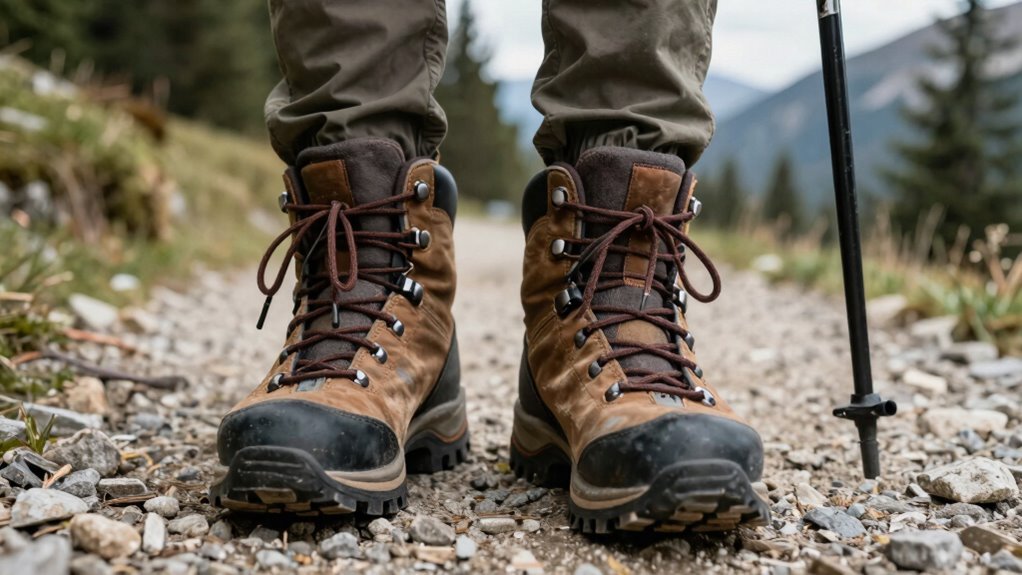
Adjust Laces for Different Terrains
You’ve got your boots on and the perfect socks pulled up nice and snug—now let’s talk about what really brings your hike to life: how you lace up.
Heading uphill? Loosen the ankle laces a bit—your feet will thank you by staying flexible and fatigue-free.
Keep the instep snug, though, so you stay stable on those steep climbs.
Going downhill? Tighten the forefoot and use a heel lock—your toes will stay safe from repeated “meet and greets” with the boot tip.
On rocky trails, try the Surgeon’s Knot or structured lacing for a locked-in feel.
Spot pressure points? Window lacing or vertical threading can save the day.
And don’t be afraid to tweak as you trek—real-time adjustments keep things comfy, safe, and way more fun.
After all, smart lacing turns a bumpy trail into your personal runway!
Maintain Your Boots After Every Hike
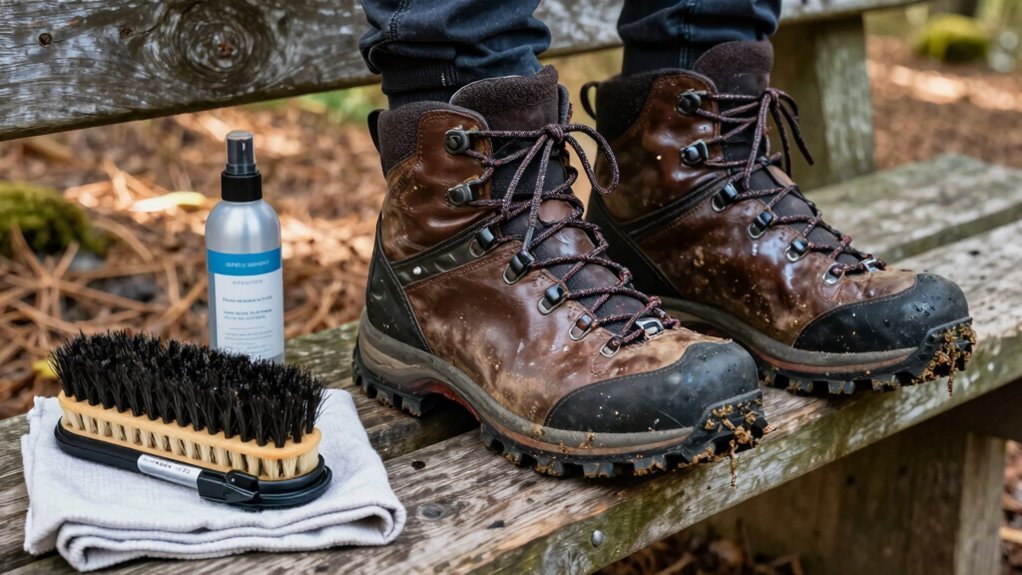
Giving your boots some love after each hike keeps them ready for every adventure—and saves you from nasty surprises like moldy smells or cracked leather.
Start by brushing off dried mud and debris—don’t let trail grime crash your boot’s after-party.
Take out the laces and insoles, then give them a soak while you gently scrub the outsoles to stop invasive hitchhikers from spreading.
Rinse your boots with water (no washing machines—seriously, they’re not tough enough for that spin cycle).
Use a soft brush and mild soap to clean without damaging materials.
Dry them right: stuff with cloths, keep ‘em away from heaters, and never bake them in the sun.
When they’re slightly damp, spritz on waterproofing and wipe off the extra.
Condition the leather, air-dry completely, and store ‘em cool and dry.
Your boots will thank you—and so will your feet.
Know When It’s Time to Replace Them
How’s your grip on that trail these days—still confident, or do your boots feel more like house slippers than trusty hikers?
If your soles are smoother than a dance floor or the rubber’s peeling like sunburnt skin, it’s time.
Check for cracks, frayed stitching, or holes—those aren’t character marks, they’re red flags.
When the midsole’s flatter than yesterday’s soda, thumb-press it: deep creases mean it’s dead inside.
No bounce? No support.
Wiggle those eyelets—loose or broken ones mean weak lacing and wobbly ankles.
And if water sneaks in like an uninvited guest, even after proofing, they’re done.
Sore knees or blisters? Don’t blame your feet—your boots gave up.
Swap them before you slip on a slope or hike in misery.
Your next adventure deserves better—you wouldn’t bring a rusty spoon to dinner, right?
Frequently Asked Questions
Can I Wear Hiking Boots in the Snow?
Yep, you can wear hiking boots in the snow—just make sure they’re the right kind!
Look for waterproof ones with insulation like PrimaLoft or ColdShield to keep your feet warm and dry.
Traction’s key, so go for Vibram or siped rubber soles that bite into snow.
They’ll handle light snow fine, but for icy trails, toss on microspikes—you’ll thank yourself when you’re not doing the penguin shuffle!
Are Hiking Boots Suitable for Daily Walking?
Not really, hiking boots are overkill for daily walking—they’re like bringing a superhero to a coffee run.
You’ll feel the weight with every step, and your feet might tire faster.
They’re stiff, less springy, and built for trails, not sidewalks.
Stick to trail runners or walking shoes—they’ve got your back without the bulk.
Your daily stroll doesn’t need a fortress, just comfy kicks that won’t weigh you down.
Do Hiking Boots Need Waterproofing Treatment?
Yeah, your hiking boots do need waterproofing—but not right out of the box.
They come with a factory treatment that wears off over time.
When water stops beading up and soaks in, it’s re-treatment time!
Clean ‘em first, then apply a spray or wax to the leather and fabric.
Skip the Gore-Tex areas—those stay dry on their own.
Reapply regularly, and your feet stay cozy, not soggy.
Think of it as spa day for your boots—because nobody likes wet socks!
Can I Use Hiking Boots for Backpacking?
You can use hiking boots for backpacking, but you’ll feel the difference fast—especially with a loaded pack.
They’re lighter and more breathable, sure, but they lack the ankle support and sturdiness you need on rough trails.
Think of them like sneakers at a rock concert—okay at first, but your feet’ll beg for more.
For long hauls, backpacking boots are your tried-and-true bodyguards—tough, supportive, and built for the long run.
How Do I Store Hiking Boots Long-Term?
You stash your hiking boots right by giving them a spa day first—clean off the dirt, dry them completely, and condition the leather.
Then, plop in boot trees or rolled-up magazines to keep their shape.
Tuck them in a breathable cloth bag, not plastic, and stash in a cool, dry spot—never the broiling attic or damp garage.
Sunlight? Keep ‘em away, unless you want sad, cracked boots.
Your future hikes will thank you!
Conclusion
You finally bought hiking boots, laced ‘em up once, and expected instant glory on the trail—yeah, right. Turns out, blisters don’t care about your ambitions. But now you know: fit, socks, breaking them in, and love after every hike. Your boots aren’t magic slippers, but with a little care, they’ll happily carry you into every wild, muddy, amazing adventure you crave. Who knew dirt could be this fun?
References
- https://www.nortiv8.com/blogs/news/how-should-hiking-boots-fit
- https://stories.hanwag.com/en/hiking-boot-sizing-4-top-tips-for-a-perfect-fit/
- https://masterfitinc.com/how-to-get-a-good-fit-for-hiking-boots/
- https://currex.com/blogs/news/ultimate-hiking-boot-fitting-guide
- https://www.rei.com/learn/expert-advice/hiking-boots.html
- https://obozfootwear.com/en-us/community/some-advice-on-a-good-fit
- https://www.youtube.com/watch?v=Ll3imgiSZik
- https://outdoors.codidact.com/posts/40101/48132?sort=age
- https://www.intrepidtravel.com/adventures/how-to-break-in-your-hiking-boots/
- https://www.columbia.com/breaking-in-hiking-boots.html