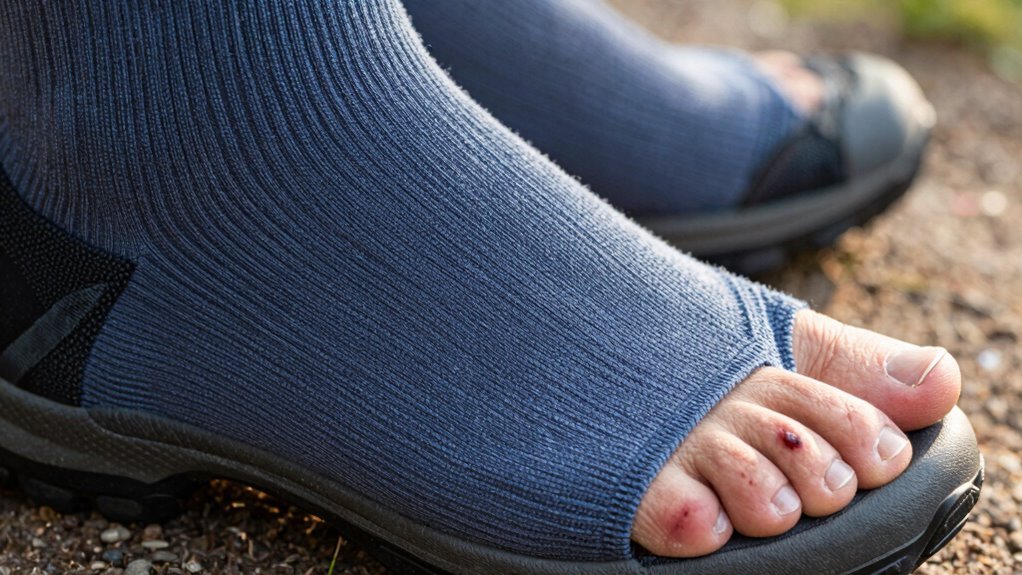
How to Stop Toenail Bruises From Hiking
To prevent toenail bruises from hiking, give your toes room to breathe by sizing up half to a full size, ensuring a thumb’s width of space at the shoe’s tip. Keep toenails trimmed straight across, just shy of the edge, to reduce pressure and prevent injury.
Break in your hiking boots before hitting the trail and wear moisture-wicking socks to minimize foot sliding. On descents, tighten your laces to keep your feet secure and avoid repeated impact with the toe box.
Swelling increases the risk of hiking-related toenail bruises, so always fit your boots later in the day when feet are largest. Remember, strong feet lead to fewer bruises and more enjoyable hikes—choose footwear wisely and prioritize comfort.
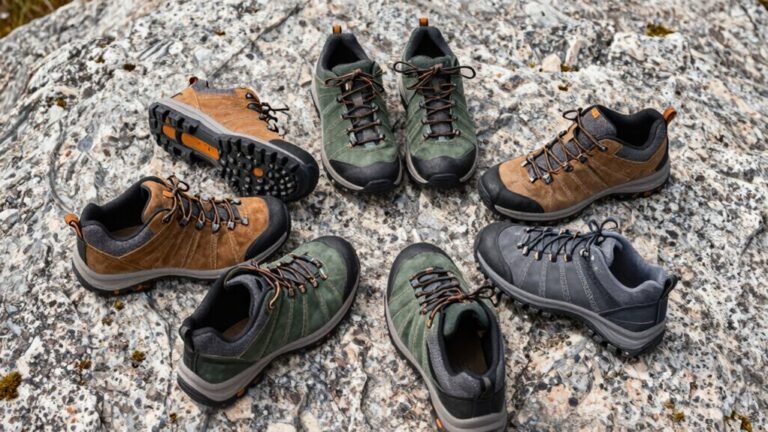
Choose Hiking Shoes With Proper Toe Room
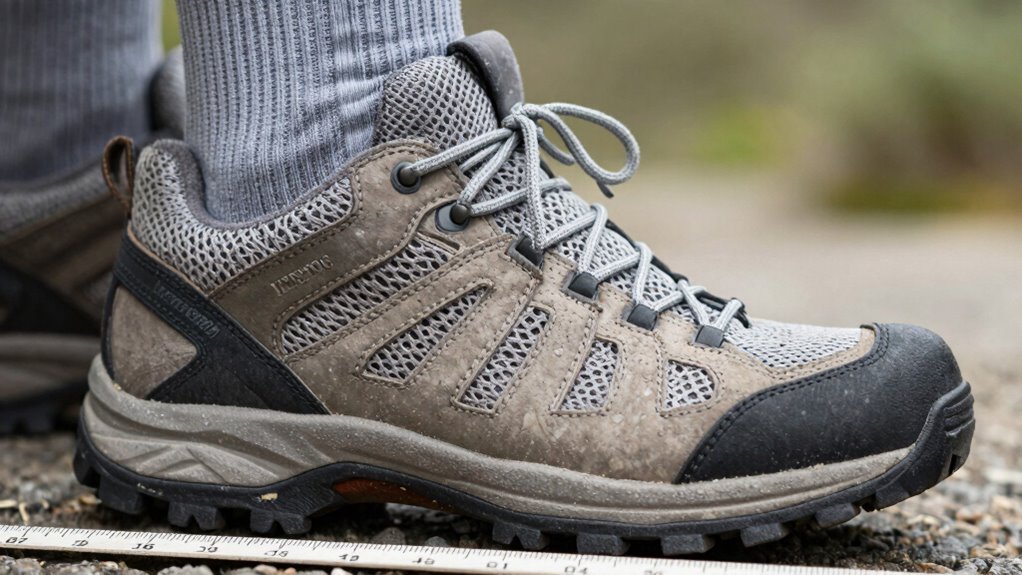
When you’re pounding the trail and your toes keep dragging the front of your boots, it’s not just annoying—it’s a one-way ticket to bruised toenails and grumpy hikes.
You need space—about a thumb’s width—between your longest toe and the tip.
That’s roughly 1 cm, or one to two fingers’ width, giving toes room to splay naturally.
Skip snug fits; go half to a full size up, especially in brands like Keen Jasper Zionics or Targhee IV.
Their wide toe boxes let your feet breathe and move, reducing blisters, knee pain, and mysterious foot drama.
Zero-drop soles and flat boxes mean no toe spring, so your piggies stay happy and strong.
Wiggle your toes—literally.
If they’re cramped, it’s a no-go.
Your ball of foot should sit wide, heels slightly slip, and knees bend when measuring.
Smart fit now saves misery later.
Trust us—your toenails will throw a party.
Feet swell during hiking, so try on boots in the late afternoon with thick wool socks to ensure proper toe room when you’re actually on the trail.
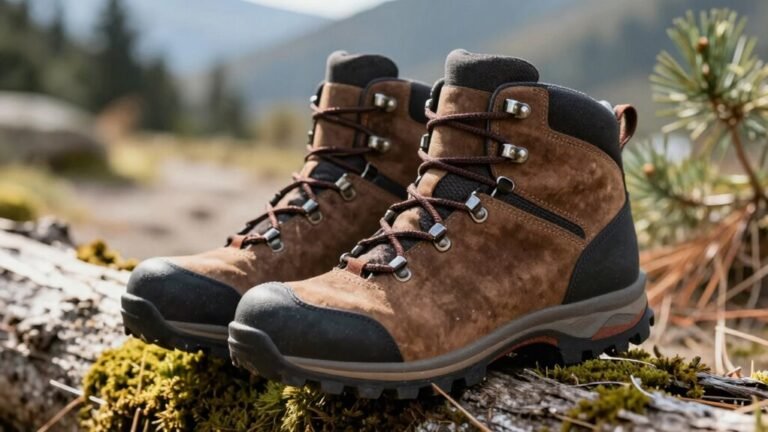
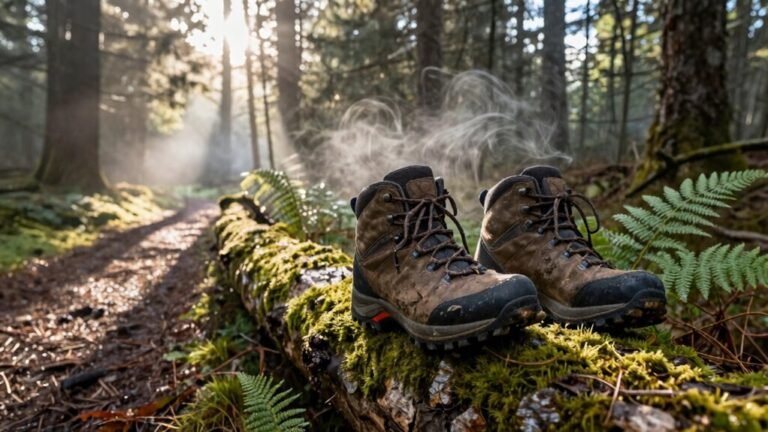
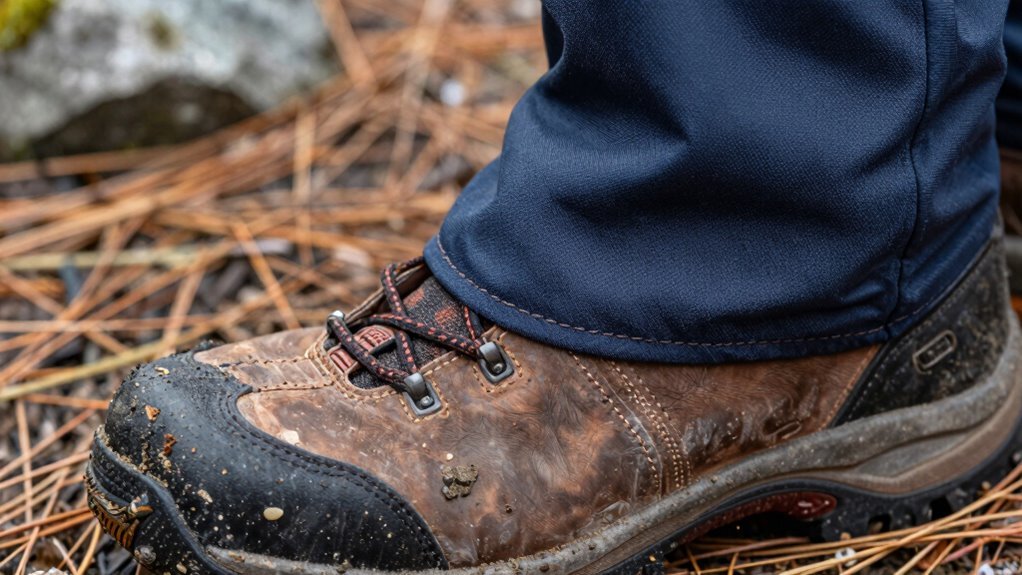
Break In Your Hiking Boots Before the Trail
Lace up, champ—your hiking boots aren’t meant to go straight from box to backcountry.
Breaking them in is your secret weapon against painful toenail bruises and surprise blisters.
Think of it like boot camp for your footwear—start slow and build up.
Here’s how:
- Wear them indoors for an hour with your hiking socks and insoles while doing chores—yes, even folding laundry counts as training.
- Take short neighborhood walks, hit the grocery store, or stroll the dog to test fit on pavement and small hills.
- Hit easy trails for 1.5–2 hours, pack your daypack, and splash through puddles to check waterproofing.
- Use stretching tricks—stuffers, heat, or a boot stretcher—to tweak tight spots.
Give it 2–3 weeks, and your boots will hug your feet like they were made for each other, thanks to gradual wear that allows them to conform to your foot shape Gradual Introduction.
Wear Moisture-Wicking Socks for Better Fit
Sweat happens—especially when you’re powering up a trail with your boots laced tight and the sun beating down.
But here’s the secret: moisture-wicking socks keep your feet dry and your toes happy.
They pull sweat away like tiny superheroes, sending it to the surface where it evaporates.
No soggy socks, no slippery slides inside your boots.
Merino wool, bamboo, or high-performance blends stay dry, resist stink, and even regulate temperature—cool in heat, warm in cold.
Say goodbye to cotton, which holds moisture like a sponge and sets you up for blisters.
Wicking socks mean less friction, fewer hot spots, and way less chance of toenail bruising.
Merino wool’s natural crimped structure enhances this by trapping air for insulation while remaining lightweight and promoting consistent fit.
Mesh zones add airflow where you need it most.
And toesocks? They wrap each toe in dryness, stopping skin-on-skin rubbing before it starts.
Your feet stay fresh, comfy, and blister-free—all day.
Pretty neat when your hike includes more uphill than a hill has any right to.
Adjust Your Lacing Technique for Downhill Sections
You’ve nailed the sock game—dry feet, no stink, toes feeling fresh—but now it’s time to give your laces a little love, especially when the trail starts heading down.
Keep your toes from playing bumper cars with your boot tip by trying one of these easy tweaks:
- Tighten forefoot lacing—pull those laces snug over the front to stop your foot sliding forward.
- Apply toe-relief lacing—skip the bottom eyelets to give your toes room to breathe (and relax).
- Use the heel lock technique—keep your heel planted so it doesn’t dance around on descents.
- Secure with a surgeon’s knot—double-wrap for tension that lasts, not just a quick fix.
Switch it up before steep drops, and your toenails will thank you—no more black and blues!
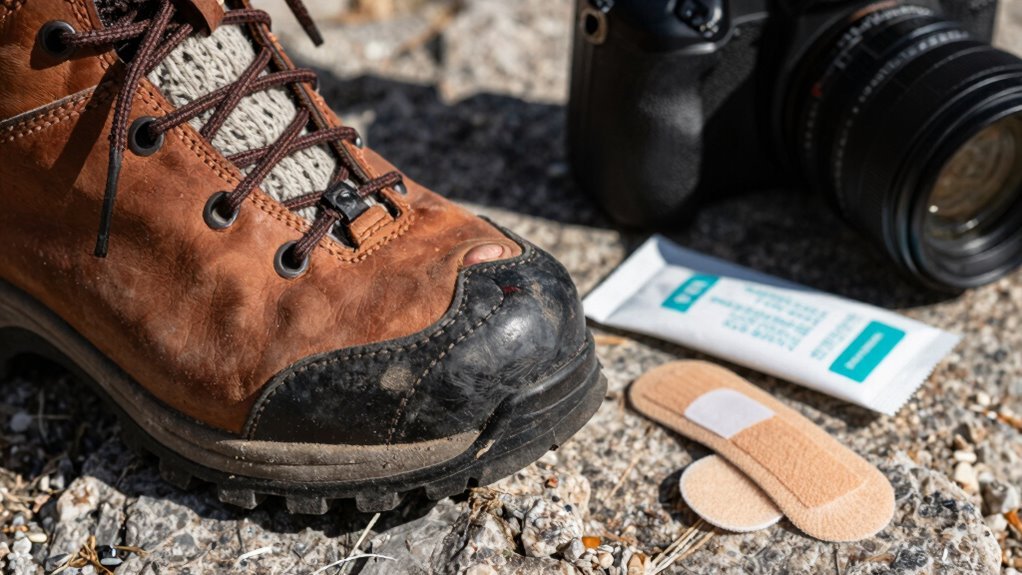
Trim Your Toenails Straight Across and to the Right Length
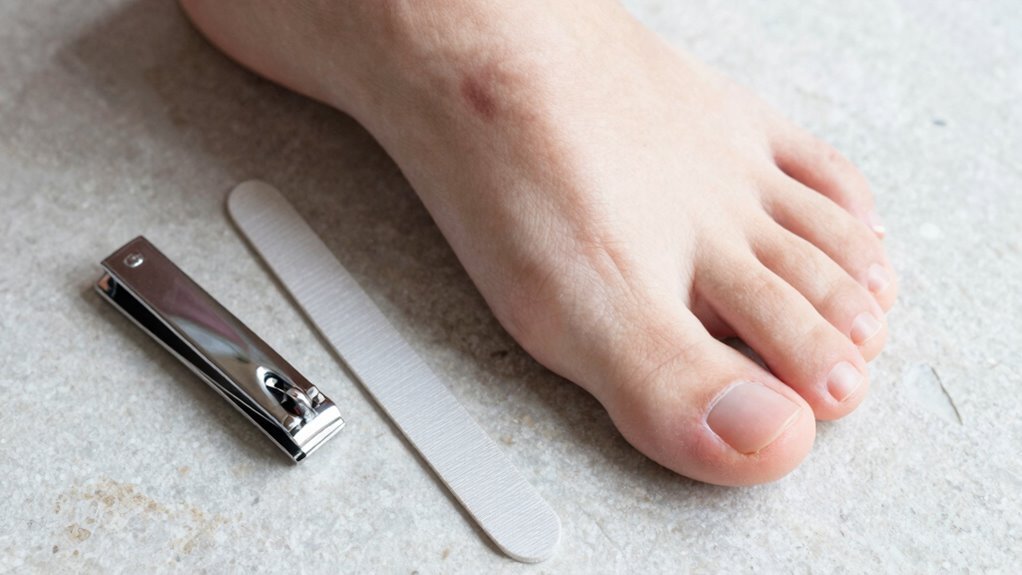
Grab your clippers—your toes are about to set off on a friction-free adventure!
Trim your toenails straight across, no curves or angles—this keeps them from growing into your skin and causing painful ingrown nails.
Leave about 1–2 mm of white tip so they’re short enough to dodge boot pressure but not so short they tear or bruise.
Cutting them a week before your hike? Even better—it gives your skin time to toughen up.
Use clean, dedicated toenail clippers (not your fingernail ones—yuck!) and smooth edges with a file.
Sanitize tools regularly and keep feet dry after trimming.
Moisturize cuticles, check for redness, and enjoy happier, healthier toes.
Short, straight nails mean fewer blisters, less bruising, and more stomp-worthy trail time.
Your boots will thank you—and so will your feet!
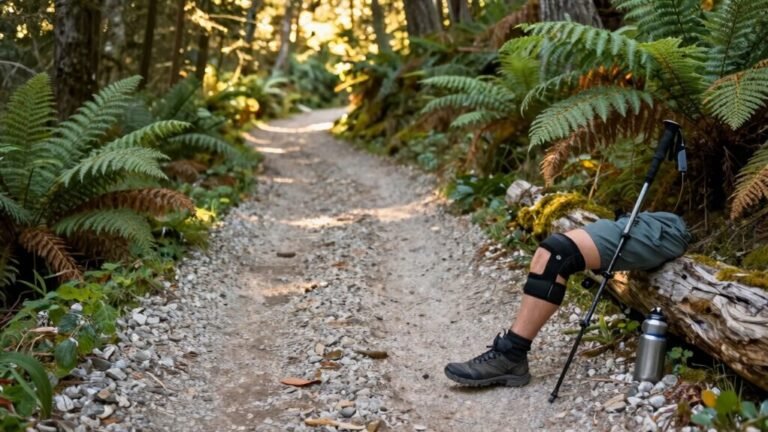
Consider Foot Swelling During Long Hikes
When you’re tramping mile after mile through the wild, your feet aren’t just along for the ride—they’re working overtime, and that means swelling might crash the party uninvited.
Don’t let puffy dogs ruin your trek!
Try these smart moves:
- Slip on compression socks—they hug your feet just right, fighting swelling and reducing blister risk.
- Elevate your legs on your pack or a log during breaks; it’s like giving your feet a mini-vacation from gravity.
- Dip your dogs in cold water or use a damp bandanna—icy streams or snow patches make perfect trail-side spas.
- Stay hydrated and ease up on the salt—snack smart, drink water, and keep those toes happy.
Your feet will thank you with fewer aches, better comfort, and way less chance of bruised nails.
Hike on, champ!
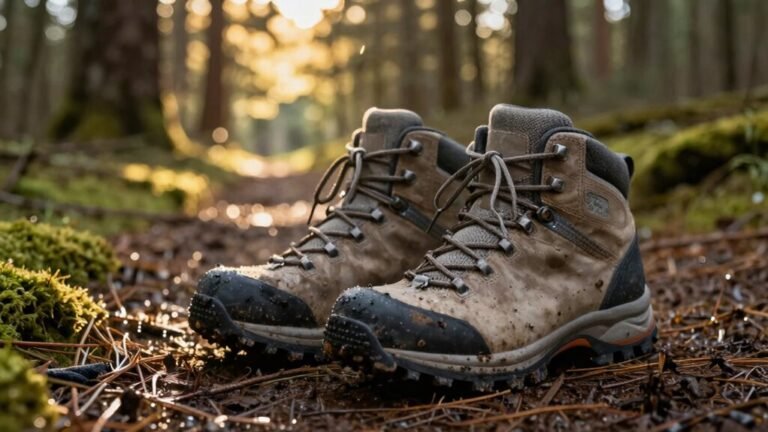
Use Gaiters to Prevent Debris From Shifting Your Foot
A good pair of gaiters might just be your feet’s new best friend on the trail.
They block dirt, rocks, and sticks from sneaking into your shoes, keeping everything snug and stable.
When debris can’t get in, it can’t shift around and shove your foot forward into the toe box—no more jamming your toes on downhill stretches!
Gaiters also help keep socks clean and in place, so they won’t bunch up and nudge your foot around.
Less movement means less pressure, which slashes your chance of bruised toenails.
Plus, no more stopping every mile to dump out pebbles like you’re emptying a cereal box.
Opt for breathable mid-calf styles if you’re hiking in dirt or light rain—they’re light, comfy, and tough.
With gaiters, your feet stay put, happy, and bruise-free.
Who knew socks could use bodyguards?
Strengthen Foot Muscles for Improved Stability
Building rock-solid feet isn’t just about toughening up—it’s about waking up tiny muscles most people forget they have, and trust us, your toes will thank you later.
Weak feet wobble, slide forward, and smash toenails—no fun on long trails.
But strong arches and toes grip like nature intended, keeping your foot stable and centered.
Try these moves a few times a week, and you’ll hike with way more confidence:
- Short foot exercise: Flatten your arch by dragging your toes toward your heel—without curling them.
- Towel scrunches: Grab a towel with your toes—10 to 15 reps per foot—like you’re picking up cash.
- Single-leg calf raises: Lift up slowly, lower with control—12 reps builds serious power.
- Tripod stance: Balance on three points—heel, big toe, pinky toe—like a ninja.
Strong feet mean fewer bruised nails—and way more fun on the trail.
Frequently Asked Questions
How Do I Treat a Toenail Bruise After Hiking?
You rest that sore toe, elevate it, and grab a cold pack—short bursts, though, so you don’t overdo it.
Dab on some antiseptic, soak it in warm saltwater, and gently tape it if it’s peeling.
Keep the area clean, slather on antibiotic ointment, and wear comfy shoes—your sore toe will thank you like a campfire s’more thanks chocolate: deeply and deliciously.
Can Toenail Bruises Lead to Fungal Infections?
Yeah, toenail bruises can totally lead to fungal infections if you’re not careful.
That little trauma weakens your nail’s defense, and fungi just love sneaking in, especially when it’s warm and damp under your toenail.
You mightn’t notice at first, but if your nail starts thickening or turning yellow, that’s fungus throwing a party.
Keep it clean, dry, and monitor it closely—don’t let the fungus win!
Should I Pop a Blood Blister Under My Toenail?
No, you shouldn’t pop that blood blister under your toenail—promise it’s not as fun as it sounds.
Popping it breaks the skin, and boom: infection city.
Let your body handle it like a pro; it’ll reabsorb the blood over time.
If it’s throbbing like a dance beat, see a doc for safe drainage.
Keep it clean, ice it, and treat your toe like royalty—elevated and spoiled.
How Long Does a Bruised Toenail Take to Heal?
You’re probably wondering, “Will I ever wear sandals again?”
Good news: most bruised toenails start feeling better in just a few days, with tenderness fading in two to three weeks.
If the nail stays on, it’ll look normal again in six to eight weeks.
But if it falls off? No panic—your new one grows back in nine to twelve months.
Sure, it’s slow, but you’ve got time.
Will a Bruised Toenail Fall off on Its Own?
Yeah, your bruised toenail will probably fall off on its own—no drama, no force.
After weeks of hanging out, the pressure and separation do the work for you.
It’s like nature’s way of recycling old nails.
Just let it be, keep it clean, and let the new one push it out like a tiny, slow elevator.
It’s gross but weirdly cool, right?
Patience wins here.
Conclusion
You’ve got this—think of your toes as tiny trail warriors, ready for adventure! With roomy shoes, smart socks, and laces tuned just right, you’re building a fortress against bruises. Trim those nails, brace for swelling, and let gaiters guard like tiny shields. Strong feet mean happy hikes, so flex those muscles and strut with confidence. No more red-tipped souvenirs—just epic views and pain-free strides!
References
- https://outdooradept.com/how-much-toe-room-in-hiking-boots/
- https://www.my-happyfeet.com/blogs/news/summer-hiking-and-foot-care-benefits-of-the-right-fit
- https://correcttoes.com/blogs/blog/boots-that-are-good-for-your-feet
- https://www.tomsguide.com/wellness/fitness/no-more-pinched-toes-i-tried-these-hiking-shoes-and-now-i-wont-wear-anything-else
- https://www.greatoutdoors.ie/blogs/expert-advice/hiking-footwear-fit-guide
- https://www.rei.com/learn/expert-advice/hiking-boots.html
- https://www.wrightsock.com/blogs/news/5-ways-to-break-in-new-hiking-boots
- https://www.orvis.com/how-to-break-in-hiking-boots.html
- https://www.columbia.com/breaking-in-hiking-boots.html
- https://stories.hanwag.com/en/how-to-break-in-hiking-boots-read-the-expert-guide/