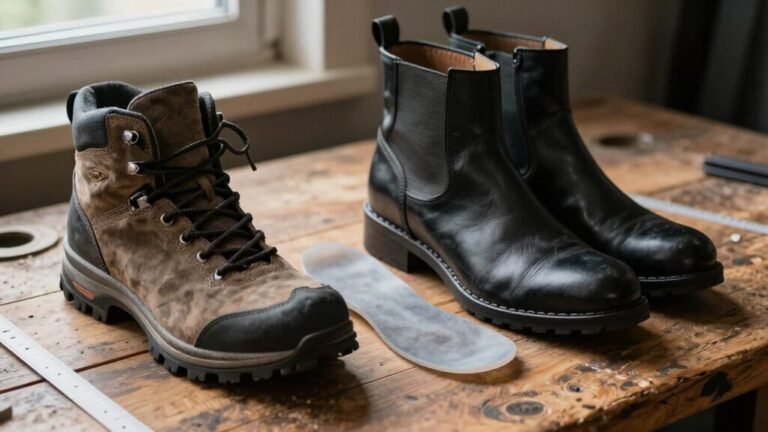
How to Break In Hiking Boots Fast
To break in hiking boots fast, start by wearing them around the house with thick socks and insoles. Walk with purpose—doing chores like laundry or pacing during phone calls counts as quality training.
Use a hairdryer to warm up stiff areas while wiggling your toes to loosen the material. This simple trick helps soften problem zones quickly and shapes the boots to your feet.
Take short walks on varied terrain like gravel, grass, and hills to naturally flex the soles. These mini adventures speed up the break-in process while testing comfort.
Condition the leather with a quality product to keep it supple and prevent cracking. For extra stretch, try freezing a water-filled zip-top bag inside the boot overnight. With these hacks, you’ll break in hiking boots fast and be trail-ready in no time.
Wear Them Around the House
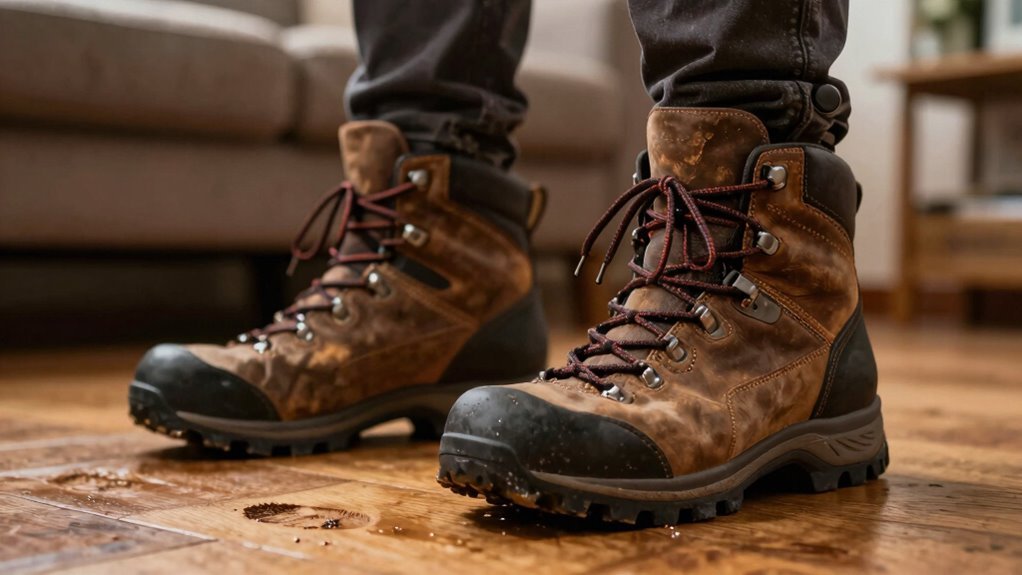
Breaking in new hiking boots doesn’t have to mean toughing out blisters on the trail—start simple by wearing them around the house.
Slip them on with the socks and insoles you’ll actually use on the trail—no cheating with fuzzy slippers!
Tie them snugly, keep the tongues smooth, and walk around like you’re on a mission to find the best snack.
Two to three hours daily for a few days works great.
Use the time folding laundry, bingeing shows, or pacing during calls—multitasking wins!
Your boots mold to your feet, not rocks or mud, and you can spot pinches before they ruin your hike.
If something hurts, fix the lacing or grab different socks.
It’s way easier than crying over blisters on a mountain, right?
After a week or two of home life, try short walks.
Your feet will thank you when adventure day finally comes.
Always follow the manufacturer’s care guidelines to maintain durability and performance, as proper care and use can extend the life of your boots.
Use Thick Socks and Heat to Soften the Leather
Now that your boots have been part of your daily routine—tagging along on laundry runs and binge-watching sessions—it’s time to level up and help them bend to your will.
Slip on your thickest merino wool socks, or go wild and double up with a liner sock underneath—the extra padding reduces friction while helping stretch stubborn spots.
Cotton socks? Nope.
They trap moisture and’ll turn your feet into blisters.
Instead, use moisture-wicking materials that keep things smooth and comfy.
Then, grab your hairdryer and blast problem areas like the heel or ankle with medium heat for 2–3 minutes—just enough to soften the leather, not cook it.
Keep wiggling your feet to shape the warm leather as it cools.
Summer days help too, with natural warmth and sweaty feet softening the material over time.
Play nice with heat, though—too much and you’ll crack the leather.
Think cozy warmth, not campfire roast.
This method works especially well for full-grain leather boots, which require more time and care to break in due to their density and durability.
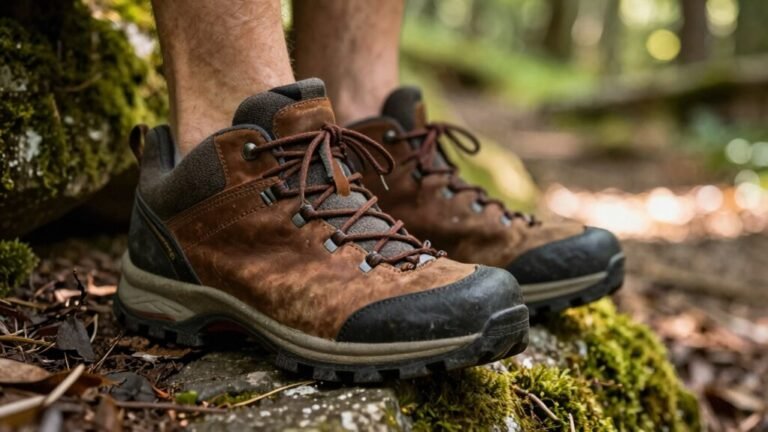
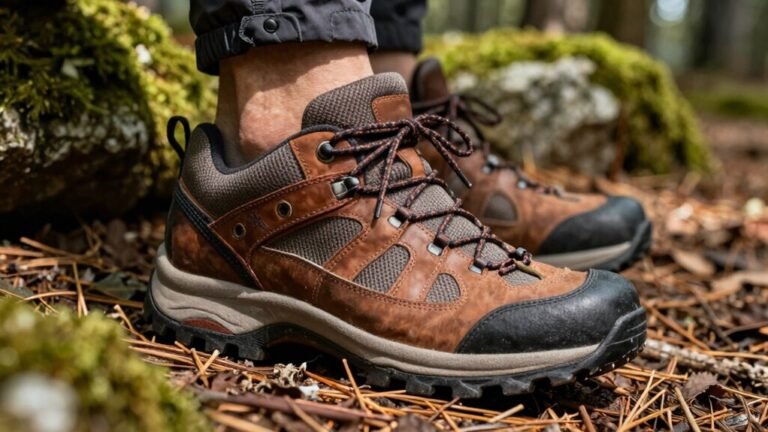
Take Short Walks on Varied Terrain
Lace up, adventurer—your boots are ready for a real-life test drive. Start with short walks around your neighborhood or park, keeping things light and fun for 15 to 30 minutes. Wear your go-to hiking socks (no surprises!) and feel how the boots flex on sidewalks, grass, or gravel.
If you notice pinching or hotspots, stop and adjust—don’t wait for blisters to throw a party on your feet.
Once flat ground feels great, level up to uneven paths with gentle slopes, mixed surfaces, and even a little mud after rain. Let your boots sip in real trail vibes. Gradually stretch your legs on 2-3 mile jaunts, and soon they’ll fit like a favorite pair of jeans. This process helps soften leather and conform to foot shape for a more personalized fit.
- Begin on flat, familiar paths for 15–30 minutes
- Wear your regular hiking socks—no sneaky swaps!
- Mix in gravel, grass, and gentle hills to test flexibility
- Increase time and terrain challenge only when comfort wins
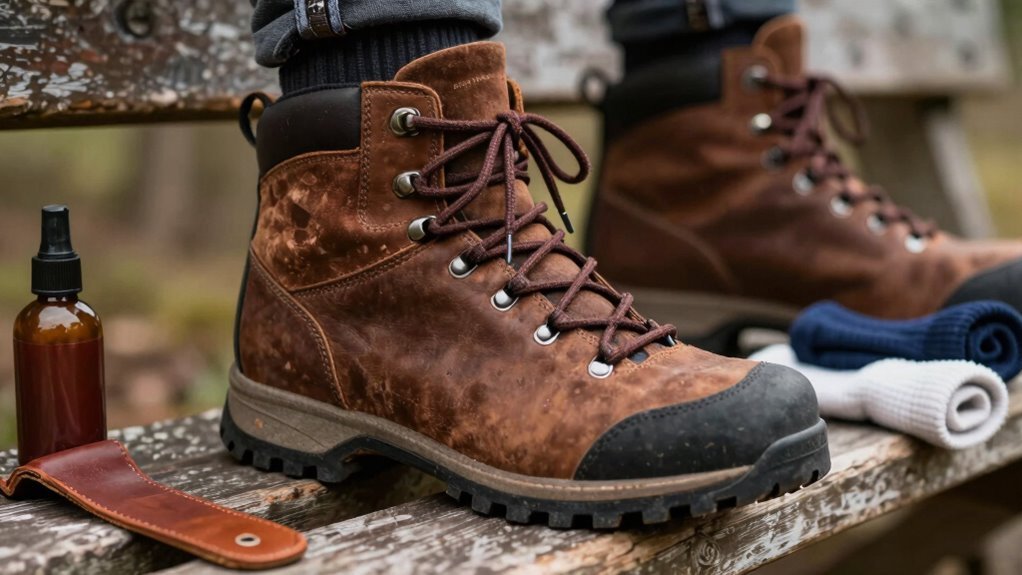
Apply a Leather Conditioner or Boot Oil
Grab your conditioner and give those stiff boots some love—they’re ready to get pampered!
Apply a small amount to the leather, especially on tight spots, and test under the tongue first to avoid surprises.
Let it soak in overnight so the leather softens and starts molding to your feet.
Wipe off any leftover product—no one likes a greasy boot.
Use natural conditioners or break-in creams to ease friction and prevent blisters, because no one wants a blister festival.
For full-grain leather, try a wax or dressing; keep suede safe with a waterproofing spray instead.
Condition weekly during heavy break-in, or every few weeks for light use.
It’s like giving your boots a spa day—regular, relaxing, and totally worth it.
Just follow the label, avoid heat tricks, and let your boots look good while feeling great.
You’re not breaking them in—you’re breaking them *right*.
Freeze a Bag of Water Inside the Boots

Fill ‘em, freeze ‘em, and watch your boots transform overnight—yes, water balloons aren’t just for summer fun. This sneaky trick uses science to stretch stiff leather so you’re trail-ready faster.
- Double-bag water in zip-lock bags to prevent leaks and fit them snugly inside your boots.
- Lace your boots up like you’re wearing them—this shapes the stretch just right.
- Seal and freeze overnight; as the water turns to ice, it gently expands, widening tight spots.
- Let boots thaw, then dry them naturally—no heat!
The ice puffs up by less than 10%, softly stretching the forefoot from a snug D to a roomier E width.
Sure, some brands like Columbia frown on it, and cheap bags might burst, but done right, your boots come out suppler and more forgiving.
Just don’t expect miracles in one go—tough leather might need a few freeze cycles.
Think of it as cryotherapy for your kicks—chill out, and they’ll loosen up!
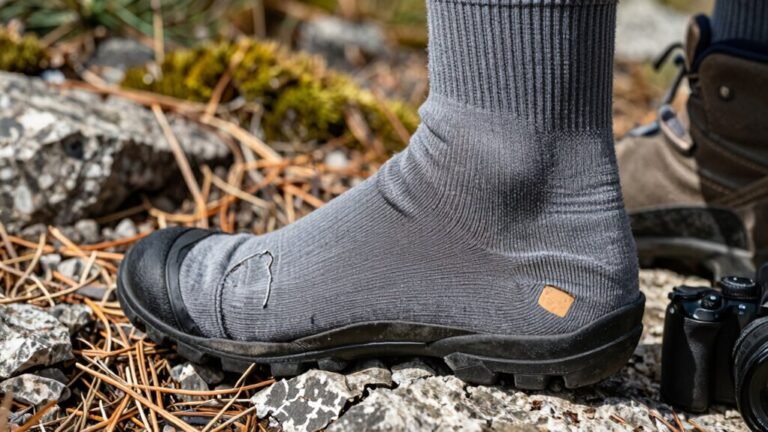
Test Them on a Practice Hike Before Your Trip
Now that your boots have had their frosty spa night and loosened up a bit, it’s time to see how they handle the real world—think of it as their first date with the trail.
Start easy: walk around your neighborhood, then hit short trails with hills, rocks, and puddles.
Let your boots—and feet—get cozy with stairs, mud, and slippery spots.
Wear your hiking socks and pack your daypack so it’s real.
Watch for hotspots; if you feel rubbing, stop before blisters pop up like unwelcome guests.
Toughen your feet gradually, just like your boots.
Lace them snug, play with tension, and make sure everything fits without pinching.
Leather boots need slow love; light hikers still need a trial run.
Build up miles and elevation like you’re training for a tiny boot Olympics.
If they pass wet, wild, and wobbly tests? Boom—you’re trail-ready!
Frequently Asked Questions
Can I Break in Hiking Boots in the Rain?
Yeah, you can break in hiking boots in the rain, but it’s messy fun—like playing in puddles as a kid, except now you’re trying not to blister.
Rain softens leather, which helps molding, but wet feet sweat more and rub easier.
Pair waterproof boots with merino socks, slather on Body Glide, and use gaiters.
Your feet might squish, but smart prep turns rainy hikes into secret break-in magic—with fewer blisters and way more bragging rights.
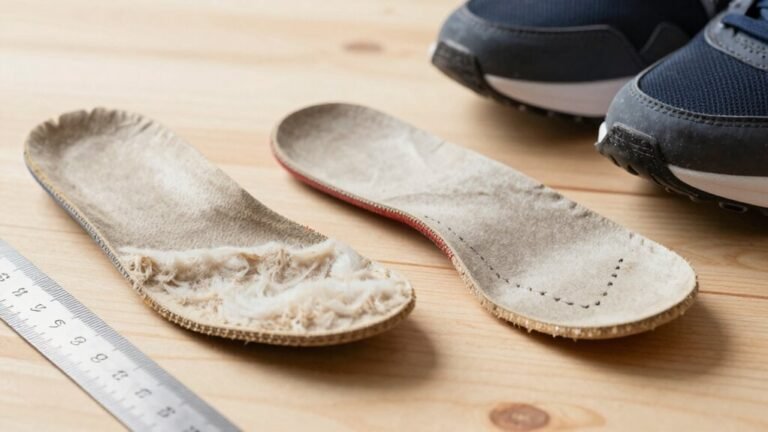
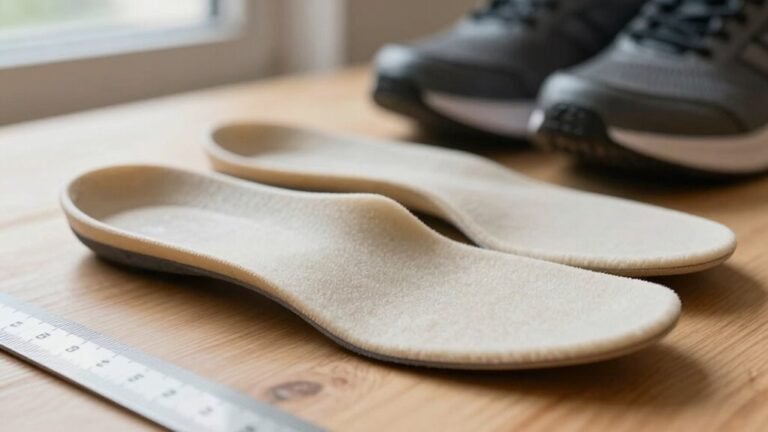
Should I Wear Insoles While Breaking in My Boots?
Oh, absolutely—slap those insoles in right away, unless you enjoy blister roulette!
You’re not just breaking in boots, you’re auditioning a foot-cradling dream team.
The right insole cushions, supports, and stops your heel from doing the cha-cha.
Just don’t pick one that treats your arch like a science experiment.
Test them first—your feet will thank you with happy dances, not mutiny.
Is It Safe to Use a Hair Dryer on Boots?
Nope, you shouldn’t use a hair dryer on your boots—trust me, it’s a shortcut that bites back.
Heat weakens glue, warps materials, and can crack leather like an overbaked cookie.
Even if they’re soaked, skip the blast of hot air.
Instead, toss in some newspaper, let ‘em breathe at room temp, and be patient.
Your boots will thank you—no melty surprises or sad, saggy soles!
Do Waterproof Boots Need Special Breaking-In Methods?
Yeah, waterproof boots need a little extra love during break-in.
You can’t just wing it like with regular sneakers.
Gotta take it slow—wear ‘em around the house first, then short walks, no dunking or hairdryer heroics.
Sweat and rain love to team up against you, so rock good socks and lace ‘em right.
Keep it fun, not frantic, and your feet’ll thank you later—blister-free and ready to roam!
Can I Speed up Breaking in With Multiple Methods at Once?
You can speed things up, but don’t rush—like the old saying goes, “Haste makes waste, especially on sore feet.”
You’re combining wear methods and protection smartly: wear boots indoors, add short walks, use thick socks, and tape hot spots early.
Just avoid harmful shortcuts.
Think of it like dating your boots—get to know them gradually, not all at once.
Trust me, your feet will thank you later.
Conclusion
So there you have it—your boots aren’t gonna break themselves, unless you count dramatic house pirouettes in thick socks. Sweat, stomp, freeze, and oil like a wilderness-bound mad scientist. Soon your footwear will bend to your will, not the other way around. Just don’t try the microwave trick… yep, someone’s tried it. Smoke alarms hate that. Break ’em right, and your feet will thank you—no blisters, just bliss.
References
- https://www.rei.com/learn/expert-advice/breaking-in-hiking-boots.html
- https://www.lowa.co.uk/blogs/news/how-to-break-in-your-hiking-boots
- https://www.mammut.com/us/en/stories-guides/how-to-break-in-hiking-boots-your-ultimate-guide-to-avoiding-blisters
- https://meindlusa.com/blogs/meindl-blog/breaking-in-your-boots
- https://northsideusa.com/blogs/news/how-to-break-in-new-hiking-boots-without-blisters
- https://agasperspective.com/break-in-hiking-boots
- https://www.overlookboots.com/blogs/boots/how-to-break-in-new-boots-the-right-way-dos-and-donts
- https://www.kuhl.com/borninthemountains/how-to-break-in-hiking-boots-the-ultimate-guide
- https://lowa.com/en/experience-lowa/tips-stories/wanderschuhe-einlaufen
- https://www.backpacker.com/skills/how-to-break-in-your-new-hiking-boots/