How to Use Poles for Stability on Steep Trails
When navigating steep trails, using poles for stability can make a big difference in your balance and efficiency. Plant your poles ahead as you climb, shortening them to maximize push and control on steep ups.
Grip the pole straps with your palms, keeping fingers lightly on the handles for better responsiveness. On descents, lengthen your poles to reduce knee strain and improve stability on uneven terrain.
Use both poles together when the trail gets dicey, such as on loose gravel or slippery slopes. Shift your grip or plant poles strategically to maintain balance during rock hops or tricky transitions.
Choosing the Right Trekking Poles for Incline Use
Ever wonder how to keep your balance while huffing up a steep trail or power-skiing down a rocky descent?
You’ll want poles that won’t quit when the going gets gnarly.
If you’re chasing lightweight speed, grab carbon fiber—they’re feathery (as light as 7.4 oz per pair!) and tough enough for sandy drop-offs.
But if you’re the type who accidentally cliff-dives your gear, go aluminum—it shrugs off drops like a champ.
Hybrid poles? Best of both worlds.
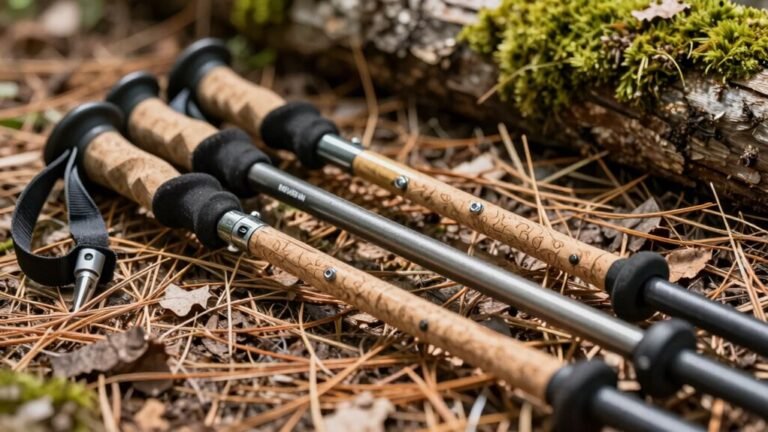
Need comfort on long grinds? Cork or extended EVA grips let you choke up without fiddling, and cushy straps keep you stable.
Flip locks and telescoping shafts mean quick tweaks for steep sections.
And trust us, models like Black Diamond Alpine Carbon or MSR DynaLock Ascent won’t flinch on rugged off-trail madness.
The Black Diamond Alpine Carbon Cork offers exceptional durability for challenging terrain with its sturdy flip locks and robust carbon fiber construction.
Pick smart, climb strong, and let your poles do the dirty work!
Adjusting Pole Length for Uphill and Downhill Terrain
Why fight gravity when your trekking poles can do half the work?
Shorten them for uphill climbs—adjust to thigh height so your arms stay level and powerful.
This gives you better leverage and keeps your shoulders happy.
On steep scrambles, use the lower grip to stay balanced without awkward reaching.
Plant both poles ahead and step up steadily—boom, efficient!
Heading downhill? Lengthen your poles to chest height.
This lets you plant them further ahead, absorbing shock and keeping you from leaning too far forward.
Think of them as your personal bodyguards on rocky or loose terrain.
On sidehills, tweak one pole—shorten uphill, lengthen downhill—for smarter balance.
Make changes only for sharp slopes, not tiny bumps.
And hey, if your poles lack extended grips, a wrap of tape under the handle turns your palm into a longer pole.
Adjust right, move right—your legs will thank you! When adjusting for ascents, remember that slightly shortened poles increase leverage, enhancing push-down power and stability.
Proper Hand Position and Grip Technique
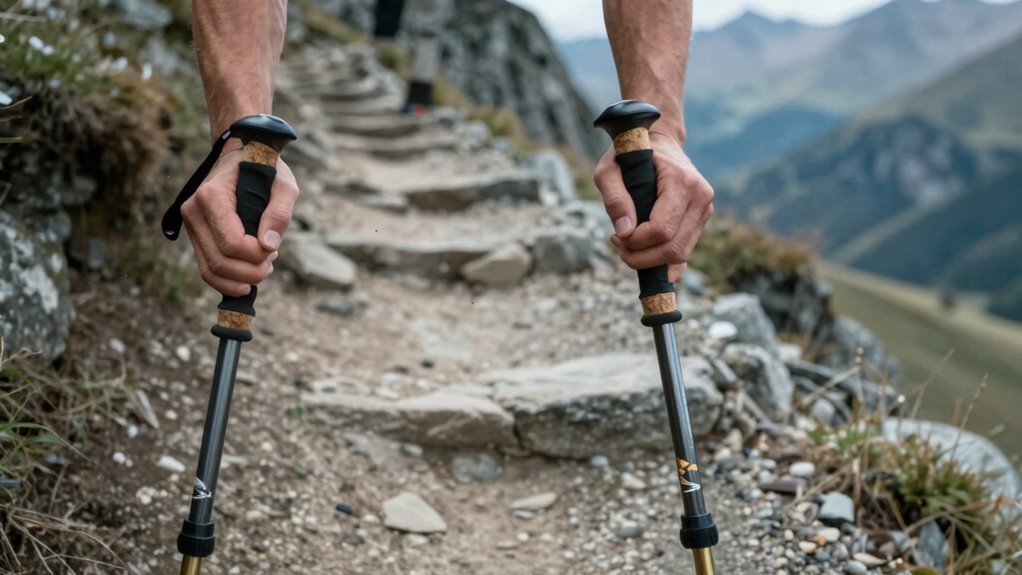
Let’s talk hands—your secret stability squad when hitting steep trails.
Slide your hand up through the pole strap from the bottom, letting four fingers in while keeping your thumb out—safety first!
The strap, not your grip, holds the load, so rest your weight on it against your palm.
Lightly wrap your fingers around the handle; you’re guiding, not white-knuckling.
This takes pressure off your muscles and lets you flick poles forward with ease.
On steep downs, swap to a lower grip without the strap.
Thumb can hook in for extra control, or bundle the strap if your mitts are big.
Mix up grips to keep things fresh and fatigue low.
With thumbs out and arms trailing, you’ll ditch poles fast if they snag—no yanking, no spills.
It’s smart, smooth, and seriously stable.
This technique leverages a mechanical advantage that reduces grip effort and enhances control.
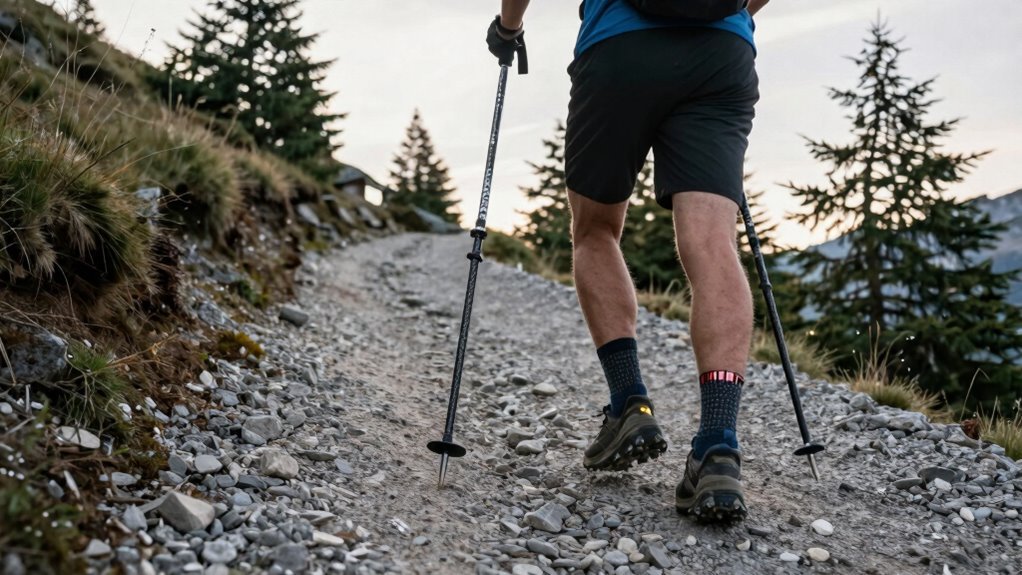
Coordinating Pole and Foot Movement on Ascents
When the trail starts kicking up and your legs begin to burn, syncing your poles with your steps turns that grind into a smooth, efficient climb.
Use the diagonal technique on gentler slopes—plant your right pole as your left foot steps forward, then switch sides.
It’s like walking with four legs, and hey, who wouldn’t want that advantage?
Keep two points always touching the ground for stability.
On steeper sections, switch to the parallel technique: plant both poles together, push hard, and step twice forward—boom, instant power boost!
Shorten your poles by 5–10 cm so your arms can drive you upward like you’re cross-country skiing with attitude.
Plant each pole just ahead of your body, slightly behind as you push off, and aim for solid ground—nobody likes a pole stuck in loose dirt.
Stay tall, keep rhythm, and let your shoulders guide the flow.
You’ve got this!
Using Poles to Reduce Knee Strain on Descents

As you start picking your way down a steep trail, your knees probably don’t leap for joy—good thing your trekking poles can do the heavy braking for them.
You’re not just walking; you’re strategically offloading stress with every step.
Here’s how to make your poles your knees’ best friends:
- Shorten your poles 5–10 cm for better timing and a solid pre-brake—plant the tip just before your foot hits the ground.
- Lean slightly forward and let your arms absorb the shock—this shifts force from your knees to your shoulders and arms, where it’s easier to handle.
- Take smaller, controlled steps, syncing each pole plant to reduce impact—over time, this can cut knee compression by up to 25%.
Think of your poles as mini bodyguards for your joints—smart, steady, and totally worth the extra swing.
Timing Your Pole Plants for Maximum Stability
How’s your rhythm on steep ground—still playing it by ear? Let’s fix that.
Timing your pole plants right means planting *before* you step—always keeping two solid points of contact, like a foot and a pole or both feet, so you don’t wobble like a wobbling cup of coffee.
On gentle ups, use the “gallop”: light pole taps between steps, poles beside your feet, not stretched out front like you’re fencing uphill. It keeps you moving smooth and fast.
But when the climb gets tough (think 10%+), go for double pole plants—once every four steps, both poles together, elbows bent at 90 degrees like you’re hugging a tree.
Engage your core, squeeze those abs, and *push*—it’s like your arms are giving your legs a high-five with every step up.
Get the rhythm right, and you’ll feel strong, steady, and way more fun on the climb.
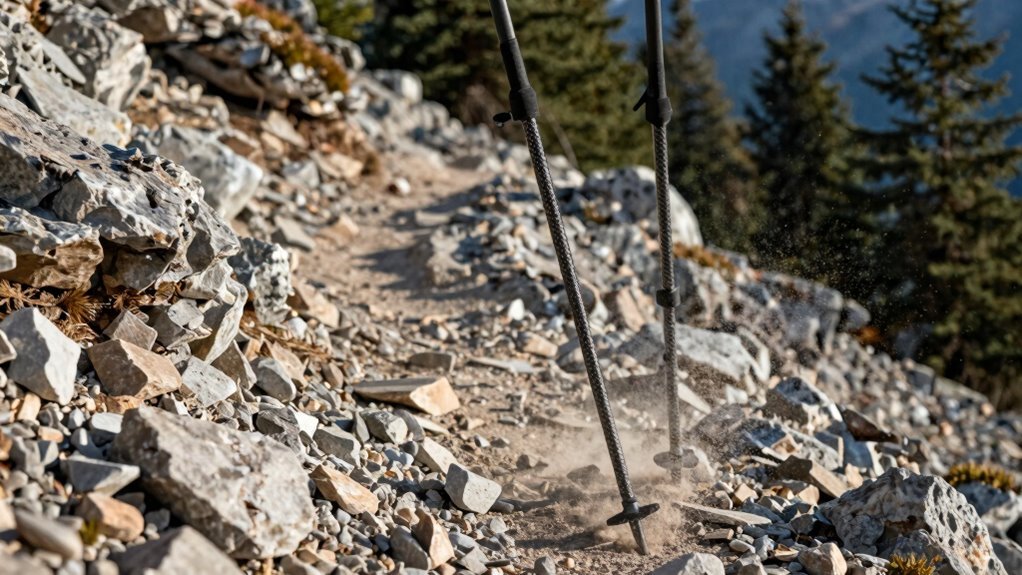
Navigating Uneven and Rocky Trail Sections
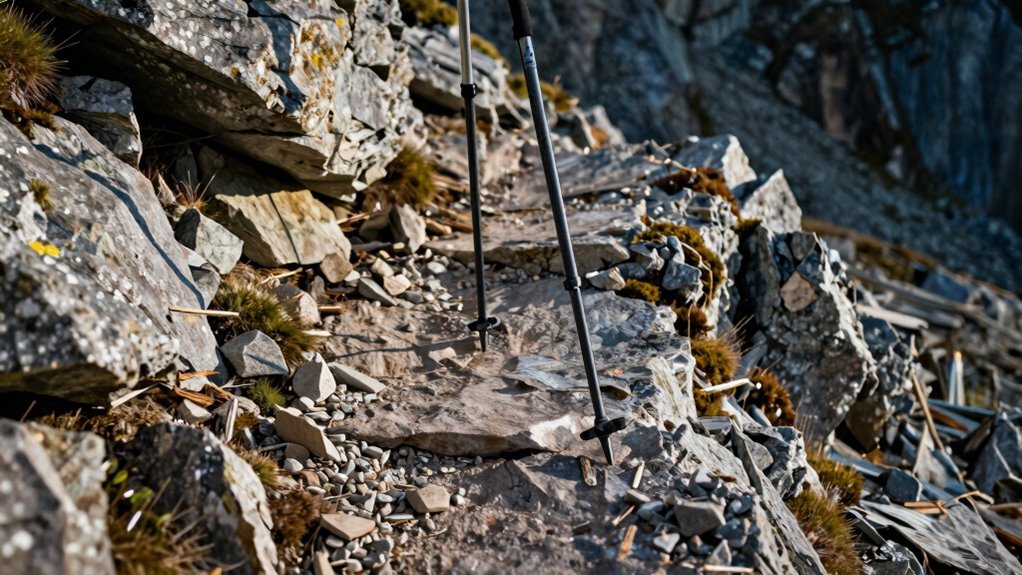
Where do treacherous rocks and sneaky roots love to trip you up?
Oh, right—on steep, rocky trail sections where one wrong step can turn your hike into a comedy of errors.
Don’t worry, your poles have your back (and your balance).
Here’s how to master the chaos:
- Adjust pole length: Shorten them uphill to avoid hunching, lengthen them downhill for better reach and stability.
- Use smart planting rhythms: Match opposite pole to foot on flat rock patches, or plant both poles together on steeper bits for extra support.
- Test before you commit: Tap rocks with your pole first—better they wobble than your ankle.
Keep steps small, stay upright, and let your poles scout ahead like adventure bodyguards. They’re not just sticks—they’re stability ninjas, turning tricky terrain into your next confidence boost. Now go laugh at loose stones like you own them.
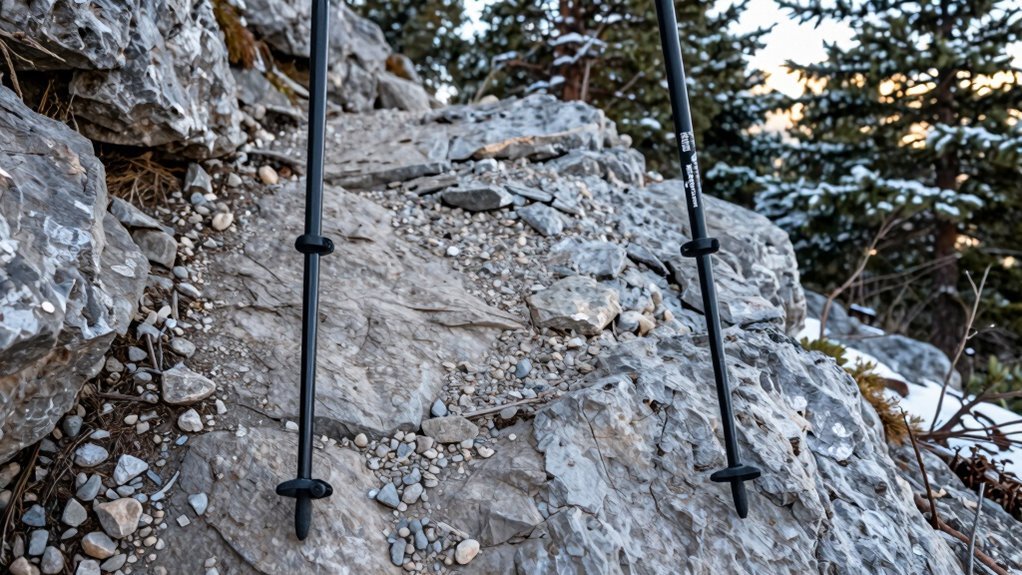
Maintaining Balance on Loose or Slippery Surfaces
Ever slip on a muddy trail and suddenly find yourself doing an awkward dance with gravity? You’re not alone—and your poles can help! Use the diagonal technique: step with one leg and plant the opposite pole, keeping two points always in contact. It’s like nature’s suspension system, balancing you on slick roots or loose dirt.
Hit a steeper, slippery section? Switch to parallel—plant both poles at once for double the stability. Lean into them gently, especially on wet rock or gravel.
Keep your pole tips smart: carbide digs into ice, while rubber grips mud and pavement. Replant often, match each step with a pole touch, and let your arms share the load.
Shorten poles uphill, lengthen them downhill, and laugh off near-misses—you’ve got this!
Building Endurance and Efficiency With Consistent Pole Use
You’re already using poles to stay steady on tricky terrain, but here’s the real magic—they actually help you go farther, faster, and with way less burn in your legs.
Pole hiking isn’t just about balance; it’s a total game-changer for endurance and efficiency.
Here’s how:
- You lighten the load—poles reduce lower-body stress by up to 16%, shifting work to your arms and core so your legs don’t quit early.
- You move smarter—with longer strides and better rhythm, you hike 3.6% faster while using less knee power, especially downhill.
- You last longer—burning 20% more calories isn’t just cardio gains; it means your whole body shares the work, so you feel fresher at mile ten (and still have energy to dance at the summit).
Trust us, your future tired-but-happy self will thank you.
Frequently Asked Questions
Can I Use Trekking Poles on Flat Terrain Too?
You bet you can use trekking poles on flat terrain—absolutely!
They’re not just for hills.
You’ll stride faster with a steady rhythm, thanks to the extra push from your arms.
They boost balance, cut joint stress, and save your legs from burning out.
Plus, each pole plant adds momentum, turning flat stretches into your personal speedway.
Honestly, it’s like getting free energy—who wouldn’t want that?
Are Foldable Poles as Durable as Telescoping Ones?
Yep, foldable poles are tough little warriors, not just collapsible novelties.
They snap back like a spring after a hard day’s crunch, often outlasting flimsier telescoping poles.
Sure, they cost more, but think of them as the superhero sidekicks of the hiking world—compact, mighty, and ready for anything.
Just don’t use them as jousting sticks—you’ll lose.
Do I Need Special Gloves for Using Trekking Poles?
You don’t *need* special gloves, but man, they make a difference.
Regular hiking gloves work fine, though ones with grippy palms stick like glue to your poles.
Leather molds to your hands, breathes well, and toughs out rocky abuse.
Plus, they keep blisters away—because nobody likes surprise bubbles on their hands.
You’ll hike longer, grip stronger, and feel like a trail boss.
Honestly, it’s like giving your hands a high-five every step.
Should I Use One Pole or Two While Hiking?
You’re doubling your fun—and your stability—by using two poles, like having four-wheel drive for your feet.
You power up steep hills easier, save your knees on the way down, and give your arms a cheeky workout.
Sure, one’s better than none, but two keeps you balanced, fresh, and moving strong all trail long.
Trust me, your legs will thank you later.
How Do I Clean and Maintain My Trekking Poles?
You clean and maintain your trekking poles by wiping them down with a dry cloth after every hike—yes, even that muddy one you’re proud of.
Pull apart telescoping sections right away and let ‘em air-dry to dodge gunk buildup or rust drama.
Skip the oil, inspect locks often, and stash ‘em dry and cool.
Your poles? They’ll outlast your excuses.
Conclusion
Think of your poles as trusty mountain goats, always steady, always ready. They’re not just sticks—they’re your balance buddies, hopping with you up rocky steeps and tiptoeing down slippery slopes. Lean on them, sync your steps, and suddenly, the trail’s a dance, not a battle. Your knees will thank you, your rhythm will sing. With every plant and push, you’re not just climbing—you’re flying low, laughing all the way.
References
- https://www.adventurealan.com/best-trekking-poles/
- https://www.backpacker.com/gear/trekking-poles/best-trekking-poles/
- https://www.irunfar.com/best-trekking-poles
- https://thebigoutside.com/the-best-trekking-poles-of-2020/
- https://www.cleverhiker.com/hiking/best-hiking-trekking-poles/
- https://www.rei.com/learn/expert-advice/best-hiking-trekking-poles.html
- https://www.outdoorgearlab.com/topics/camping-and-hiking/best-trekking-poles
- https://fitnessforfreedom.com/adjusting-trekking-pole-height/
- https://www.walkaboutoutfitter.com/blogs/outdoor-tips-tricks/how-to-properly-adjust-your-leki-trekking-poles-for-every-terrain
- https://trekology.com/blogs/gear/how-to-adjust-the-height-of-trekking-poles