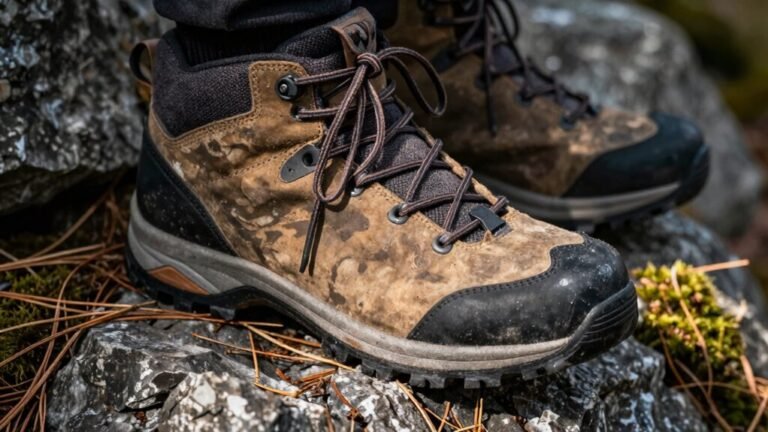
How to Lace Boots for Downhill Comfort
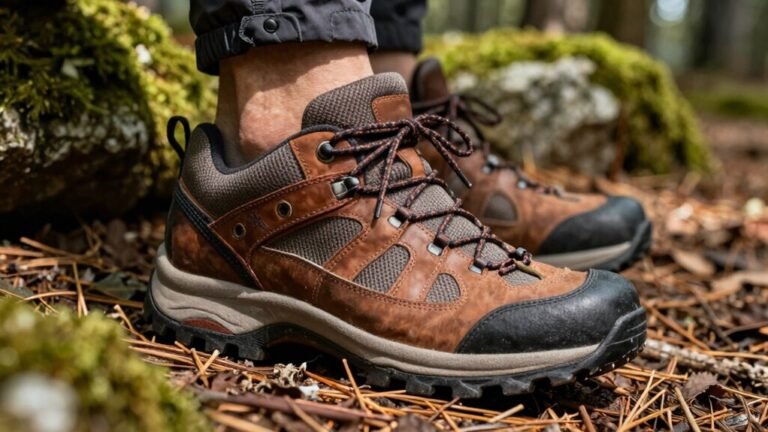
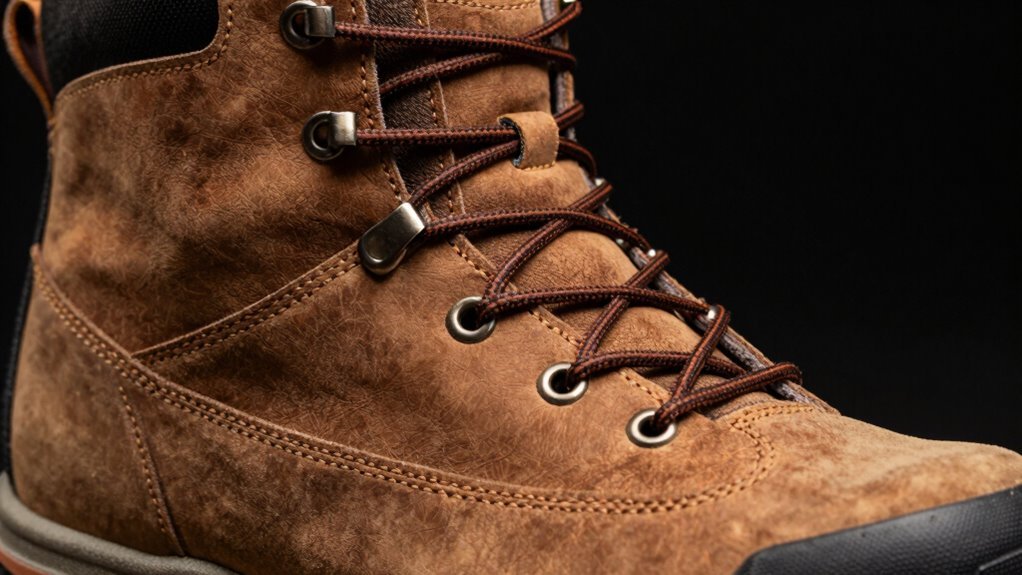
To lace boots for downhill comfort, start by lacing snugly from the bottom to secure your foot. Use an over-under weave at the heel to lock it in place and prevent slippage on steep descents.
Tighten the lower eyelets firmly and opt for strong laces like polyester or paracord—they won’t stretch when the trail gets tough. For extra security around the ankle, tie a surgeon’s knot to maintain tension.
If pressure builds at the top of your foot, skip a few upper eyelets to relieve discomfort. Keeping proper fit and support ensures your toes stay comfortable and your knees are protected during the descent.
Understanding the Impact of Downhill Hiking on Foot Pressure
When you’re hiking downhill, your feet take on extra pressure like they’re starring in their own action movie—cue the dramatic slow-mo heel strikes.
That extra jolt? Your heel feels up to 32.1% more force than on flat ground, especially if you’re a rearfoot striker.
But here’s the cool part: walking slower actually helps reduce that pressure, keeping your heels happy.
While your heel clocks the spotlight, your forefoot chills out—pressure there drops by about 6.8%, thanks to your ankle doing a little extra flexing.
Speed matters too: go too fast, and pressure spikes on both heel and forefoot.
Keep it comfy and controlled, though, and your feet stay more balanced.
This isn’t just about comfort—it’s smart prevention, especially if you’re dodging issues like plantar fasciitis.
This shift in pressure is linked to a pronounced increase in the loading slope during downhill walking.
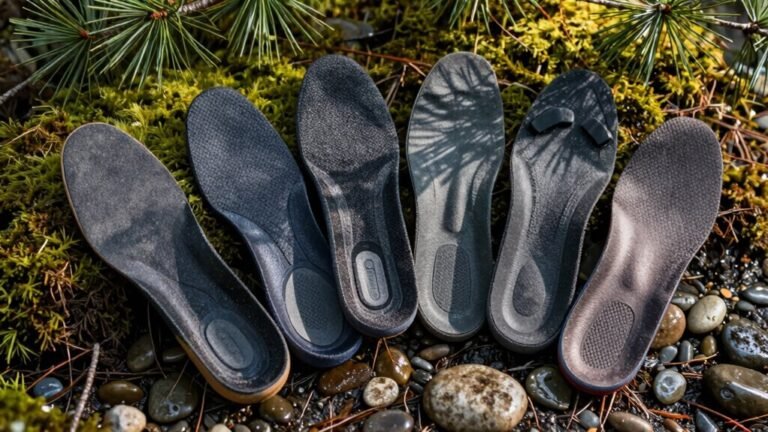
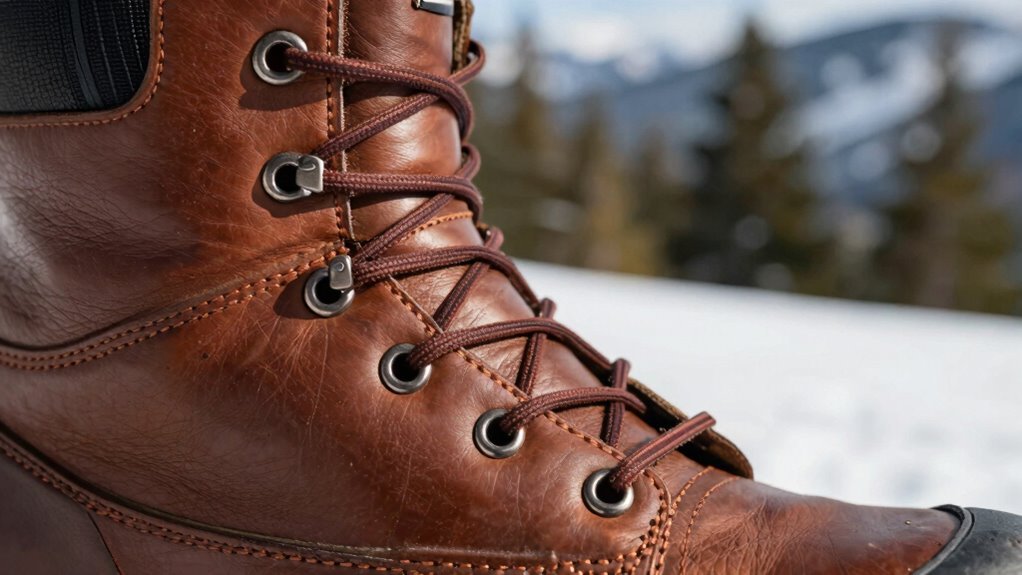
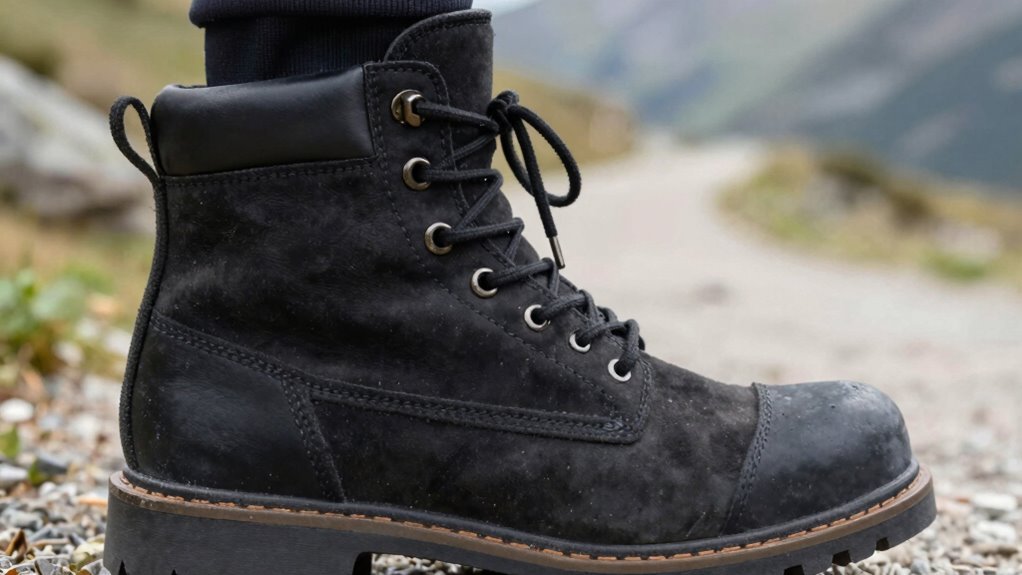
Choosing the Right Lacing Material for Stability
Your feet are already putting on a blockbuster with every downhill step, so don’t let flimsy laces steal the show.
Skip cotton or weak strings—they stretch, snap, and leave you wobbling.
Go for synthetics!
Polyester laces are light, water-resistant, and tough enough for most hikes, though they won’t win an abrasion arms race.
Need more grit?
Paracord’s got your back with triple the abrasion resistance of polyester and enough strength to tow a mini-fridge—well, almost.
For the ultimate hold, UHMWPE laces laugh at steel’s strength, float on puddles, and brush off rocks like eyelet ninjas.
Kevlar’s strong—crazy strong—but don’t trust it when it’s wet and cold; it freezes up and rots faster than last week’s leftovers.
UHMWPE laces maintain superior knot security, especially when waxed versions improve stability.
Pick smart: durability, abrasion resistance, and water behavior make or break your downhill stability.
Lace up right, and your boots won’t just follow—you’ll lead.
The Heel-Lock Lacing Technique for Maximum Security
How’s this for downhill drama? Your heel’s slipping, toes are jamming, and every step feels like a battle—until you try the heel-lock lacing technique.
It’s a game-changer for serious trail comfort and security.
The heel lock focuses pressure along the foot’s natural curve from instep to ankle, where it’s most effective for stability and comfort.
Here’s how to nail it:
- After lacing normally, skip a crossover and run laces straight up, then thread each under the opposite lace for a snug loop.
- Pull both laces upward to lock the heel in place—think of it as a seatbelt for your ankles!
- Wrap them around each other into a surgeon’s knot, run up to the next hooks, and repeat if needed.
Finish with a criss-cross and double knot.
This clever trick stops heel lift, cuts toe smashing, and keeps you stable on steep descents.
You’ll laugh at how easy it is—your boots won’t hug you any tighter without a permit!
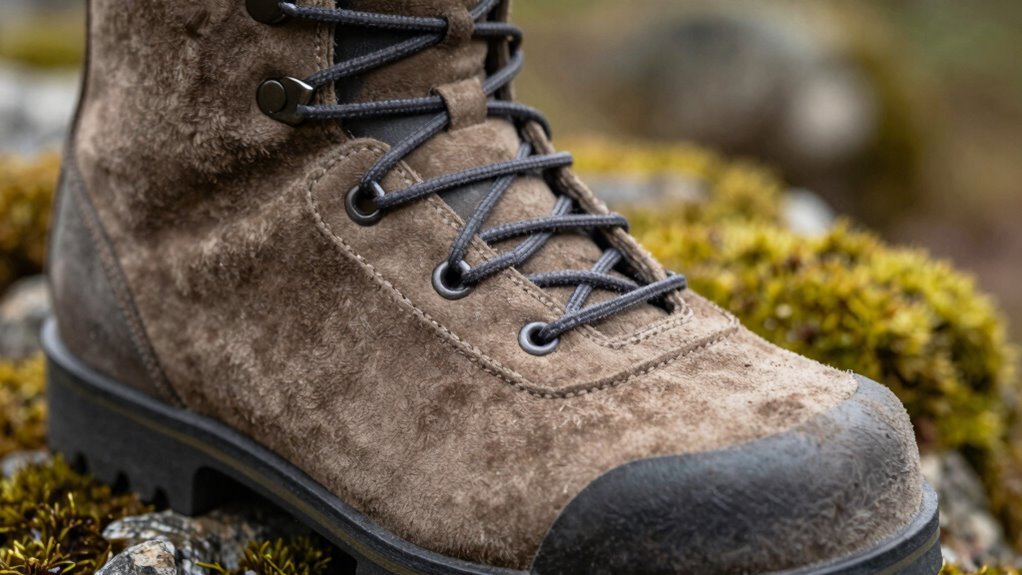
Adjusting Tension to Prevent Toes From Slipping Forward
Though your heel’s finally staying put, you might still feel your toes creeping forward with every downhill step—until you master the art of tension tuning.
Start by lacing up snug from the bottom, using the lower grommets to lock your heel in place—give a light kick to settle it just right.
Pull those laces up and out to eliminate slack, then apply a surgeon’s knot at the first and second hooks: wrap twice, pull tight, and you’ve nailed it.
This nifty knot keeps tension from slipping, so your foot won’t slide forward like it’s trying to bail on the hike.
Crank the lower section snug before easing into the top, and finish with a double knot to keep things locked down all day.
Proper tension isn’t magic—it’s science with a side of savvy.
Your toes will thank you when they’re not playing pinball with your boot’s front wall.
Using the Skip-Lace Method to Relieve Top-of-Foot Pressure
When your foot’s screaming for relief on the descent, skip-lacing swoops in like a trail superhero. This clever trick eases pressure right where your foot arches up, so you’re not battling lace bite with every step down.
Skip-lacing creates a “window” over your instep by bypassing a pair of eyelets—simple, effective, and seriously comfortable.
Here’s how to nail it:
- Lace normally from the bottom until you hit your pain zone.
- Run each lace straight up (no cross!) to the next set, skipping the diagonal.
- Cross them over after the skip, form that window, and lock tension with a surgeon’s knot below.
You keep support where you need it, but let your foot breathe right on top.
It’s like giving your bones a vacation—perfect for long downhill stretches.
Give it a try; your feet will thank you with high-fives.
Creating a Snug Midfoot Wrap for Better Arch Support
If your feet are sliding around inside your boots like loose change in a pocket, you’re in for a treat—midfoot lock lacing is about to become your new best friend.
Criss-cross your laces up to the midfoot, then create small loops at the second-to-top eyelets on the same side. Cross the lace into the opposite loop and pull—it’s like giving your arch a supportive hug.
This snug wrap locks your foot in place, keeping your arch planted on the insole where it belongs.
You’ll get better stability, less wobble, and no more sloshing on steep trails.
It’s perfect for downhill hiking, rocky terrain, or any time your foot needs a little more high-five than fist bump.
Bonus? It works like magic for shallow or high arches.
Just don’t pull too tight—keep it snug, not squirrel-level panic.
Test it with a walk.
Feel solid? You’re ready to crush the descent in comfort.
Applying the Window Lacing Fix for Hot Spots and Blisters
You’ve got your midfoot locked down nice and snug, but what about those pesky hot spots that show up like uninvited guests on a long downhill stretch?
Fix ‘em fast with window lacing—your secret weapon for instant relief.
Here’s how:
- Skip the crisscross over your pressure point—run the lace straight up both sides like you’re drawing a little window.
- Keep it open across 1–2 sets of eyelets, giving your high arch or bunion room to breathe without lace bite.
- Resume crossing above the gap, and lock it off with a surgeon’s knot to keep everything steady.
It’s like giving your foot a vacation right in the middle of the hike.
No more wincing at every step—just smooth, blister-free descents.
Win the downhill war with a few clever lace moves and your boots will feel custom-made.
Testing and Fine-Tuning Laces Before the Descent
Before you charge down the mountain like a caffeinated goat, take a beat to make sure your laces are dialed in just right.
Snug up the lower part first, then work your way up—tight enough to feel secure, but not so tight your toes throw a protest.
Stand flat, walk around, and flex your ankle; check for hot spots, numbness, or heel slip.
If something pinches, loosen up and micro-adjust with a quick pop of the lacing mechanism, then re-crank.
Make sure the lace runs clean through grommets and hooks, locking tension where it counts.
Wiggle your toes—they should still feel alive and happy.
Tie a solid double knot to keep everything snug all run long.
Test again: bend, step, shift, and stomp a little.
When it feels *just right*, you’re not Goldilocks—you’re ready.
Comfort is king, and today, your boots reign supreme.
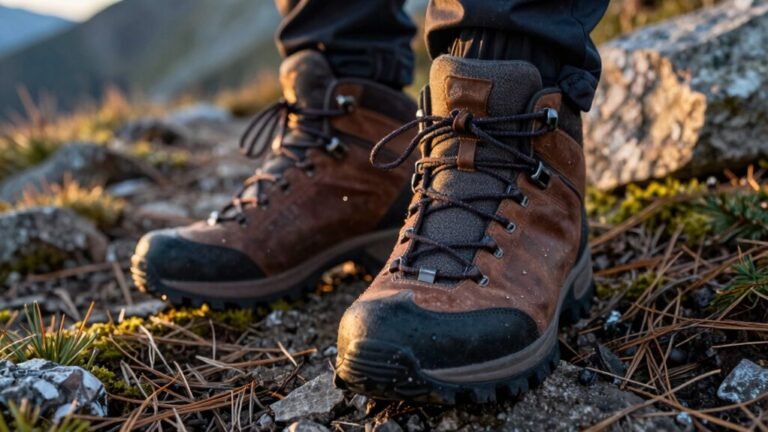
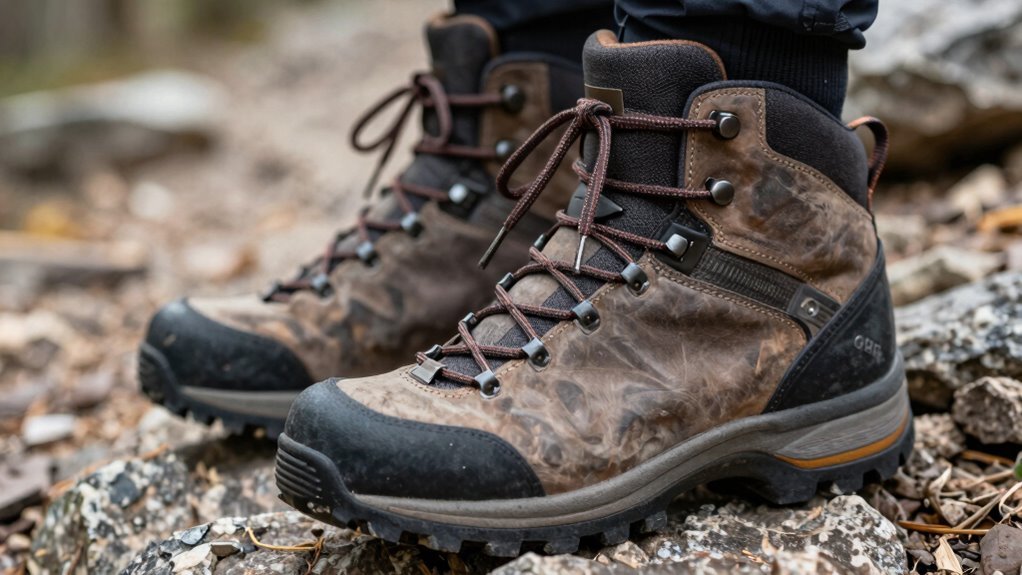
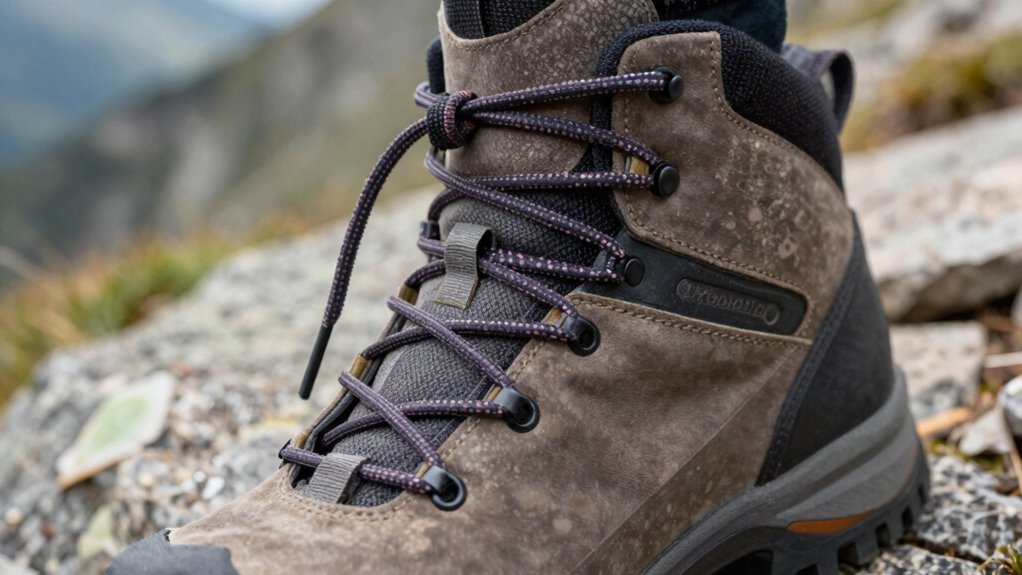
Addressing Heel Slippage With Over-Under Lacing Locks
How’s your heel staying put when that first steep pitch calls your name? With over-under lacing locks, you’ll ditch the dreaded heel slide for good. This slick trick keeps your foot planted, snug, and ready for action—no more surprise slips that make you look like a rookie on ice.
Here’s how to master it like a pro:
- Start by threading laces through the bottom eyelets, then run loose ends *under* the second pair from the opposite side.
- Pull up and out to tighten the heel zone, alternating *over* (outside-in) and *under* (inside-out) at each pair—remember, “Even Over, Odd Under”!
- Keep criss-crossing upward, then lock it down with a surgeon’s knot at the instep and a double knot on top.
You’ll laugh your way down the mountain—heels locked, confidence soaring.
Maintaining Lacing Adjustments on Long or Technical Descents
Ever hit that long, bumpy descent and feel your laces slowly betray you like a ski buddy who packed only kale chips?
Don’t let loose boots ruin your flow.
Start by cinching the lower laces tight—pull up and out through the bottom grommets, then tap your heel down to lock it in place.
Tighten inner liner laces first for a snug shin hug before tackling the outer shell.
If you’ve got a Boa, crank the lower dial tight before the upper—it’s got more pull power.
Use double knots or two twists on standard laces to stop slippage, and tuck speed lacing tabs into pockets.
Cross laces at the top for friction, and roll up any slack.
Re-tighten dials or knots mid-run if needed, and always check heel fit after big drops.
Stay locked in, stay comfy, and let your boots keep up with your steepest runs.
Frequently Asked Questions
Can I Use Elastic Laces for Downhill Hiking?
No, you shouldn’t use elastic laces for downhill hiking—they stretch too much and let your foot slide around.
That means more blisters, toe-jamming, and wobbly steps on steep trails.
Your boots won’t lock down right, and your feet will feel the burn.
Stick with traditional laces; they give you the snug fit and control you need.
Trust me, your toes will thank you!
Do I Need Different Lacing for Wide Feet?
Yeah, you do need different lacing if you’ve got wide feet—your comfort totally depends on it!
Regular lacing crams your toes, but tricks like parallel or skip-eyelet lacing open things up fast.
They spread pressure evenly, so no more tight squeeze or hot spots.
Think of it like giving your feet a cozy hug instead of a chokehold.
Plus, your boots’ll fit better, and hey, happy feet mean happier trails—nobody wants grumpy toes whining all hike long!
How Often Should I Replace My Boot Laces?
You should replace your boot laces every 6 to 12 months, like changing your socks’ superhero capes before they lose their power.
If you’re hiking daily or sweating up storms, swap them every 3 to 6 months.
Watch for fraying, stiffness, or knots that bail on you mid-stride.
Dirty, brittle, or slack laces? Toss ’em!
Fresh laces keep your fit snug, safe, and ready for adventure—no more foot gymnastics!
Are Thicker Laces Better for Steep Descents?
Nope, thicker laces aren’t automatically better for steep descents—you don’t want to turn your boots into wrestling shoes!
Thicker laces can bunch up and create pressure points, making your feet scream, “Help!”
Instead, match the lace shape and thickness to your boot’s design.
Flat or oval laces usually grip better and lie flatter, giving you smooth, even tension.
Stick with durable, abrasion-resistant materials—they’ll hold tight when you’re zigzagging down like a snow-savvy squirrel.
Can Lacing Techniques Prevent Ankle Rolling?
Yes, you can stop ankle rolls with smart lacing—think snug, secure, and savvy.
Slide your laces tight using tricks like heel locks and D-ring grips, keeping your feet firmly in place.
No slip, no slide, no silly sideways rolls.
You’ll stomp down slopes with confidence, not catastrophe.
Lace right, laugh louder, and let trails test your grit, not your grip.
Conclusion
You’ve got your boots on, laces tight, and the trail waits. One step down, and your feet stay put—no slipping, no hot spots. That heel-lock? Genius. The skipped laces? A pressure escape hatch. You’re gliding, not grinding. But wait—what’s that near the switchback? A rogue root? No problem. You’re locked in, ready for anything. Descent mode: activated. Laces? Not just tied. *Tactical.*
References
- https://pmc.ncbi.nlm.nih.gov/articles/PMC6656354/
- https://pmc.ncbi.nlm.nih.gov/articles/PMC12589005/
- https://www.jmir.org/2024/1/e44948/
- https://www.backpacker.com/skills/backpacking-fitness/this-is-the-most-common-overuse-injury-that-derails-thru-hikes-and-how-to-avoid-it/
- https://adventureandy.com/blogs/news/boot-lace-buyers-guide
- https://nicksboots.com/blogs/blog/what-to-look-for-in-hiking-boots-a-guide-to-comfort-durability
- https://www.rei.com/learn/expert-advice/hiking-boots.html
- https://footstepsintheforest.com/the-parts-of-hiking-boots/
- https://www.thenorthface.com/en-us/approach/best-hiking-boot-lacing-techniques
- https://alamoshoes.com/blogs/general/understanding-the-anatomy-of-a-good-hiking-boot