Quick Tips for Hiking Shoes
When shopping for hiking shoes, grab quality hiking socks and try on boots in the evening—feet swell during the day, so this ensures a more accurate fit. They should feel snug but not tight, with enough room to wiggle your toes for comfort on the trail.
Break in your hiking shoes before hitting the wilderness. Start by wearing them around the house, then gradually take them on short walks to prevent blister surprises later.
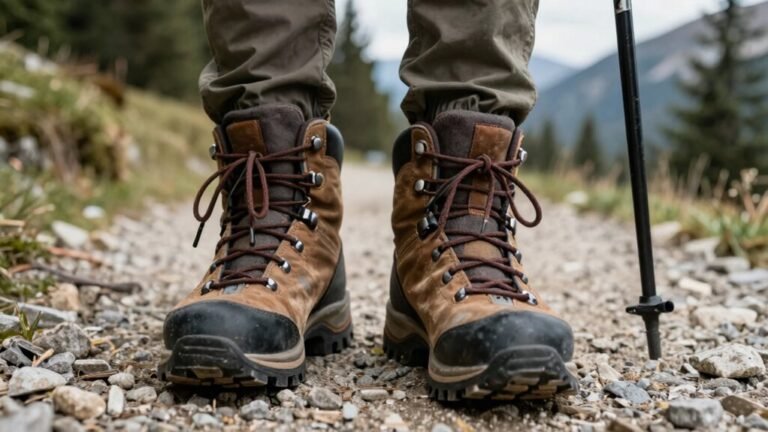
Choose mid-cut hiking shoes for rocky or uneven terrain, as they offer extra ankle support. Opt for low-cut styles for light hikes on well-maintained trails, where agility and breathability matter most.
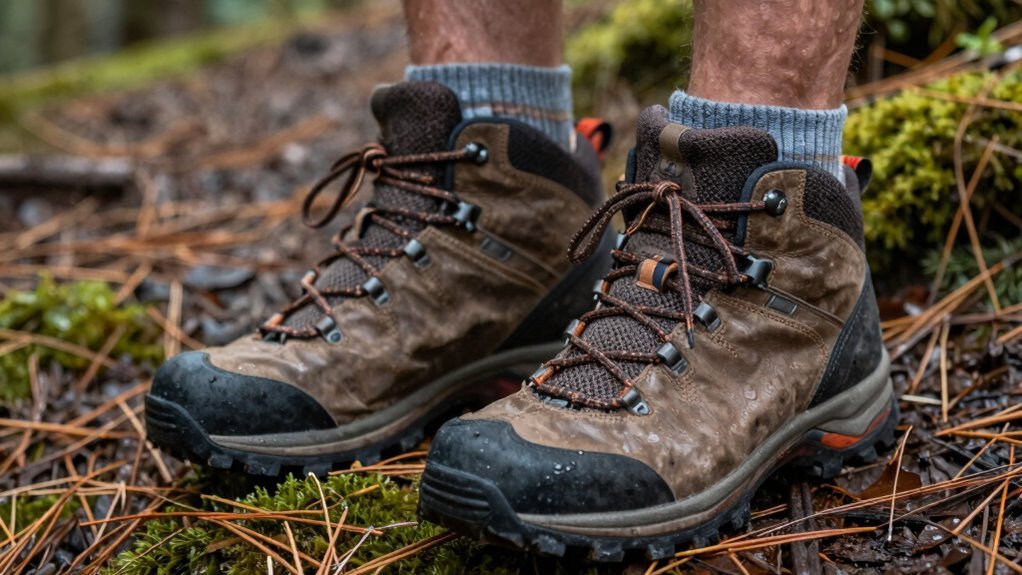
Go for waterproof hiking shoes when you’ll encounter puddles, mud, or wet conditions. Your feet will stay dry and comfortable, making every step more enjoyable—there’s plenty to love about trail-ready toes.
Choose the Right Fit for Your Feet
Ever wondered why some hikes leave your feet feeling happy while others turn into a blister-filled nightmare? It all starts with choosing the right fit.
Wear your hiking socks when trying on boots, and always size to your longer foot—you’d be surprised how often one foot plays catch-up!
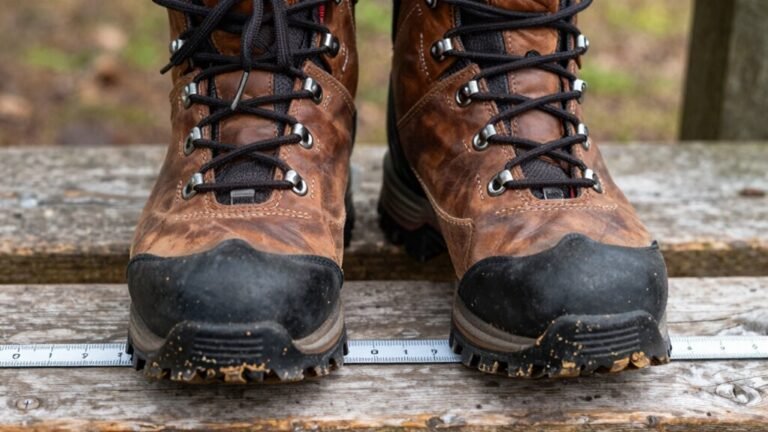
Slide your foot in, push your toes to the front, and have someone check for that magic finger’s width between heel and boot.
You’ll want a thumb’s width past your longest toe, too, so downhill scrambles don’t turn into toe-pounding disasters.
Wiggle room? Yes.
Side-to-side sliding? Nope.
Your foot should feel snug but never squeezed, like a cozy high-five.
Align your arch with the boot’s flex point—off by half a size, and you might invite plantar fasciitis to hike with you (Spoiler: it’s a terrible trail buddy).
Try boots in the evening, walk around, even hit the store’s ramp.
Your feet will thank you every mile.
Heel should lock in position to prevent slippage and keep your foot stable during movement.
Break In Your Shoes Before the Trail
You’ve nailed the perfect fit, and now it’s time to make those hiking shoes truly yours—think of it as a first date before the big commitment of a backcountry trek.
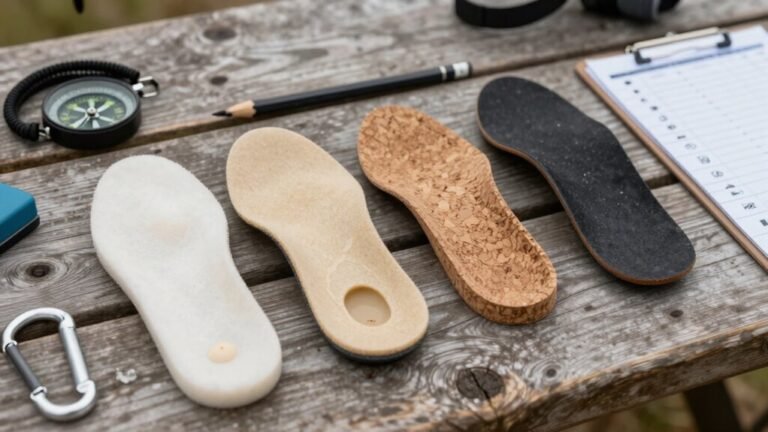
Wear them around the house with your trail socks and insoles, shuffling, stair-climbing, and toe-gripping like you’re prepping for boot camp.
Stuff tight spots with socks or newspaper, or use a wooden stretcher for stubborn pinch points.
Try a dab of natural break-in cream, or gently heat leather with a hairdryer—then flex and wear briefly so they mold to your feet.
Walk laps through your living room like you’re pacing a finish line.
Then hit short, easy trails with a loaded pack to build toughness.
Test different laces and double-layer socks—hello, no-blister zone!
Let them splash through puddles, dry slow, and repeat.
Gradually increase wear time to allow the boots to conform to your foot shape and prevent blisters.
Trust us, your feet will thank you when trail day finally arrives—no nasty surprises, just happy hiking.
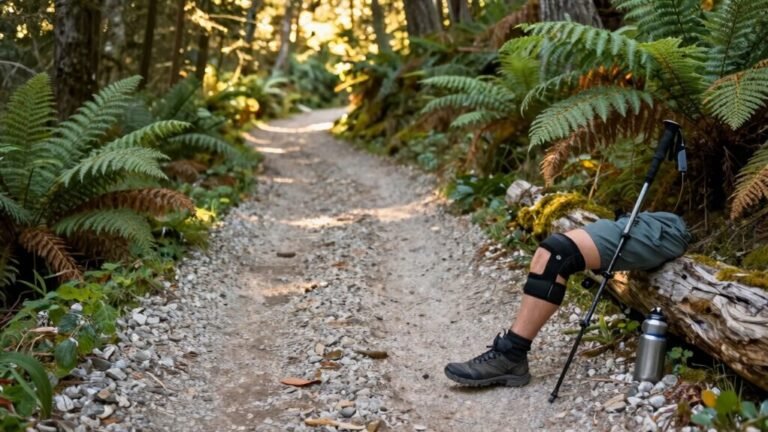
Prioritize Support and Stability
When the trail throws curveballs like loose rocks, mudslides, or root mazes, your shoes better keep your feet from throwing a mutiny—so don’t skimp on support and stability.
You need a firm midsole—32.6 HA firmness, 17.7% stiffer than average—to keep your feet aligned and happy.
If you’ve got flat feet or low arches, firmer cushioning and contoured footbeds prevent overpronation and add comfort.
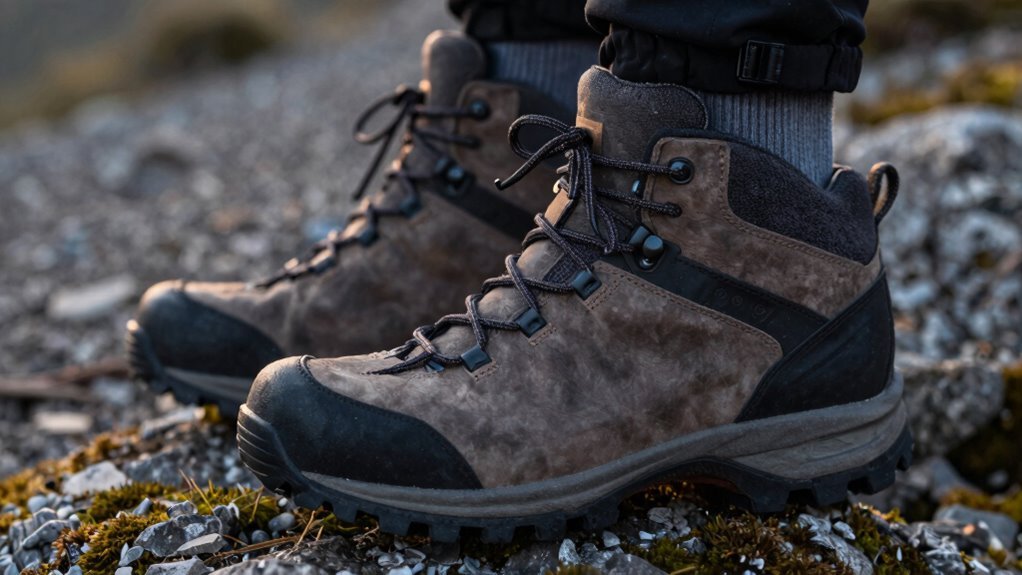
Look for a stiff nylon or TPU shank; it stops your shoe from twisting when you step sideways on a slope.
A 4/5 rigid heel counter locks your heel in place, so it doesn’t wobble around like jelly.
Broad platforms (117.2/101.3 mm!) and deep 4.8 mm lugs give you a planted, sure-footed ride.
With maximum torsional rigidity and smart density zones, your shoes won’t just hold up—they’ll hold *you* up, mile after bumpy mile.
The Merrell Moab 3 GTX offers a forgiving yet supportive feel, making it a top choice for overall stability on the trail.
Select the Proper Shoe Height
Why let the wrong shoe height slow you down when the trail’s calling?
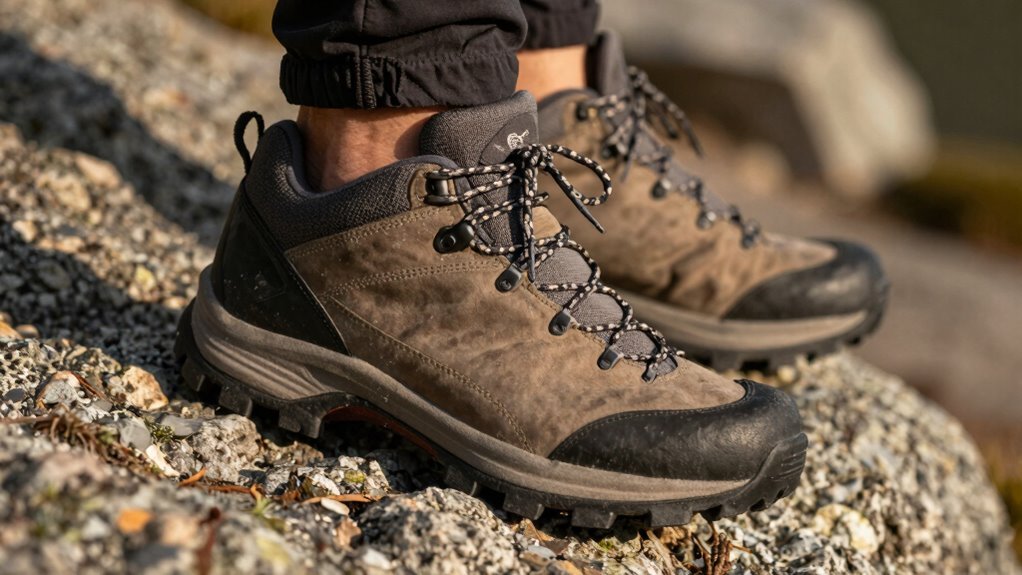
If you’re trekking flat, dry paths, grab low-cut shoes—they’re light, flexible, and feel like your favorite runners.
They give you freedom to move fast and stay comfy, perfect for thru-hikers who value speed.
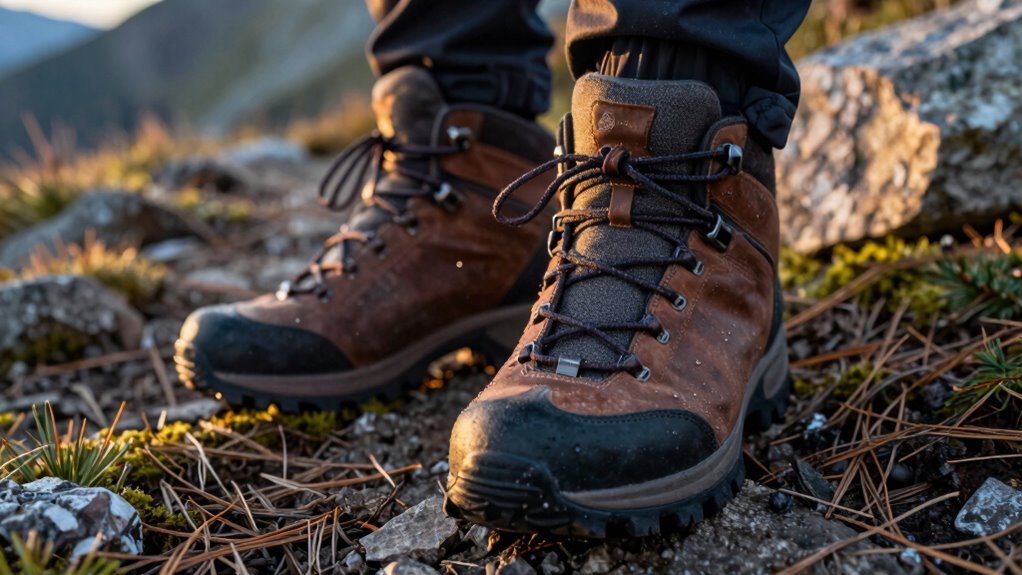
Hitting rocky hills or uneven ground? Mid-cut boots offer extra protection without weighing you down, shielding your ankles from scrapes while staying agile.
For snowy peaks or rugged mountain trails with heavy gear, high-cut boots are your go-to—they lock in warmth, block water, and handle crampons like a pro.
But don’t be fooled: taller isn’t always stabler.
Research shows shoe height doesn’t prevent sprains—your muscles and shoe foundation do.
So skip the myth that high tops save ankles.
Match your shoe height to the terrain, not fear.
Your feet will thank you when you’re striding strong with the right fit.
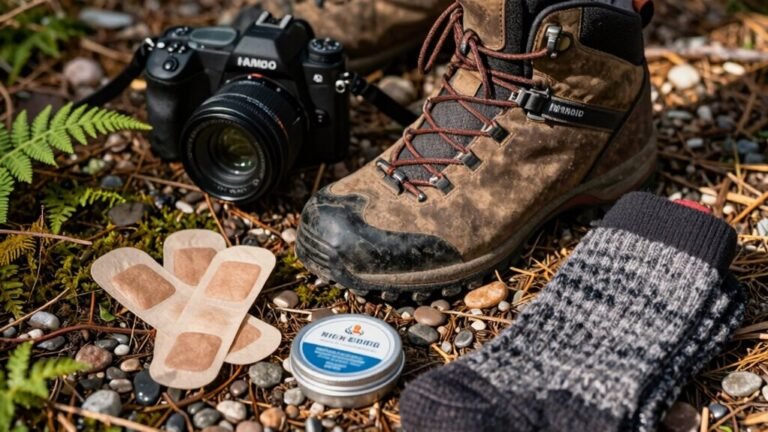
Opt for Moisture-Wicking Socks
Your shoe height sets the stage, but what you wear inside makes all the difference—especially when sweat starts pouring and your feet beg for relief. Swap out cotton socks—they trap moisture like a swamp—and go for moisture-wicking ones instead.
They pull sweat away from your skin and let it evaporate, so your feet stay dry, cool, and happy. Made from materials like merino wool, polyester, or smart blends, they keep you comfy on hot trails or icy peaks.
Plus, they fight stinky bacteria (because nobody likes hiking with cheese feet). These socks reduce friction, cushion your stride, and help prevent blisters—total trail game-changers.
Merino wool? Absolute magic—it wicks well, feels soft, and still insulates even when damp. With mesh zones for airflow and serious sweat-fighting power, your feet won’t just survive the hike—they’ll throw a party.
Consider Waterproofing for Wet Conditions
Wondering how to keep your feet from turning into swimming pools when the trail turns soggy?
Reboot your boot’s waterproofing!
Factory DWR fades, so if water stops beading, it’s treatment time.
Clean your boots first—dirt blocks protection—and soak the leather thoroughly with a wet towel before applying.
Use sprays for suede or nubuck (6–8 inches away, even coats), or wax for heavy-duty defense—warm it, rub it in, maybe even try beeswax with coconut oil DIY style.
Avoid Gore-Tex bits; just treat the outer fabric.
Waterproofing helps, but remember: sweat can get trapped, especially in rain-soaked hikes.
Test your work by walking through puddles or dabbing with a damp sponge—no soaking means you’re good!
Reapply regularly, air-dry naturally, and throw on gaiters for extra backup.
Your dry toes will thank you.
Frequently Asked Questions
How Long Do Hiking Shoes Typically Last?
Hiking shoes typically last 500 miles or about 6 months to a year, depending on your stride, weight, and trails.
You’re crushing miles on rocky paths or pavement, they’ll wear down faster—especially since concrete chews through soles three times quicker than dirt trails.
Watch for worn lugs, cracked midsoles, or sad, flat insoles.
When your kicks start looking like they’ve given up, it’s time to retire them—don’t wait until they bail on you mid-hike!
Can I Wear Hiking Shoes in the City?
You can absolutely wear hiking shoes in the city, and you’ll rock them!
They handle pavement, parks, and surprise puddles like a champ.
Sure, they’re a bit heavier than sneakers, and your feet might warm up faster, but hey, that’s what calling them “urban armor” is for.
They’re tough, supportive, and turn every sidewalk into your adventure zone—perfect if you hate switching shoes between streets and trails.
Are Expensive Hiking Shoes Worth It?
Nope, you don’t need to sell a kidney for good hiking shoes—phew!
You’ve got options, and they’re crushing it on trails without charging a fortune.
That $50 pair? It’s dodging pointy rocks like a boss, while some pricey names barely keep up.
Sure, splurge if you love paying extra for bragging rights, but honestly, smart budget picks hike just as far, last years, and keep your wallet happy.
Who’s laughing now, fancy lace-ups?
How Do I Clean My Hiking Shoes?
You clean your hiking shoes by first knocking off dried mud—don’t let it harden, or they’ll look like cave relics!
Pull out the insoles and laces, then scrub them down with a soft brush and lukewarm water.
Use a proper cleaner, not your sis’s fancy shampoo—trust us.
Rinse well, air dry away from heat, and never bake them in the sun.
Your shoes’ll stay fresh, comfy, and ready for the next adventure!
Should I Size up for Hiking Shoes?
No, you don’t need to size up—unless your toes are knocking on the door at the end of the day!
Feet swell on hikes, sure, but oversized shoes turn your boots into slip-and-slide zones.
Aim for a thumb’s width of space, snug but not tight.
If you’re between sizes, go larger, but don’t gamble with blisters.
Fit beats fashion when trails get tough!
Conclusion
You wouldn’t run a marathon in flip-flops, right? Same goes for hiking—your shoes are your ride-or-die. Remember Sarah, who ignored blisters on a trail and ended up hopping like a kangaroo with a cramp? Yeah, don’t be Sarah. Lace up the right fit, break ‘em in, and trust your feet like they’re your favorite playlist—because happy feet mean epic adventures. Now go crush that trail!
References
- https://www.outdoors.org/resources/amc-outdoors/outdoor-resources/new-hiking-boots-how-to-check-and-adjust-the-fit/
- https://www.rei.com/learn/expert-advice/hiking-boots.html
- https://currex.com/blogs/news/ultimate-hiking-boot-fitting-guide
- https://stories.hanwag.com/en/hiking-boot-sizing-4-top-tips-for-a-perfect-fit/
- https://obozfootwear.com/en-us/community/some-advice-on-a-good-fit
- https://www.youtube.com/watch?v=Ll3imgiSZik
- https://www.caminodesantiago.me/community/threads/how-to-properly-size-and-fit-footwear-for-distance-walking-and-backpacking.73652/
- https://www.wrightsock.com/blogs/news/5-ways-to-break-in-new-hiking-boots
- https://www.kuhl.com/borninthemountains/how-to-break-in-hiking-boots-the-ultimate-guide
- https://www.columbia.com/breaking-in-hiking-boots.html