How to Use Pack Fit the Right Way
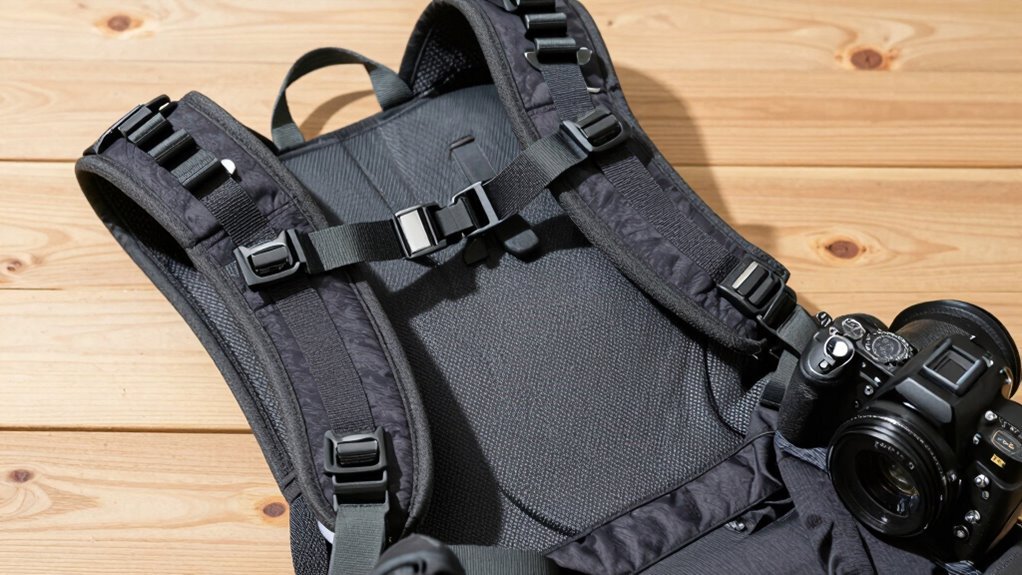
Measure your torso from the base of your neck to your hip crease—yep, that’s the C7 vertebra and iliac crest in action. This measurement is key to choosing the right pack fit, so don’t skip it.
Snug the hip belt right over your hips, where it’ll hug like a supportive friend. Proper pack fit starts here, ensuring the weight rests on your hips, not your shoulders.
Adjust shoulder straps to follow your curves, then lean forward to settle the load. Pull those load lifters tight at a 30° angle to stop sagging.
Click the sternum strap just below your collarbones. It’s like a backpack spa day—everything in place, nothing pinching.
Get this right, and you’ll wonder how you ever hiked with a wobbly pack before. There’s even more to uncover for next-level comfort.
Measure Your Torso Length for the Perfect Fit
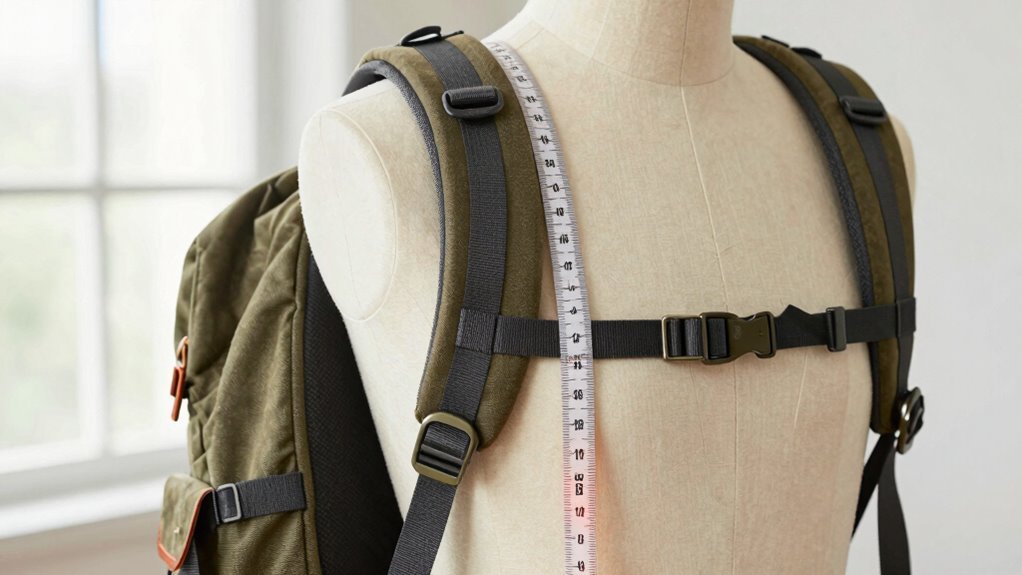
How do you nail the perfect backpack fit? You start by measuring your torso—no guessing!
Tilt your chin to your chest and feel for that bony bump at the base of your neck: that’s your C7 vertebra. Have a friend mark it—it’s the starting line.
Next, find your iliac crest (fancy term for the top of your hip bones); slide your hands down your sides like you’re caking frosting until thumbs hit the peak of your hips. That’s your finish line.
With a flexible tape, measure straight down your spine from C7 to that hip crease, following your natural curve.
Do it three times—hey, precision’s worth it!
Torso length, not height, picks your pack.
And if you’re between sizes? Size down. Your hips will thank you later.
Pro tip: brands vary, so always peek at their size charts—your 18-inch torso might be someone’s small, not medium!
Position the Hip Belt for Maximum Support
Locking in your pack’s hip belt right? First, find your iliac crest—it’s that bony ridge at your hips. Drop your arms and press a finger just behind your elbow crease to spot it.
Once found, center the hip belt padding right over your front hip bones, letting the top of your rear hips nestle into the upper padding.
The padded wings should hug your curves like a supportive friend who knows when to squeeze.
Keep the belt snug but not tight—no pinching! Leave about two inches of adjustment room so you can fine-tune as you go.
Buckle it at your belly’s center for balance, and don’t let it slide down or sit too high.
If the pack feels like it’s riding on your love handles, fix the fit!
Proper positioning means less shoulder strain and more hiking joy.
Your hips should carry the load, not your back—smart support makes all the difference.
Measure around the top of the hips, hugging the iliac crest to ensure the hipbelt sits correctly for optimal weight distribution.
Adjust Shoulder Straps to Eliminate Pressure Points
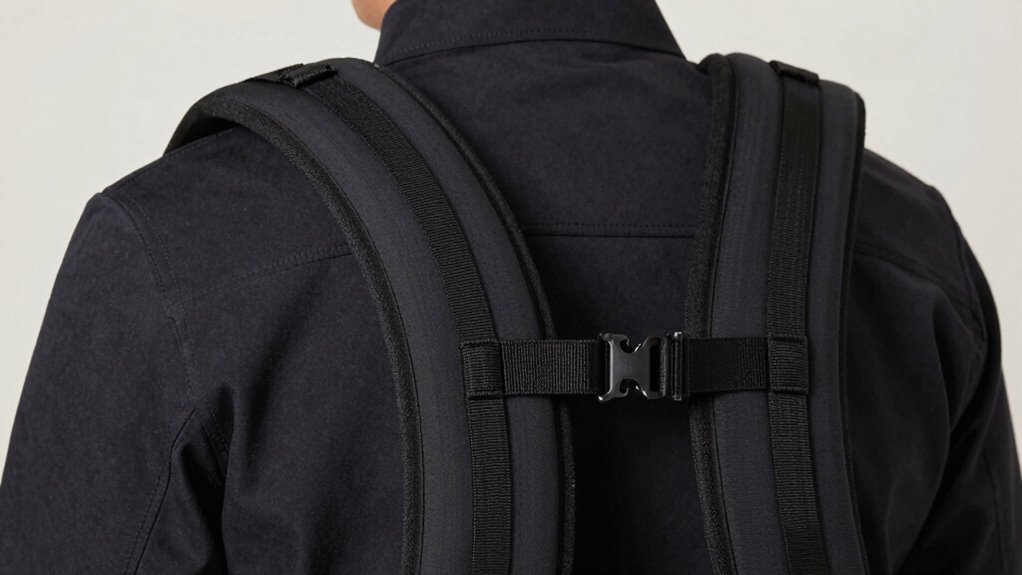
Set those shoulders free—nobody signed up for a backpack that digs in like it’s picking a fight.
Slide the shoulder strap anchors one to two inches below your shoulder tops so they hug the curve naturally, not your neck or armpits.
If they pinch or ride up, your pack’s probably too big.
Adjust both sides evenly—nobody likes a lopsided tug-of-war.
Snug them down until the weight feels balanced across your upper and lower back, not crushing your shoulders.
Lean forward slightly to let the pack settle, then tighten.
They should feel firm but friendly—no cutting off circulation!
Use the sternum strap to keep everything centered and comfy.
When it’s just right, your shoulders won’t scream for mercy halfway through the trail.
Properly adjusted straps help distribute weight evenly and reduce strain, especially when comfort and support are prioritized in the fit.
Now you’re carrying smart, not sore.
Use Load Lifters to Balance the Pack’s Weight
Feeling like your pack’s trying to do the limbo—how low can it go?
Use your load lifters to fix that sag and shift weight where it belongs: your hips.
These handy straps connect the top of your pack to your shoulders and, when tightened just right, pull the load close to your back.
No more leaning like a drunk giraffe!
A proper 30° to 45° angle keeps everything snug and balanced.
You’ll get the most out of load lifters when:
- Your pack is 35+ liters and feeling heavy.
- You’re carrying over 15–25 pounds.
- The top of your pack tilts away from your back.
- You’re hiking on rough, bumpy terrain.
Snug them up—but not too tight—and say goodbye to shoulder fatigue. You’ve got this!
Fine-Tune Chest and Sternum Straps for Stability
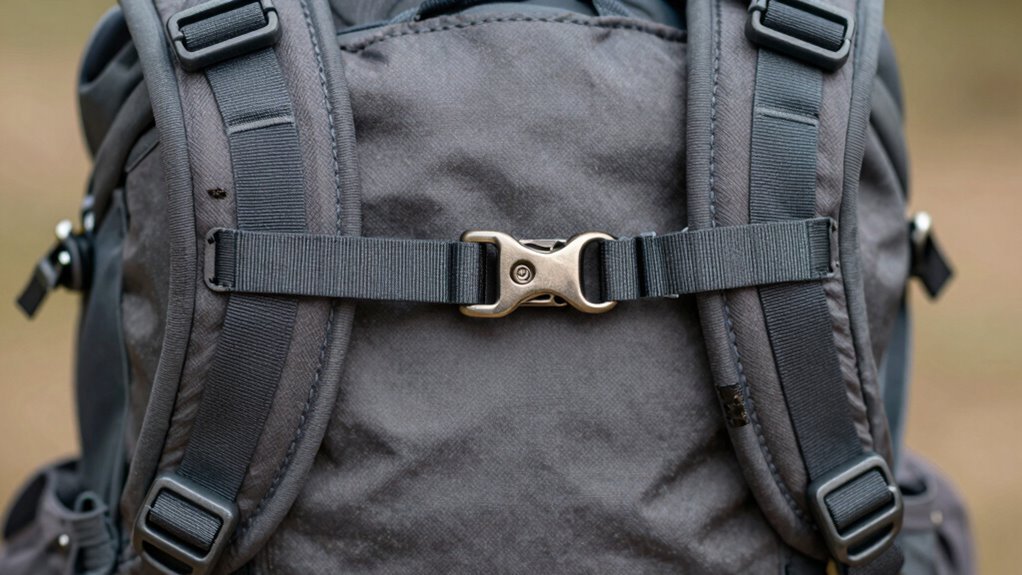
Once your hipbelt, shoulder straps, and load lifters are dialed in, it’s time to bring in the unsung hero of pack stability—your sternum strap.
Position it about an inch below your collarbones, sliding the adjuster on the daisy chain to find the sweet spot—up or down works, just go with what feels right.
Clip it in an X shape (right to left, left to right) for snug security.
Tighten it just enough to hold the shoulder straps in place without pinching or making it hard to breathe—think “snug, not strangling.”
Pull the ends toward your belly button for a secure fit, and adjust in small tweaks to dodge pressure points.
It’ll keep straps from slipping, stabilize your load, and let your chest expand naturally.
Don’t overcrank it—your lungs aren’t luggage.
A well-tuned sternum strap? Pure magic.
Your shoulders will thank you!
Frequently Asked Questions
How Do I Clean My Pack Fit Backpack?
You clean your Pack Fit backpack by emptying all pockets, then giving it a good shake upside down to kick out loose grit and crumbs.
Dunk it in a tub with lukewarm water and mild soap, scrub gently with a soft brush—especially sweaty spots—rinse well, and hang it in the shade to dry.
Don’t forget to squeeze foam pads and skip the dryer; your pack hates heat like a vampire hates sunshine!
Can I Use Pack Fit for Travel Backpacking?
Yeah, you can totally use your Pack Fit for travel backpacking—it’s built for it!
Its smart design gives you easy access, comfy carry, and just the right space for trips up to a week.
Toss in your gear, zip it shut, and go.
It squishes into overhead bins or slides under seats, and the padded straps won’t dig in.
Light on bulk, big on style—your back’ll thank you!
Is Pack Fit Compatible With Hydration Bladders?
Pack Fit works great with hydration bladders—you can totally keep your water handy and sip on the move.
Just slide the bladder into the sleeve or hang it where it fits, thread the tube through the port, and clip it to your strap.
Most models even have a loop to keep the tube from flopping around like a noodle.
Stay hydrated, my friend, without turning your pack into a science project!
Does Pack Fit Come in Different Colors?
Yep, Pack Fit comes in more colors than a box of crayons at a picnic.
You’ve got reds that pop, cool blues that chill, and greens that shout “I love nature!”
Pick pink for sweet charm or bold black for tough vibes.
Colors aren’t just pretty—they set the mood.
Match your style, grab attention, and let your pack speak before you even open your mouth.
Fun, right?
What Is the Warranty on Pack Fit?
Pack Fit doesn’t have its own warranty info listed here, so you’d need to check directly with the maker for coverage details.
You’ve got the right to ask—don’t be shy! Most brands cover defects, but rules vary. Just keep your receipt handy, treat your pack kindly, and avoid using it as a dance prop—unless it’s breakdancing-approved (probably not).
Conclusion
You grab your pack, and it grabs you back—just right. Torso measured, hips hugged, shoulders snug, weight balanced like a dance partner. Load lifters pull the load close, chest strap locks it in place. Everything clicks, like your favorite playlist syncing with sunrise. It’s not magic, but hey, it feels like it. Now go crush that trail, you glorious pack-wizard, you.
References
- https://www.outdoorsgeek.com/backpack-torso-size/
- https://www.gregory.com/fit-guide.html
- https://www.rei.com/learn/expert-advice/backpacks-adjusting-fit.html
- https://www.caminodesantiago.me/community/threads/how-to-properly-size-fit-and-adjust-a-backpack.73307/
- https://www.bigagnes.com/blogs/support/backpack-fit-guide
- https://hyperlitemountaingear.com/pages/hiking-backpack-size-chart
- https://www.youtube.com/watch?v=3PJRZkjvTPY
- https://atompacks.co.uk/blogs/how-to/how-to-find-your-size
- https://alpenglowsports.com/blogs/ultralight-backpacking/backpack-fit-guide
- https://www.youtube.com/watch?v=xsVJwVKfg-k