How to Use Blister Care the Right Way
Leave that blister alone—popping it just invites trouble, like infection or a longer healing time. Blister care starts with letting the blister heal naturally, keeping it clean and undisturbed.
Protect the area with a hydrocolloid bandage to cushion against friction and support healing. Wear comfortable shoes that don’t rub to prevent further irritation.
If the blister bursts, gently clean it with mild soap and water, keeping the overlying skin in place to protect the wound. Cover it with a sterile dressing to support proper blister care.
Watch for signs of infection like redness, pus, or fever—your body’s way of waving a red flag. Treat it right, and your skin will thank you with a faster comeback.
Identify the Type of Blister You Have
Ever wondered why that pesky bubble popped up on your heel or fingertip?
Well, it’s likely a friction blister—that common nuisance from tight shoes or gripping tools all day.
It’s filled with clear fluid and sits just under a thin layer of skin, healing fast if you leave it be.
But not all blisters are created equal.
If it’s red, dark, or looks like it’s filled with blood, that’s a blood blister—usually from a pinch or injury.
Burns can blister too, especially second-degree ones, and those need real attention.
And sometimes, blisters aren’t from rubbing at all—they’re from infections like shingles or even autoimmune conditions.
Spotting the type helps you treat it right.
So next time a bubble shows up uninvited, don’t just stare—identify!
It’s like detective work for your skin, and you’re the boss.
Some blisters come with systemic signs such as fever or fatigue, which may indicate a viral cause like chickenpox.
Leave It Alone: When Not to Pop a Blister
Why risk turning a tiny bubble on your foot into a big problem? That blister might look harmless, but it’s actually working hard to protect you.
Your body’s already got a repair crew inside it!
- The fluid shields you like a mini force field against germs
- Unbroken skin keeps things sealed tight—no bacteria party allowed
- Popping it turns your blister into an open door for infection
- You’ll likely feel more pain and heal slower—no fun there
- Nature’s got this: new skin grows underneath while fluid absorbs
- Even if you’re tempted, remember that popping a friction blister can disrupt healing and increase the risk of complications
Leave it alone—your body knows what it’s doing! Toss on a cushiony bandage, keep it clean, and let the magic happen. Your blister’s not a bug; it’s a built-in healer. Seriously, just walk away from the needle.
What to Do If a Blister Bursts on Its Own
So, your blister decided to pop all on its own—now what?
Don’t panic!
First, gently wash the area with warm water and mild soap—think of it as giving your skin a little spa moment.
Avoid harsh stuff like alcohol or hydrogen peroxide; they’ll sting and slow healing.
Pat it dry like you’re tucking it in for a nap.
If there’s a skin flap, leave it!
That’s your body’s built-in bandage.
Smooth it down, don’t pick—hands off, seriously.
Then, dab on a bit of antibiotic ointment (hello, Neosporin!) and cover with a sterile bandage or blister plaster.
Keep it padded—doughnut dressings aren’t just tasty, they’re handy!
Wear thick socks or gloves to ease pressure.
Watch for redness, pus, or fever—those mean it’s time to call the doc.
Fluid fills the blister as a natural response to skin damage, helping protect the area underneath during healing.
Healing’s happening, you’ve got this!
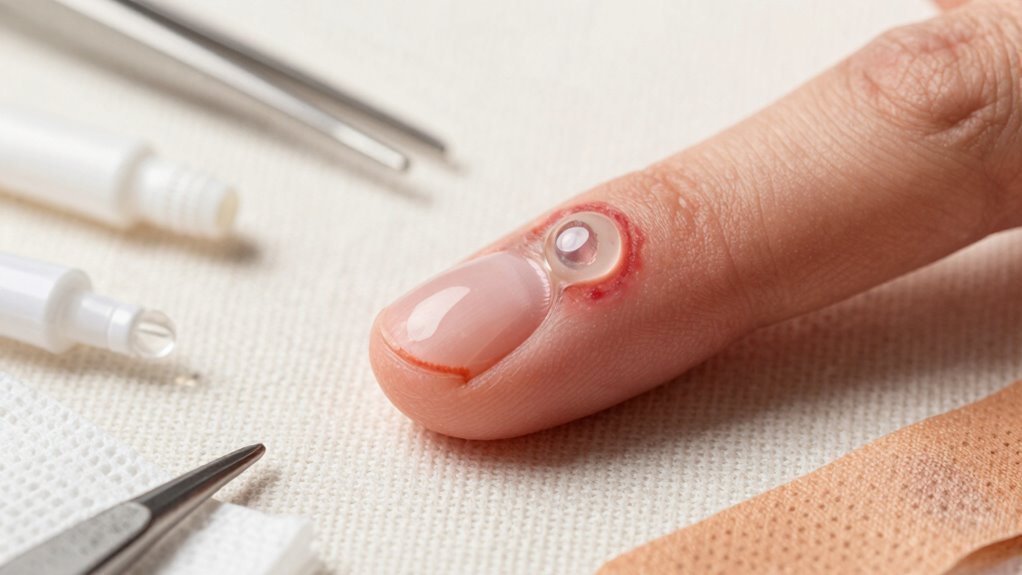
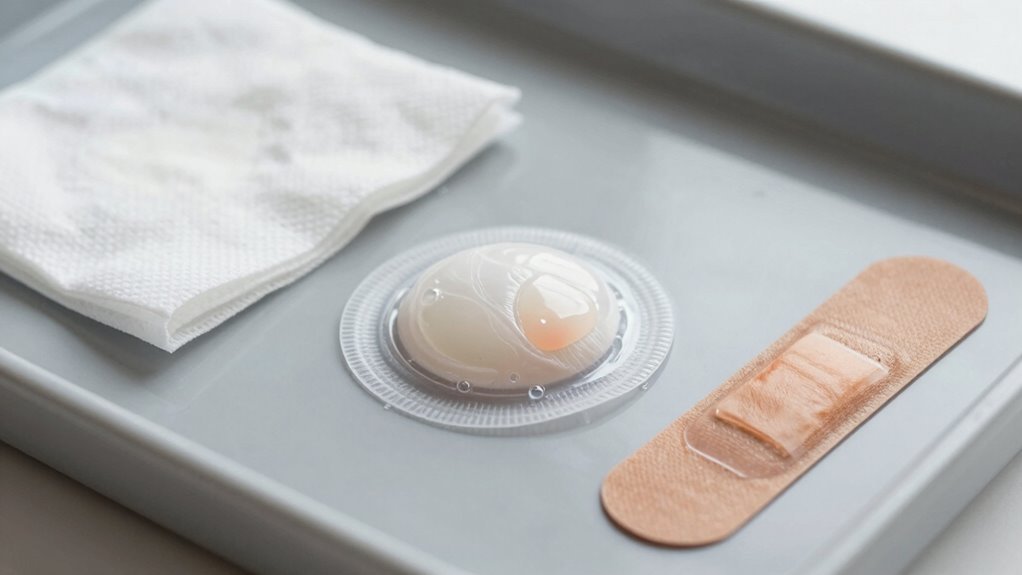
How to Safely Drain a Blister (If Necessary)
That was a close call with the blister popping on its own, but now let’s say you’re staring one down and it’s screaming for relief—time to take action.
Don’t panic—draining it safely is easier than you think, as long as you keep things clean and smart.
Think of it as a tiny rescue mission for your poor foot!
- Wash hands and clean the blister area gently with soap and warm water
- Sterilize a needle with rubbing alcohol and let it sit for 20 seconds
- Poke the blister near the edge, not the center—just a few shallow holes
- Let the fluid drain slowly while keeping the skin roof intact (it’s nature’s bandage!)
- Skip risky tricks like threading or cotton—and never yank the skin off
You’ve got this—precision over panic, every time!
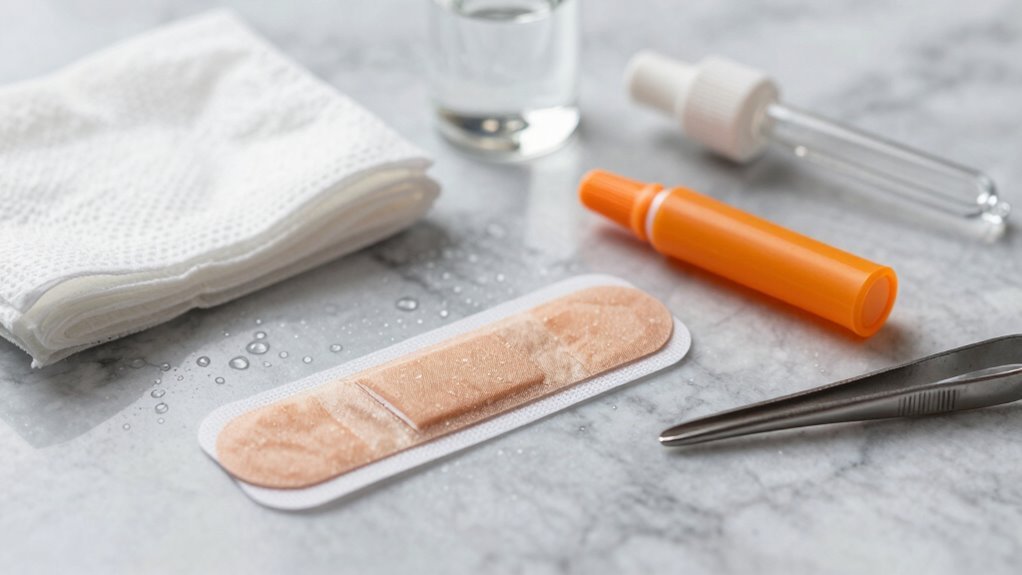
Clean the Area Thoroughly
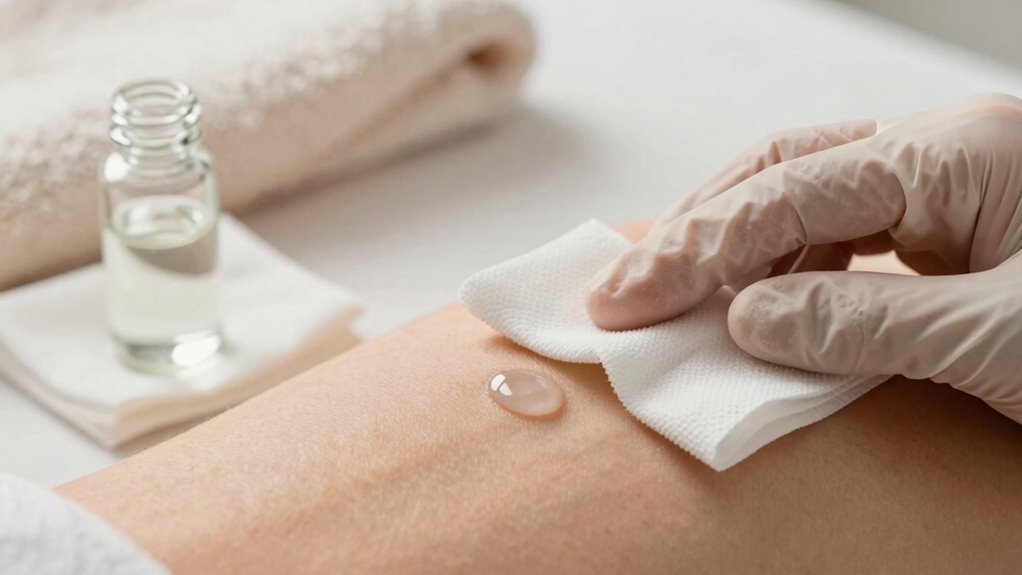
Grab your soap and warm water—your blister’s about to get the gentle spa treatment it deserves!
First, wash your hands well; nobody wants extra germs crashing the healing party.
Use mild soap and warm water to clean both the blister and the skin around it—think of it as a tiny, germ-fighting bath.
This step’s essential whether your blister popped on its own or you drained it safely.
Avoid harsh stuff like hydrogen peroxide or iodine—they might sound tough, but they can actually slow healing.
Gently nudge any fluid to one side before washing, then let the soap do its magic.
Once clean, pat the area dry (no rubbing—be kind!).
Smooth down any loose skin flaps like you’re tucking in a tiny blanket.
Now you’re ready for the next step, with a clean, calm, and happy blister prepped for recovery!
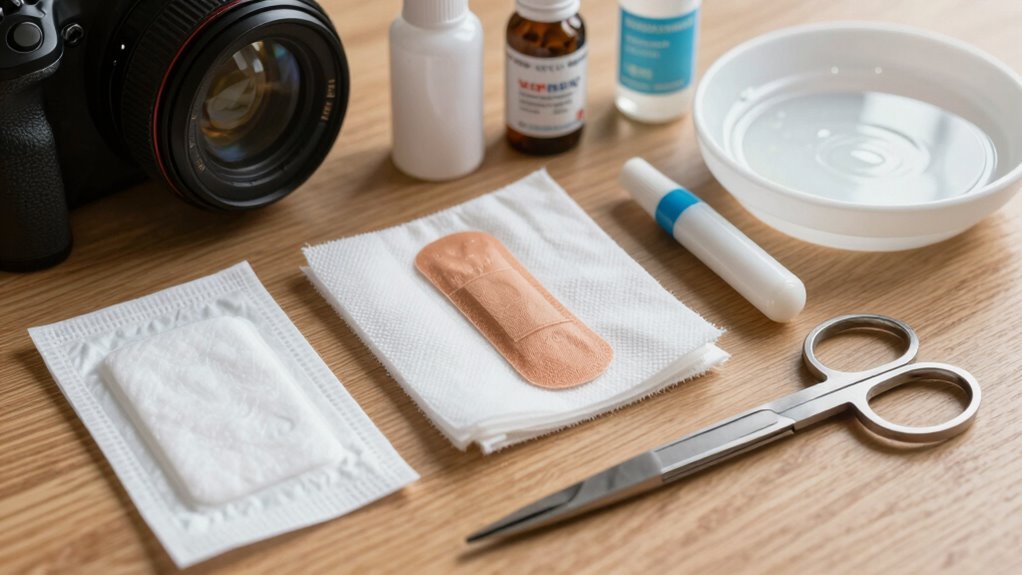
Apply an Antibacterial Ointment
Now that your blister’s squeaky clean and all settled in like it’s at a five-star spa, it’s time to bring in the big guns—antibacterial ointment!
This little hero speeds up healing and keeps nasties like MRSA and staph at bay.
Just grab a fingertip-sized dab and gently smooth it on 1–3 times daily.
Here’s why it’s a game-changer:
- Fights multiple bacteria with triple power (neomycin, bacitracin, polymyxin B)
- Heals dirty blisters 4 days faster than doing nothing or using antiseptics
- Lowers infection risk and helps prevent scars—bonus!
- Polysporin’s neomycin-free, so it’s gentler if your skin’s sensitive
- Mupirocin or gentamicin step in for tougher bugs like MRSA
Skip it on clean wounds (plain jelly’s fine) and never overuse—antibiotic resistance is no joke.
If things don’t improve in a week, call in a pro.
Protect the Blister With the Right Bandage
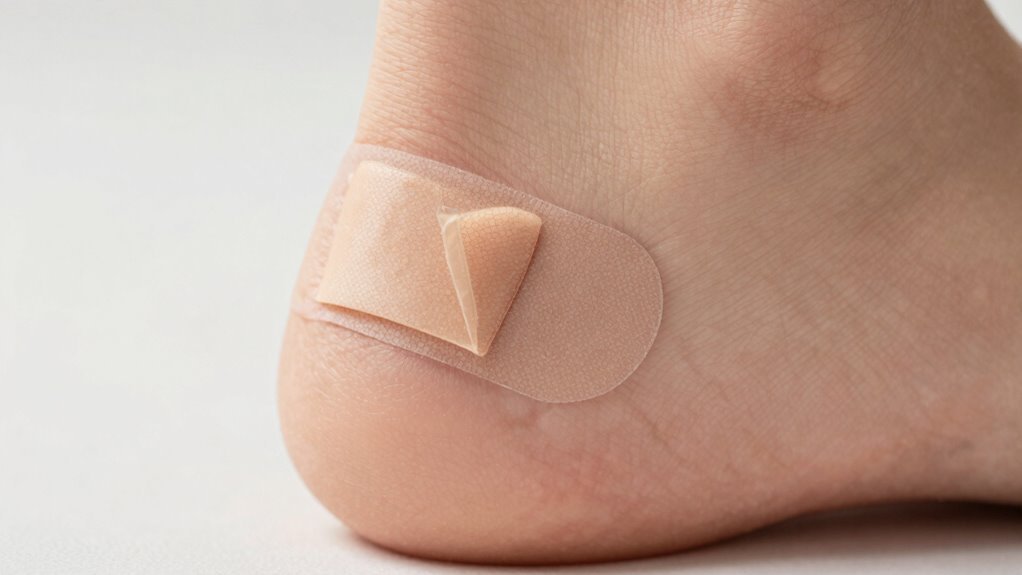
Sealing in healing and keeping trouble out—your blister’s new bodyguard is ready for duty!
Grab a hydrocolloid bandage, because it’s a total game-changer: it locks in moisture, speeds healing twice as fast, and shields against germs, sweat, and friction.
Plus, it cushions way better—up to three times more—and eases pain 10x over regular bandages.
These bad boys stick like superheroes, staying put up to 50% longer, even when you’re on your feet all day.
Options like Compeed or Livingstone molds to your skin like a second layer, while foam and polyurethane types cradle tender spots like tiny cloud pillows.
Pick the right shape for toes, heels, or knuckles—waterproof, sweatproof, and gentle on skin.
Your blister’s not just protected; it’s pampered.
Who knew a little gel could do so much?
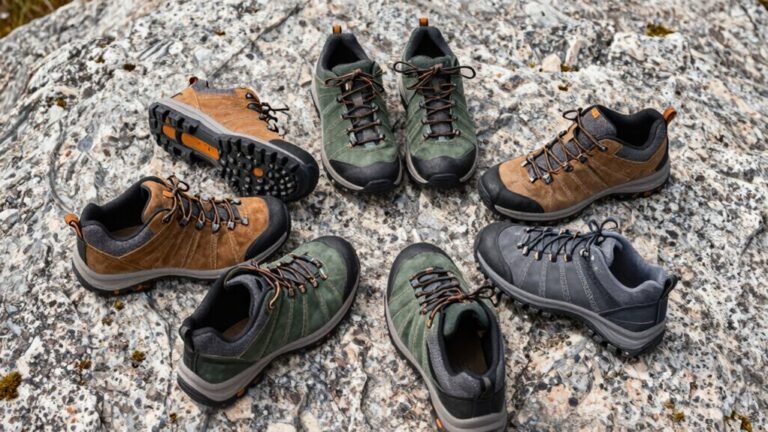
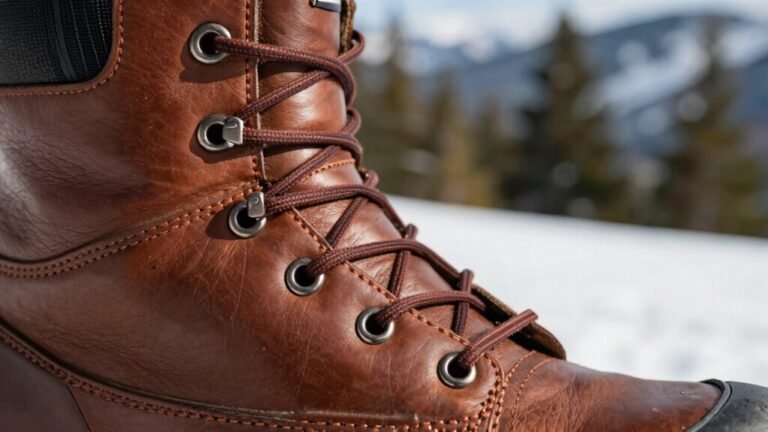
Choose Footwear That Reduces Friction
Step into the world of blister-free adventures by ditching the squeaky sneakers and wobbly wedges—your feet deserve better!
The right shoes aren’t just comfy, they’re your first defense against friction.
You don’t want toes smashed like sardines, nor sliding around like socks on a hardwood floor.
Keep it snug, not tight, and support those arches like they’re VIPs.
Here’s how to pick your perfect pair:
- Snug fit? Check! Loose shoes cause sliding, tight ones crush—aim for goldilocks fit.
- Arch support matters, especially if your feet are flat or tired.
- Cushioning absorbs shock and slashes friction fast.
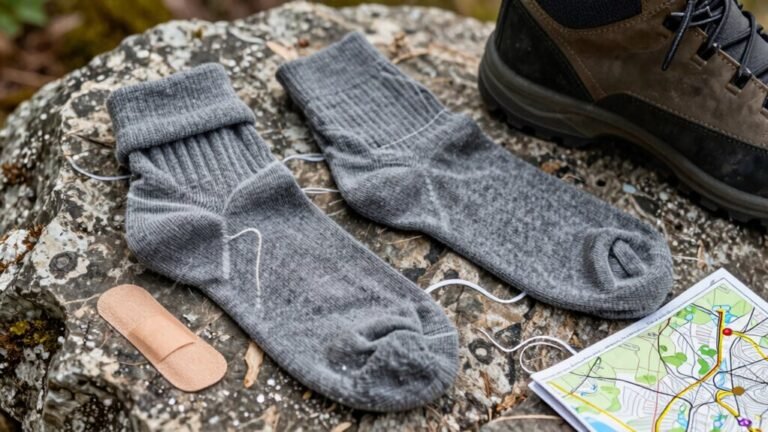
- Moisture-wicking keeps things dry, because soggy feet slip more.
- Try smart socks or ergonomic shoes—they’re like GPS for hot spots!
Monitor for Signs of Infection
You’ve picked the perfect shoes and kept your feet happy—great job! But now, keep a watchful eye: infection can sneak in like an uninvited guest.
If your blister turns redder (even subtle on darker skin), swells more, or feels warm and tender, it’s waving a red flag.
Watch for cloudy or pus-filled fluid, yellow crust, or icky oozing—especially if it smells bad.
Pain that gets worse? Not normal.
Healing that’s stalled past two weeks? Red alert.
You might even see red streaks crawling out from the area or develop a fever.
These aren’t just drama—they’re your body yelling for help.
And if you feel shaky, confused, or truly unwell, don’t wait. Infections can dive deep, turn serious fast, and turn a small issue into a medical emergency.
Stay sharp, stay safe, and trust your gut—if it feels off, it probably is.
Speed up Healing With Proper Aftercare
While nature’s got its own timetable, you can definitely give your blister a boost toward healing—think of it as giving your body a high-five for doing great work.
You’ve got the power to speed things up with smart aftercare that’s simple, effective, and kind to your skin.
Just follow these steps to keep things moving smoothly—your blister will thank you!
- Wash hands and the area gently with mild soap, then pat dry (skip the harsh stuff like peroxide).
- Leave the top skin alone—it’s your body’s built-in bandage!
- Apply a dab of antibiotic ointment or petroleum jelly with a clean swab.
- Cover it up with a hydrocolloid dressing or soft bandage, changing it daily.
- Ease pressure by wearing comfy shoes and taking breaks from blister-causing activities.
Frequently Asked Questions
Can I Use Blister Care on Burns?
Yeah, you can use blister care on burns—but only if the blisters are intact.
Keep them covered, don’t pop them, and let your body do its healing magic.
If a blister breaks, slap on a little antibiotic ointment and a fresh bandage to keep nasties out.
Think of blisters like bouncers at a club—keeping germs away while the skin party heals underneath!
Are Blisters Contagious if Caused by Infection?
Yes, blisters *can* be contagious if an infection’s behind them—think bacteria or viruses lurking inside.
You touch an oozing, infected blister, then your face, and bam: you might catch impetigo or herpes.
Pus, redness, and stink? Red flags.
Keep them covered, wash hands often, and don’t share towels—your friends will thank you.
Stay smart, stay clean, and let those blisters heal in peace!
How Long Does a Blister Take to Heal Naturally?
You can expect your blister to heal naturally in about 7 to 14 days—pretty neat, right?
If it’s intact, your body reabsorbs the fluid in just a day or two, like magic.
Larger or broken blisters might take a bit longer, especially on your feet where every step feels like a workout for your skin.
Keep it clean, protect it with a bandage, and let your body do its thing.
Most resolve fully in under two weeks, though blood blisters or infections might overstay their welcome.
Can I Exercise With a Blister on My Foot?
Oh, sure, go ahead—just lace up those sneakers and ignore that blister, because nothing says “great workout” like raw skin playing patty-cake with your shoe.
But hey, if you *do* want to stay active, protect it with a gel pad or moleskin, slap on some antibiotic ointment, and tape it loosely so it breathes.
Stop the second it stings—no heroic suffering allowed! Smart care keeps you moving, not limping.
Is It Safe to Use Blister Pads Overnight?
Yeah, it’s totally safe to wear blister pads overnight—go ahead and let them work their magic while you sleep!
They keep things moist, speed up healing, and cushion your blister from friction.
Just leave them be; they’ll fall off when ready.
No peeking!
Think of it as a tiny, helpful sleeper agent protecting your skin.
Sweet dreams, healer!
Conclusion
You’ve got this! Treat your blister like a tiny teammate, not a tiny enemy. Keep it clean, cover it well, and let it heal at its own pace. Ditch the shoes that fight you and choose ones that play nice. Watch for red flags, but don’t stress—most blisters bounce back fast. Soon enough, you’ll be back on your feet, stepping out like a champ dodging rain puddles in flip-flops. Healing’s a breeze when you know how!
References
- https://www.healthline.com/health/blisters
- https://www.merckmanuals.com/home/skin-disorders/blistering-diseases/overview-of-blistering-disorders
- https://www.gloshospitals.nhs.uk/media/documents/Blisters_Identification_And_Treatment_In_Wound_Care.pdf
- https://dermnetnz.org/topics/blistering-skin-conditions
- https://www.pcds.org.uk/clinical-guidance/bullous-disorders-an-overview
- https://www.siloamhospitals.com/en/informasi-siloam/artikel/what-is-a-blister-causes-and-treatments-
- https://www.adventhealth.com/practice/adventhealth-medical-group/blistering-disorders
- https://ufhealth.org/conditions-and-treatments/vesicles
- https://www.goodrx.com/conditions/wound-care/is-it-bad-to-pop-a-blister
- https://www.healthline.com/health/should-you-pop-a-blister