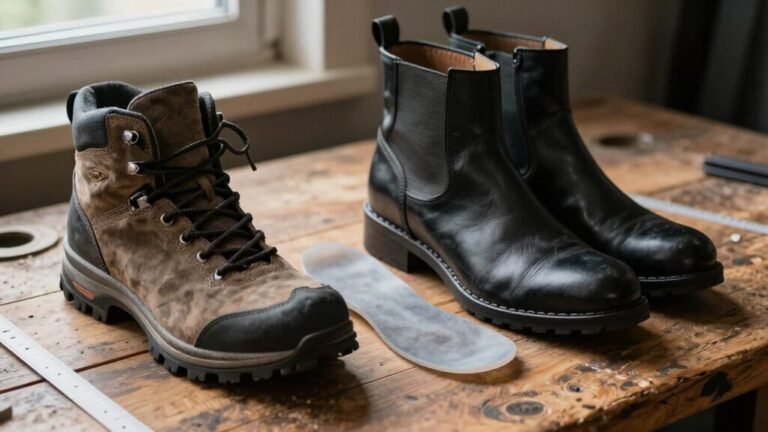
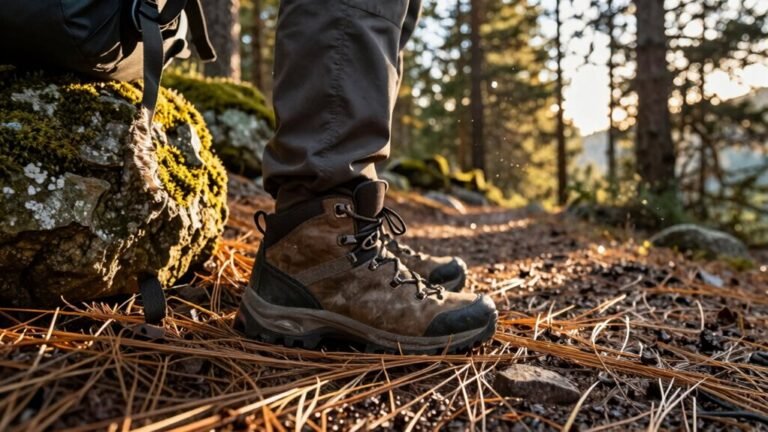
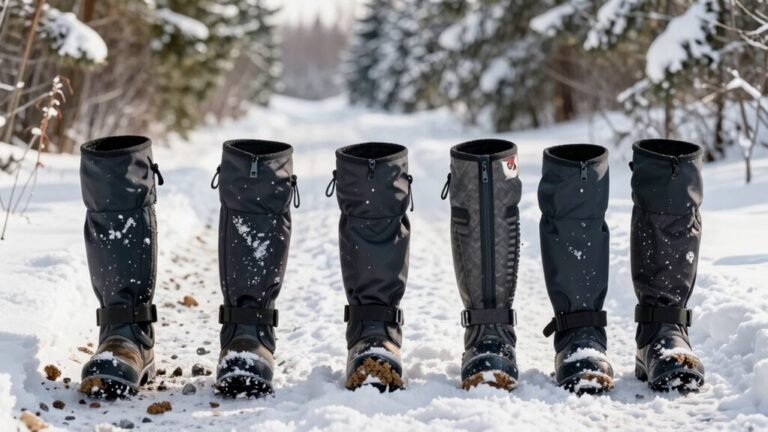
Troubleshooting Hiking Boots on the Trail
You’re halfway up the trail and your heel’s slipping—tighten it with a boot-lock lace trick to regain stability. This simple fix can prevent discomfort and keep your stride smooth on uneven terrain.
Tape that hot spot before it turns into a blister drama. Swap in dry socks to reduce friction and re-tie your laces with a surgeon’s knot for a secure fit.
If your sole’s peeling, apply sealant or wrap it tightly with duct tape—treat it like a trail-side pit stop. A broken eyelet? MacGyver a temporary fix using spare cord to lace through adjacent holes.
Keep calm, patch on, and you’ll be miles ahead—with a few more clever hiking boots tricks up your boot sleeve.
Preventing and Treating Blisters
Lacing up the right boots is your first step to happy feet on the trail—think of it as giving your feet a VIP pass to comfort city.
You need boots a half to full size bigger than your usual shoes—feet swell, after all!
Keep toes wiggling freely, snug but never tight.
Break them in before hitting long trails; 20+ hours of wear cuts blister chances nearly in half.
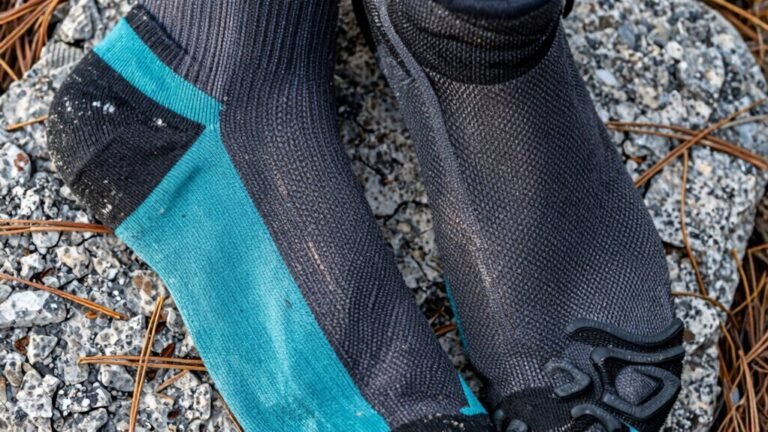
Pair them with wool or synthetic socks—never cotton, that moisture-loving menace.
Add a liner sock, and boom: double the protection, less friction.
Dry feet are happy feet, so change socks often and air out when you can.
Spot a hot spot? Tape it now, thank yourself later.
Paper tape’s a game-changer, slashing blister risk by 40%.
Catch it early, stop the burn—your soles will do a happy dance all the way home.
Your skin adapts to friction within the first 3 weeks, reducing blister risk as the epidermis thickens and becomes more resilient.
Fixing Loose Laces and Slipping Heels
You’ve taped the hot spots, worn in your boots, and picked the perfect socks—now don’t let wobbly heels and flopping laces crash your trail party. Fix that heel slip with the boot-lock trick: after threading through the top eyelets, make small loops, cross the laces, and feed each end through the opposite loop. Pull back and down to lock your ankle in place—hello, stability! This boot-lock technique also prevents tension from backing down into the lower eyelets, keeping your mid-foot snug all day. Ditch the vertical granny knot; go horizontal with a surgeon’s knot or Berluti-style bow for a snug, shake-proof hold. Wrap that second loop twice for extra security (think bunny rabbit with a backup plan). Flat cotton laces grab better than slippery round synthetics, and anchoring the top eyelets keeps lower laces tight. A well-tied boot means fewer stops, more miles, and zero lace face-plants. Your feet will thank you—no more playing shoelace leapfrog with every step!
Dealing With Wet or Leaky Boots
How’s your luck been with surprise foot showers on the trail? If your boots are no longer beading water and your socks feel like sponges, that DWR coating’s probably given up.
Don’t panic—you’re not stuck with soggy feet.
First, clean your boots with a soft brush and boot cleaner, removing laces for full access.
Let them dampen slightly—wrapping them in wet towels works great.
Then grab a waterproofing spray, hold it 6–8 inches away, and apply in smooth, circular motions.
Cover every inch, even seams and folds.
Need extra armor for mucky terrain? Try wax or mink oil—warm it slightly, rub it in, and buff after absorption.
Avoid wax-based options if you plan to resole your boots later, as wax residue can impair adhesive bonding.
Reapply treatments once or twice a year, and your boots’ll laugh at puddles.
Dry feet? That’s trail bliss.
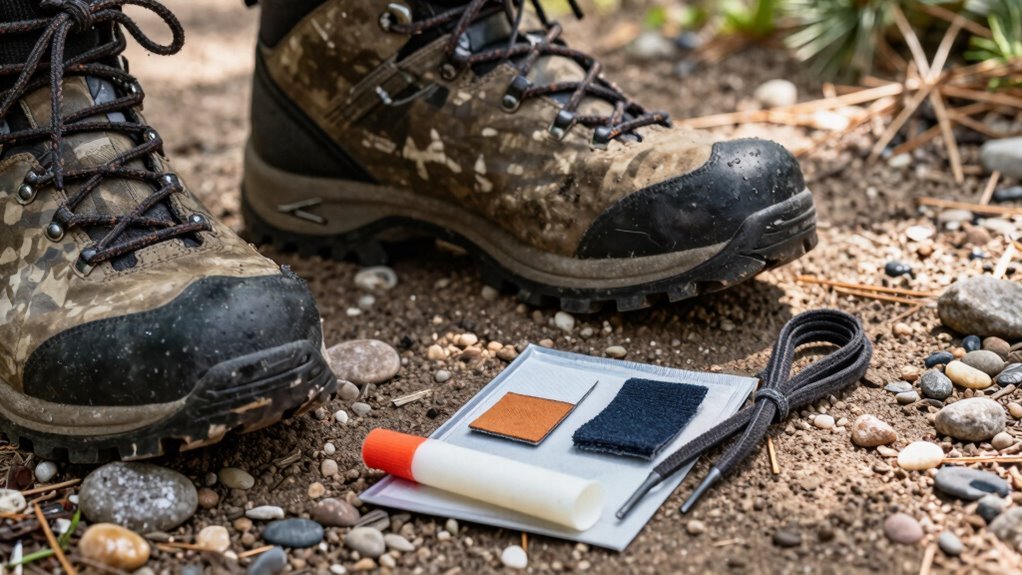
Repairing Separating Soles
While your boots might be threatening mutiny with soles peeling away like old wallpaper, don’t toss them just yet—this isn’t the end of the trail, just a bump in the path.
First, clean out any gunk between the sole and upper, then wipe both surfaces with an alcohol pad—dirty boots won’t bond well.
If the separation’s bad, peel the sole off completely for better access.
Use McNett Freesole or Stormsure glue—they’re trail heroes—and apply in a zigzag with full rim coverage.
Let it dry slightly, then press firmly.
Wrap with duct tape, stick in a pen for pressure, or weight it down with a water bottle.
Let it cure overnight.
Sure, Seam Grip or tape can patch things temporarily, but they’re not long-term fixes.
A little love and the right glue can keep your boots marching strong—because nobody likes a boot breakup midway through the wild.
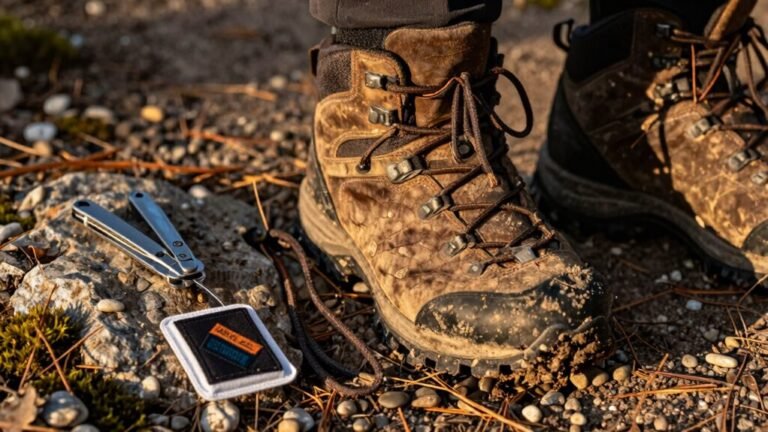
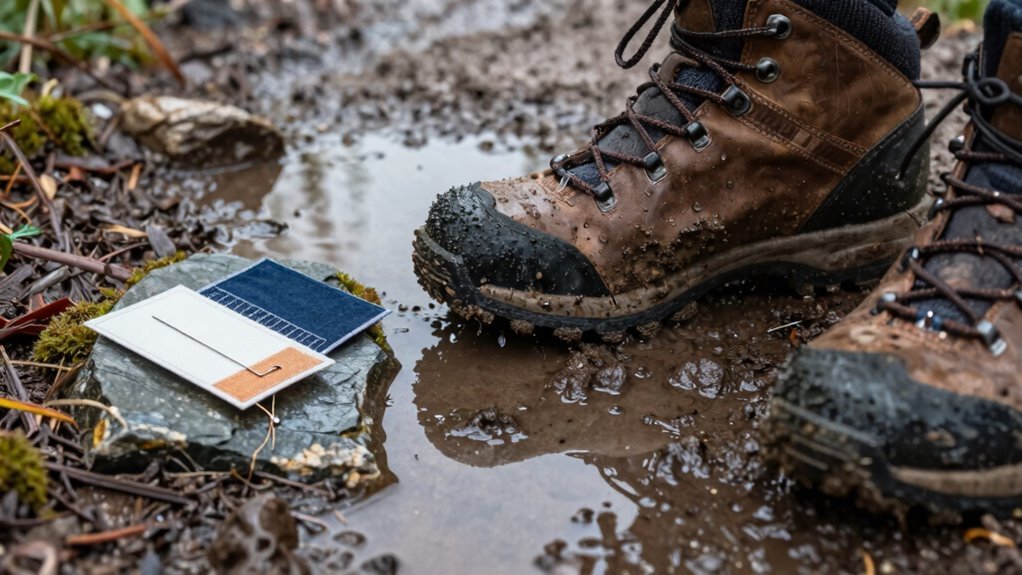
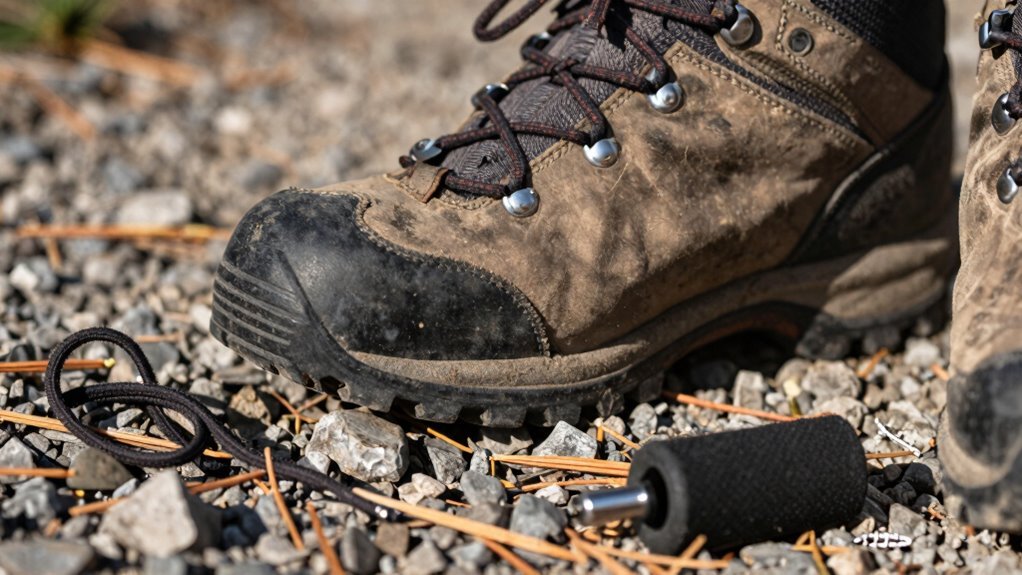
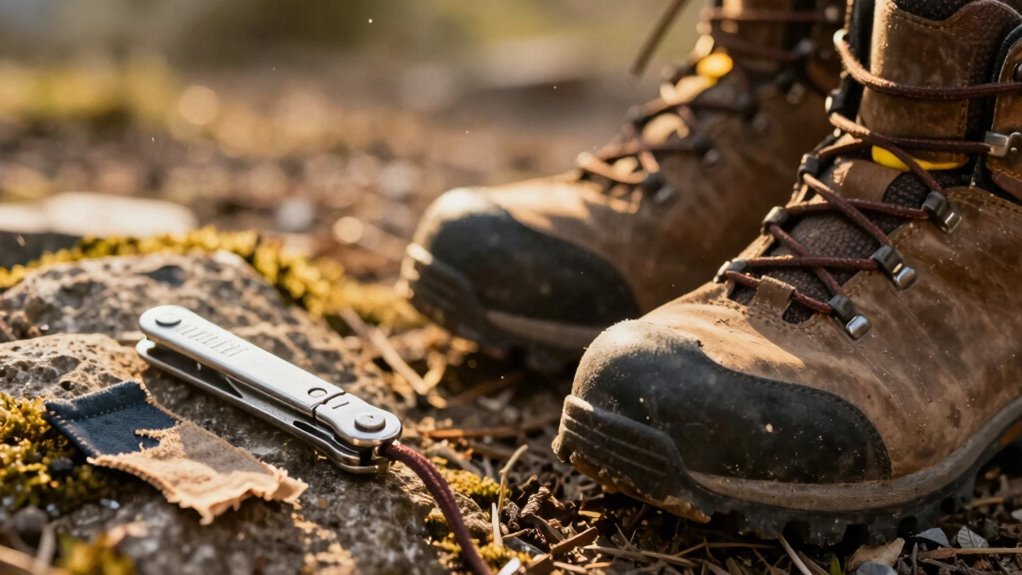
Managing Broken Eyelets or Lace Hooks
When your boot’s eyelet gives out mid-hike, turning your laces into loose spaghetti strings, don’t panic—this isn’t a trail-ending disaster, just a sneaky challenge to test your DIY spirit.
First, try a quick fix: loop a spare cord or shock cord through nearby eyelets, or use duct tape as a makeshift anchor.
If you’ve got tools, drill out the old rivet, snip a tiny hole in the lining, and swap in a new eyelet or hook—hammer it tight and you’re good to go in about 15 minutes.
Just watch for spinning rivets; if it fights you, leave it to a cobbler or send it to the manufacturer.
Spare laces and a mini repair kit are trail heroes.
Prevent future blowouts by drying boots upside down, avoiding campfire heat, and treating leather yearly.
A little care keeps your kicks lacing strong—because nobody likes a floppy boot on day three.
Stopping Rubbing and Hot Spots
You just fixed that busted eyelet like a trail-blazing pro, but now there’s a new nemesis whispering trouble with every step—a hot spot creeping up your heel like an uninvited campfire story.
Don’t panic!
Slip on thin liner socks under your main pair to cut friction, and skip cotton like it’s poison ivy—it traps moisture and loves blisters.
Merino wool or synthetic socks? Yes, please.
They keep things dry and comfy.
If rubbing starts, tighten things up with a heel lock lace—skip the first hook, snug the second, then loop back.
Works like magic.
Spot trouble early? Slap on Moleskin, Leukotape, or goo to block the burn.
Toss on dry socks mid-hike if your feet are swimming, and let ‘em air out on breaks.
A little foot powder or balm goes a long way.
Your boots will behave—you’ve got this!
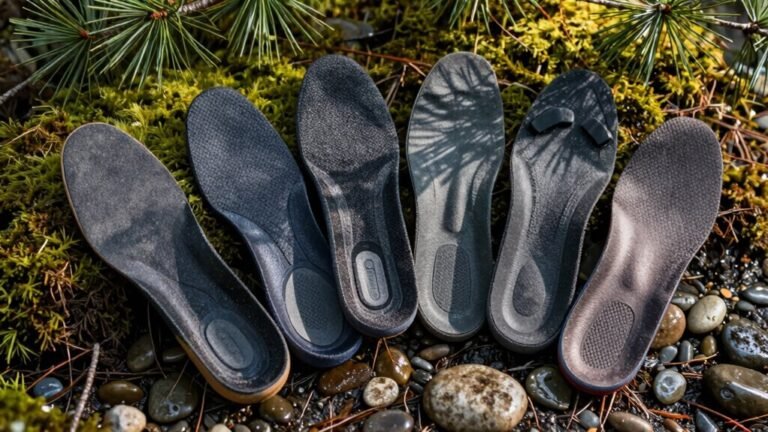
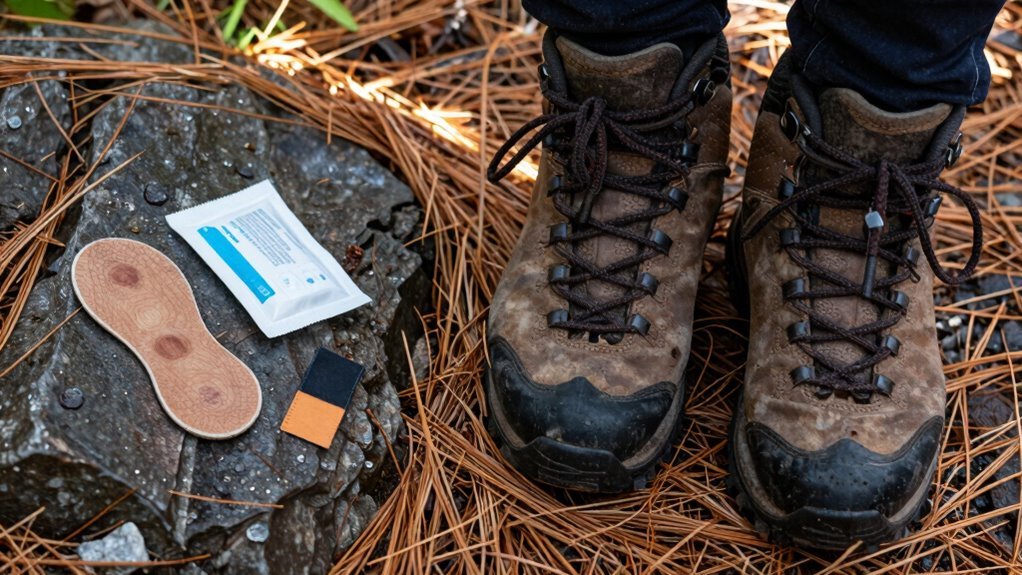
Emergency Insole and Support Fixes
How’s your foot feeling—like it’s got a first-class ticket to Comfort Town, or is it stuck in a wobbly, squishy nightmare?
Don’t panic—you’ve got options.
If your insole’s delaminating, slap on some sole glue or contact cement, press it down hard, and use duct tape or a heavy rock to hold it steady.
No insole? No problem!
Trace your old one onto a mylar emergency blanket and boom—custom thermal insert.
Use Aquaseal SR to glue flapping bits, and duct tape as a dam to keep it neat.
Need arch support? Crumple some paper or stash in a spare buff for quick cushioning.
A broken strap? Paracord to the rescue.
And hey, wool-blend insoles fight stink while they wick sweat—talk about trail magic.
Just remember, once hydrolysis hits, it’s time for a pro.
Until then, hike on, hero—your boots aren’t dead yet!
Frequently Asked Questions
How Long Should Hiking Boots Last Before Replacing?
Your hiking boots should last 500 to 1,000 miles, depending on what you’ve got on your feet and how hard you push them.
Treat ’em right, and they’ll stick with you for years—like a decade or more if you hike just 50 miles a year.
Beat them on rocks, ice, or pavement? They’ll cry uncle faster.
Keep ’em clean, dry them slow, and condition the leather.
They’ll thank you by lasting longer—no tantrums, just happy trails.
Can I Use Super Glue for Sole Repairs?
Nope, regular super glue won’t cut it—save that for craft projects, not your boots!
It gets wrecked by water and can’t handle bends and twists.
But hold up—specialty glues like JobSite Boot Mender or Loctite Shoe Glue?
Those are your trail-ready heroes.
They stick fast, flex with your steps, and laugh in the face of mud.
Pick the right glue, and you’ll stomp on, fearless!
Are Leather Boots Better Than Synthetic Ones?
Oh, you *totally* want stiff, heavy leather boots—because nothing says “fun” like lugging bricks on your feet, right?
But seriously, they last forever and handle rough trails like bosses.
Synthetics? Light and comfy at first, but they’ll quit on you way sooner.
Leather molds to your feet, supports better, and laughs at sharp rocks.
Yeah, they need breaking in—but trust me, they’re worth the effort.
Your ankles will thank you later.
What’s the Best Way to Clean Hiking Boots?
You clean your hiking boots best by hand, and honestly, your boots’ll thank you for it.
First, knock off dirt, then scrub them with mild soap and water using a stiff brush—get into those treads like you’re on a mission!
Rinse well, towel-dry, and let them air-dry overnight.
Just don’t toss ‘em in the washer—unless you *want* sad, falling-apart boots!
Should I Size up for Hiking Boots?
You shouldn’t size up just in case—fit matters more than guessing.
Your toes need room to breathe, not dance, and your heel should stay put when you walk downhill.
If your boot fits like a cozy handshake, you’re golden.
Size up only if you’re truly between sizes, but don’t force it—your feet will yell at you later.
Trust your tape measure, not rumors!
Conclusion
You’ve got this! Did you know the average hiker walks over 5 million steps in a year? That’s like strolling from New York to Los Angeles and back—with a pit stop for snacks. Keep your boots happy, fix issues fast, and laugh off the little hiccups. A well-maintained boot isn’t just gear, it’s your trail buddy. So lace up, stay comfy, and let every step take you somewhere awesome.
References
- https://pmc.ncbi.nlm.nih.gov/articles/PMC11646658/
- https://pmc.ncbi.nlm.nih.gov/articles/PMC10783476/
- https://www.blister-prevention.com/blogs/prevention/skin-toughening-to-stop-blisters
- https://www.gohealthuc.com/library/hiking-safety-tips-and-blister-prevention-guide
- https://www.thehikinglife.com/2015/02/a-hikers-guide-to-blister-management/
- https://www.rei.com/learn/expert-advice/blister-prevention-care.html
- https://www.outdoors.org/resources/amc-outdoors/outdoor-resources/blister-treatment-when-hiking/
- https://thebearessentials.com/blogs/outdoor-lifestyle/how-to-tie-hiking-boots-shoelace-knot-that-won-t-come-loose
- https://www.youtube.com/watch?v=ScQm-wb-K1s
- https://thetrek.co/one-simple-trick-to-keep-your-shoelaces-tied-on-your-next-hike/