Heel Slip Fixes for Hiking Boots
Got heel slip? This common issue in hiking boots can lead to blisters and discomfort on the trail. Make sure your heel fits snugly—there should be minimal movement when you walk.
Start by checking your boot fit—your heel should stay in place, not swim around. Try the heel lock lacing technique to keep your foot secure, and wear moisture-wicking wool socks for better grip and comfort.
Break in your boots gradually to help them mold to your feet. Add aftermarket insoles or heel pads for extra support and reduced slippage.
Apply anti-chafing balm where needed to prevent irritation. If heel slip persists, the boot may simply not fit your foot shape—consider trying a different model for a better match.
Check Your Boot Size and Fit
Ever wonder why your boots feel like they’re playing musical chairs with your heels? That slip means your fit’s off—stat!
First, check heel-to-collar space: one finger should fit snugly between your heel and the boot’s back.
More than that? Your boot’s too big. Less? Too small.
Ask a friend to help measure while you stand—bending invalidates it, thanks to heel lift.
Wear your hiking socks, push your foot forward in an unlaced boot, and leave a thumb’s width past your longest toe.
Measure your longest foot, then compare to size charts—no guessing.
For width, lace up and check for side-to-side slide (too wide) or toe crunch (too narrow).
A snug fit’s ideal—your boot can stretch, but your feet won’t.
And remember: use a Brannock device, measure yearly, and always fit the bigger foot.
Your heel will thank you!
Boots often stretch with wear, especially leather ones, so a slightly tight fit may improve over time.
Use the Heel Lock Lacing Technique
Try the heel lock lacing technique to stop that annoying heel slide before it ruins your hike—this clever trick tightens your boot right where you need it most, keeping your foot locked in place without crushing your toes.
It’s a game-changer, especially if you’ve got narrow feet or your boots run a little long.
Here’s why you’ll love it:
- Stops your heel from bouncing with every step
- Keeps your toes from jamming into the front
- Reduces blisters caused by constant rub
- Adds stability without cutting off circulation
- Works like magic on downhill stretches
Just lace snugly up to the ankle, skip the crisscross at the top, loop one lace under, then pull both up tight.
Finish with a solid knot. Boom—your heel’s not going anywhere. Trust us, your feet will thank you miles down the trail.
This method focuses pressure at the foot curve, where effective heel locking occurs.
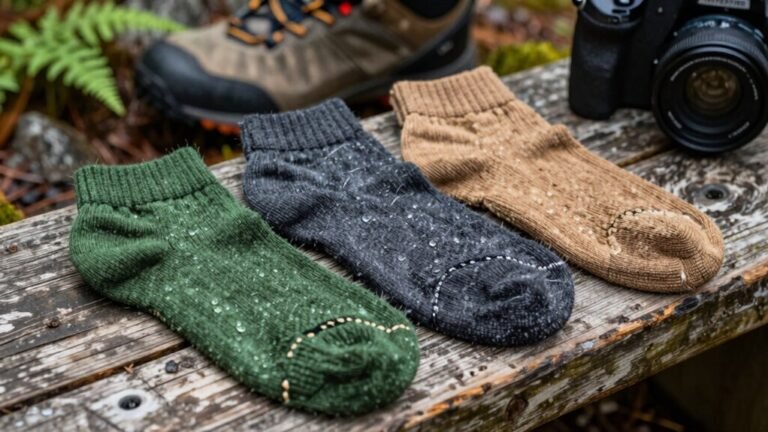
Adjust Your Socks for Better Grip
How does something as simple as switching socks stop your heel from dancing around inside your boots?
Thicker socks add padding and friction, filling extra space so your foot stays put.
Try padded wool or double up with liner socks—you’ll get grip without the slide.
A snug, not tight, fit prevents wrinkles that cause blisters, and a proper heel cup keeps everything aligned.
Choose wool blends like merino for moisture control and durability, so your feet stay dry and happy mile after mile.
Taller crew or knee-high socks guard against boot-rub, especially with high cuffs, while seamless or reinforced heels handle long hikes like champs.
Don’t guess your size—measure your foot and pick the right sock fit.
Experiment with cushion levels: more warmth and padding for cooler trips with heavy packs.
It’s not just socks—it’s foot armor.
And hey, if your heel’s not slipping, you’re basically hiking like a pro.
Boom!
Extra space inside the shoe can cause heel slippage, which is why a precise fit is essential (extra space inside the shoe).
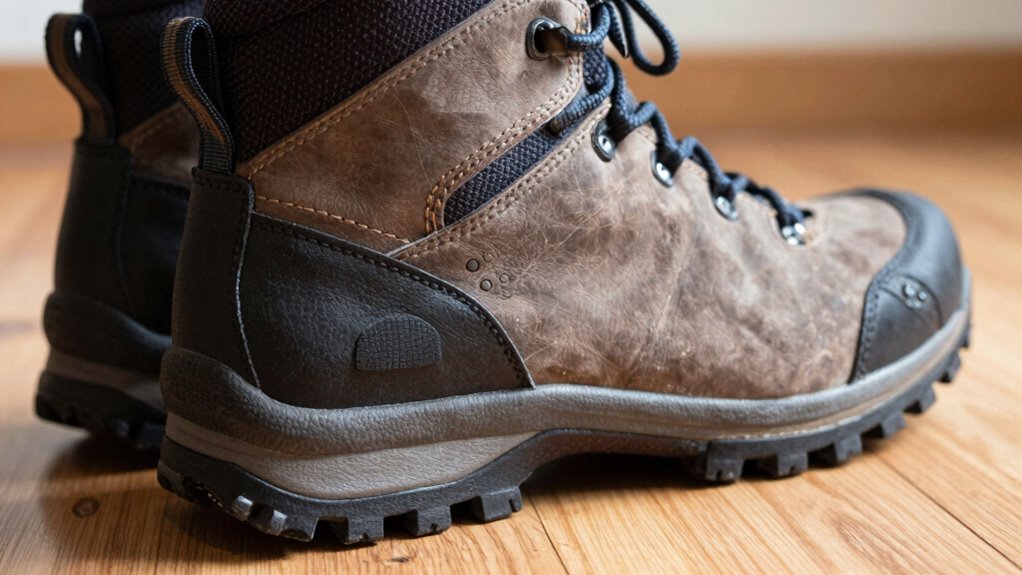
Break In Your Boots Properly
Lace up and get ready—your boots aren’t marathon-ready straight out of the box, and wearing them fresh on the trail is like showing up to a dance party with concrete shoes.
Break them in right, and you’ll avoid blisters, heel slip, and misery.
Start slow: wear them around the house for a couple hours, then hit the sidewalk for short walks.
Gradually level up to easy trails with a light pack—your boots (and feet) will thank you.
And don’t rush it; good things take time, especially leather ones soaking in rain or bending to your stride.
To nail the break-in process, remember:
- Wear your hiking socks and insoles from day one
- Walk on stairs and varied surfaces at home
- Test comfort on short neighborhood strolls
- Hit easy trails with some elevation
- Allow 50–100 miles depending on boot style
Upgrade to Aftermarket Insoles

What if the secret to stopping heel slip wasn’t in your lacing technique—but right under your foot?
That’s right—your insole might be the real MVP.
Ditch those flimsy stock inserts and upgrade to aftermarket insoles with a deep heel cup that hugs your foot like a handshake from an old friend.
They keep your heel locked down, protect your toes on descents, and cushion every step with dual-layer foam that fights fatigue.
Add in a carbon fiber stabilizer and smart arch support, and your feet won’t just be happy—they’ll throw a party.
Just trim to fit, pop them in, and skip the double-stacking—no one likes a crowded shoe.
Stick them with light adhesive if they get frisky, and boom: less slip, more grip.
With better padding and long-lasting comfort, why hike with sad, flat insoles anymore?
Your boots—and your soles—will thank you.
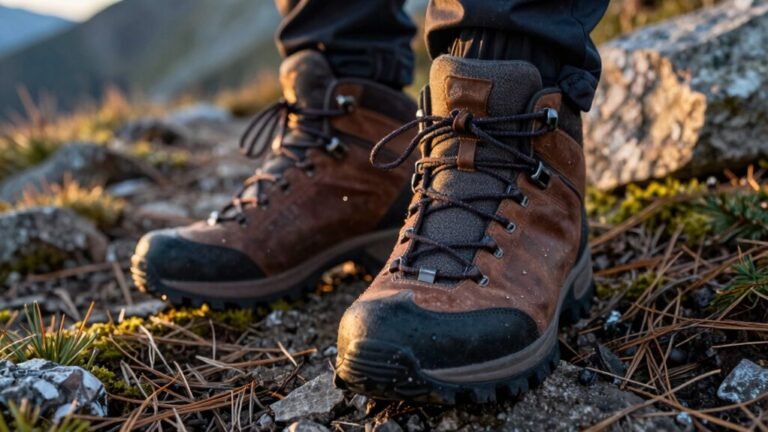
Tighten the Midfoot and Ankle Lacing
Grab your laces and get ready to lock things down—your heel’s about to get an eviction notice.
You don’t need magic, just smarter lacing to stop that annoying slip.
Focus on the midfoot and ankle, where control really kicks in.
A few tweaks here make your boot hug your foot like it was made for you—because, well, it was.
To nail it, try these pro tricks:
- Lace snugly over your instep before hitting the ankle
- Use a surgeon’s knot to lock tension where it matters
- Skip criss-crossing by running laces straight up to quick-lace hooks
- Pull laces outward (not up) to prevent heel lift
- Cinch the collar tight around your ankle for a secure wrap
Now your heel stays put, even on steep trails. Lace up, lock in, and stomp those doubts away—adventure’s waiting!
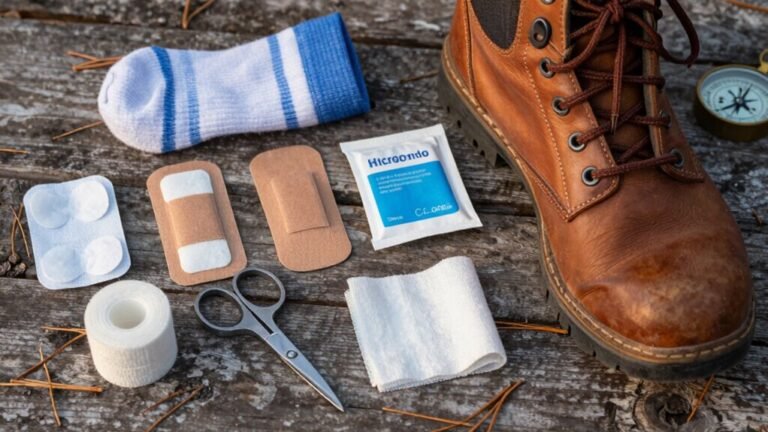
Try Heel Grip Pads or Inserts
Slip on those boots and say goodbye to heel slide—heel grip pads are here to save your hike. These little heroes, made of gel, silicone, or soft suede, stick right inside the back of your boot and cushion your heel like a hug.
They fill that annoying gap where your foot used to bounce around, reducing friction and keeping blisters at bay. Just clean the inside of your boot, press the pad firmly into the heel counter, and let the adventure begin.
They’re sold in pairs, blend in nicely, and work wonders for boots that feel a tad too roomy. Watch out, though—they might shove your toes forward if your fit’s already tight.
And while the adhesive may fade over time, a quick reapplication keeps them going. Perfect for short fixes and long trails, they’re an easy, affordable win.
Who knew stopping heel slip could be this simple? Your feet will thank you.
Consider Heat-Moldable Liners
Ever wonder why some hikers seem to float effortlessly down the trail while others battle blisters and boot squeeze? The secret might be in their soles—specifically, heat-moldable liners.
If your boots have them, skipping the molding is like breaking in a cast-iron skillet by eating salad.
Don’t waste the tech! These liners use special foam that softens with heat and shapes to your feet as they cool.
To get it right, pros recommend professional fitting, but some brave souls try DIY methods (with mixed results).
For a perfect fit that eliminates heel slip and hot spots, consider this:
- Custom-molded comfort from day one
- No painful break-in period
- Eliminates pressure points and heel lift
- Professional results beat home hacks
- One shot only—molding’s permanent!
Your feet will thank you—seriously, they’ll send a thank-you note.
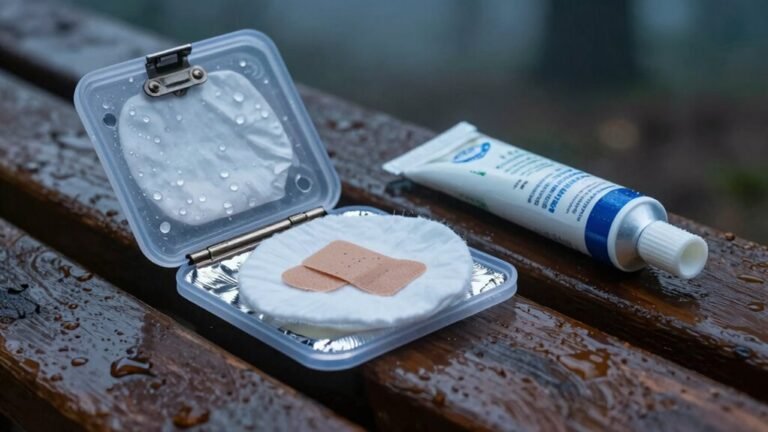
Apply Friction-Reducing Products
You’ve molded your liners and dialed in the fit—now let’s keep everything staying put without turning your heels into blister buffets.
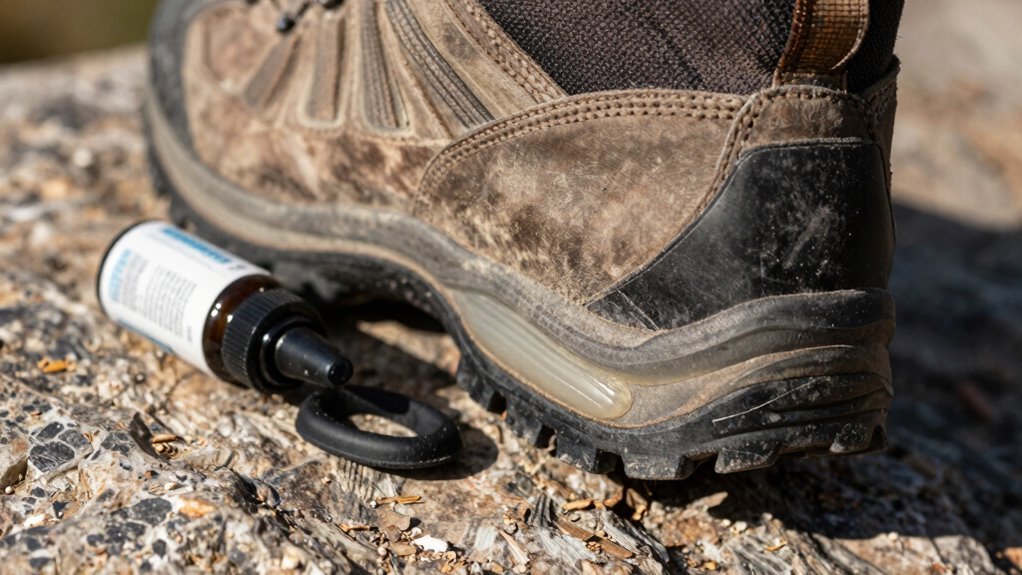
Grab some anti-chafing balm like GurneyGoo—it’s a trail legend.
Slather it on your heels, between toes, and under arches to slash friction, even when it’s soggy out.
Got a hotspot flaring up?
Press on Leukotape (just make sure you’re cool with latex).
It’s tough, sticky, and stops blisters dead.
Sweaty feet?
Try double-sided tape inside your boot heel for instant grip.
It’s a sneaky little hack that works wonders.
Prefer natural?
Wool-It’s fluffy padding smothers hotspots and wicks moisture like a pro.
Or slap on gel heel pads—they cushion, lock your heel down, and are great for tender feet.
These fixes?
They’re your secret weapons.
Keep sliding at bay, stay comfy, and hike on—blister-free and beaming.
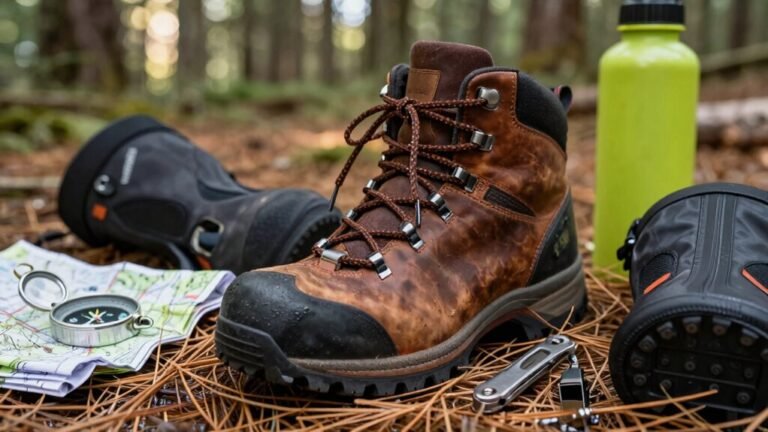
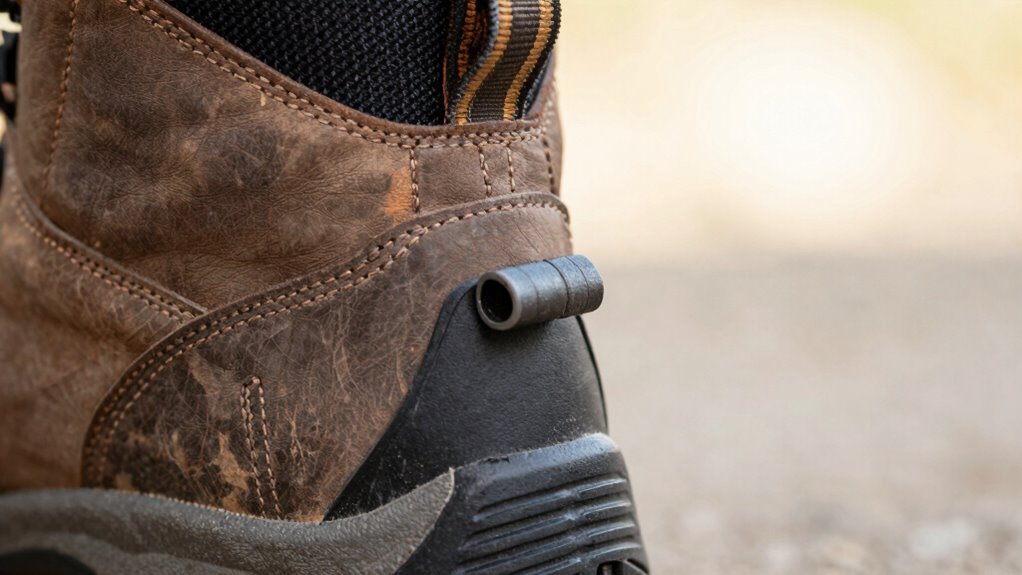
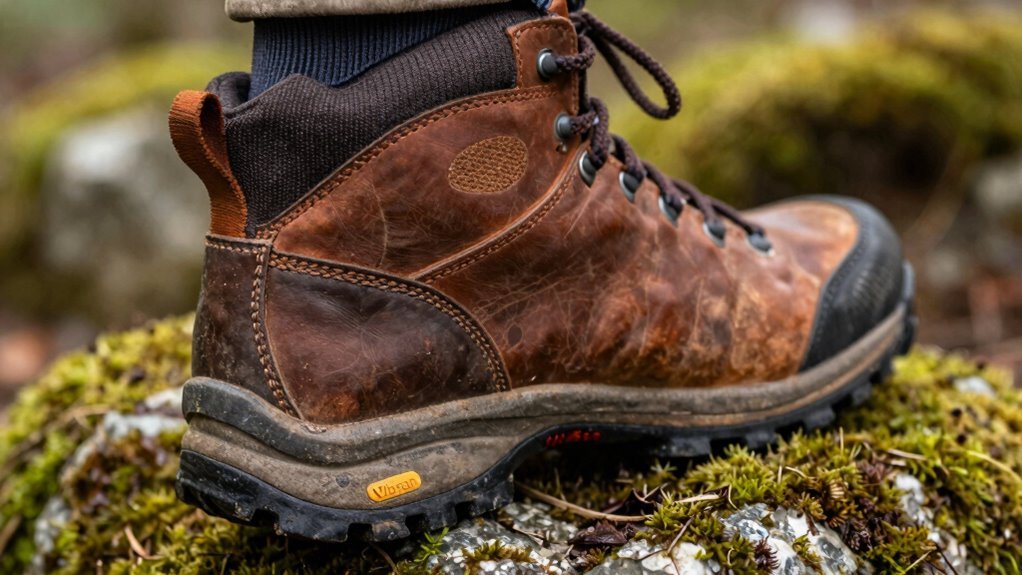
Evaluate the Boot’s Support and Structure
How’s your boot holding up when the trail gets tough?
Don’t let a wobbly heel ruin your rhythm—time to check your boot’s support and structure.
A shoe that hugs your foot right means fewer blisters and more fun.
If your heel’s slipping, it mightn’t be you—it could be the boot’s stiffness, volume, or design fighting your foot’s natural move.
Lace tricks help, but the real fix starts with structure.
Make sure your boot actually fits *you*, not just the box it came in.
- Your heel should sit snug, not swim
- Stiff soles can fight your step and boost slip
- Soft leather holds tight without the squeeze
- Lace anchors and knots lock things down
- Match boot shape to foot shape—no compromises
A solid boot’s like a good buddy: supportive, reliable, and always in step.
Frequently Asked Questions
Can Heel Slip Cause Long-Term Foot Problems?
Yeah, heel slip can definitely cause long-term foot problems if you ignore it.
You’re rubbing your heels raw, which leads to blisters and calluses, and your toes keep slamming forward—hello, blackened toenails!
Over time, bad alignment stresses your arches and ankles, possibly worsening conditions like plantar fasciitis.
It’s like giving your feet a tiny workout in torture.
Don’t laugh—your future self will thank you for nipping that sloppy stride in the bud!
Is Some Heel Slip Normal in New Boots?
Yeah, a little heel slip’s totally normal in new boots—think of it as your feet and boots getting to know each other.
You’ll usually see a small quarter-inch slide, about the width of your finger, which is no biggie.
It happens ’cause the materials haven’t molded to your stride yet.
As long as it’s not a full-blown dance party in there, you’re off to a great start—adventures await!
Should I Return Boots if Heels Slip a Lot?
You should return the boots if your heels slip a lot—don’t tough it out like a blister-prone superhero!
A little slip? Fine.
But major sliding means they’re likely the wrong shape or size.
Try lacing tricks and insoles first, yeah, but if your heel’s still playing “yo-yo” on hikes, it’s time to swap ’em.
Your feet will thank you, and your hikes’ll feel amazing—no more blisters, just bliss!
Does Heel Slip Worsen on Downhill Hikes?
Yes, heel slip gets worse downhill—your weight shifts forward, lifting your heel while gravity pulls your boot loose.
On steep drops, that wiggle turns into a wobble, and before you know it, your heel’s doing the cha-cha inside your boot.
Add loose rocks or mud, and it’s slapstick comedy with blisters guaranteed.
Keep your heel locked down, or next time, bring bandages—and an audience.
Can Changing Shoelaces Reduce Heel Slip?
Yeah, switching shoelaces can actually help cut down heel slip—especially if you grab ones that grip tight and don’t loosen as you hike.
Regular laces stretch or slip? That’s a recipe for sloppy boots.
Grab quality laces that lock in tension, pair ’em with a heel lock technique, and bam: your foot stays put, even on rocky descents.
Think of it like upgrading your boot’s superpowers—small change, big win!
Conclusion
You’ve tamed the wild beast of heel slip like a boss! From laces to insoles, you’ve tried it all—and now your boots hug your heels tighter than your cat hugs your laptop. Say goodbye to blisters and hello to happy trails! With these tricks, your feet are basically locked and loaded for adventure. Hiking’s never been this comfy, this fun—or this blister-free. Time to hit the trail, superstar!
References
- https://www.outdoors.org/resources/amc-outdoors/outdoor-resources/new-hiking-boots-how-to-check-and-adjust-the-fit/
- https://obozfootwear.com/en-us/community/some-advice-on-a-good-fit
- https://www.overlookboots.com/blogs/boots/boot-size-guide
- https://currex.com/blogs/news/ultimate-hiking-boot-fitting-guide
- https://www.rei.com/learn/expert-advice/hiking-boots.html
- https://kenetrek.com/pages/boot-fitting-charts
- https://masterfitinc.com/how-to-get-a-good-fit-for-hiking-boots/
- https://www.youtube.com/watch?v=Ll3imgiSZik
- https://www.outdoors.org/resources/amc-outdoors/outdoor-resources/know-this-hiking-boot-lacing-technique-the-heel-lock/
- https://www.rei.com/learn/expert-advice/lacing-hiking-boots.html