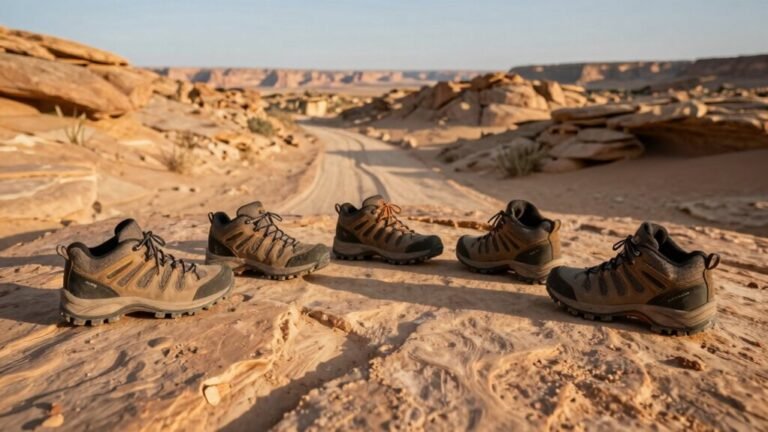
Boot Fit Checklist for Your Next Hike
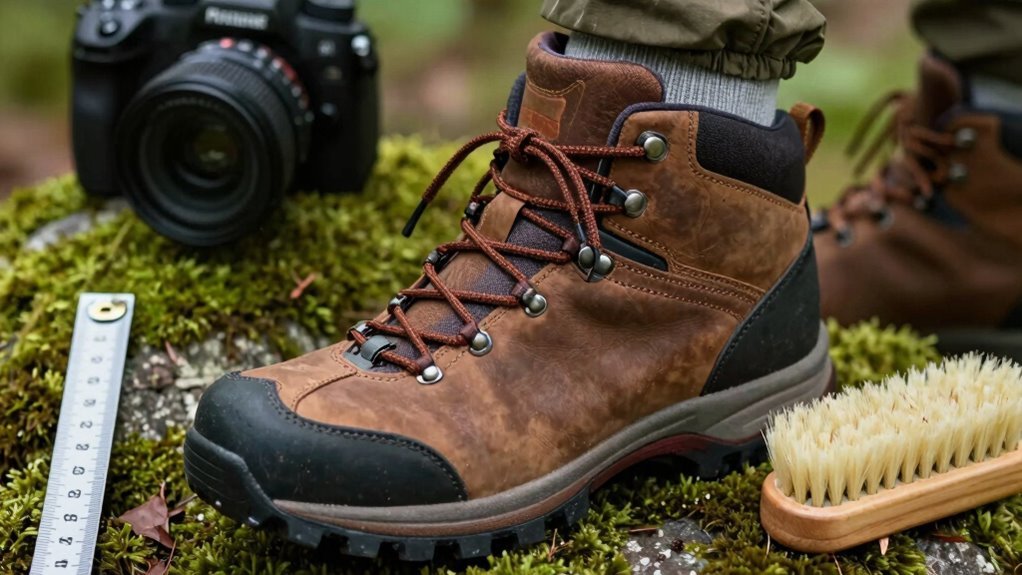
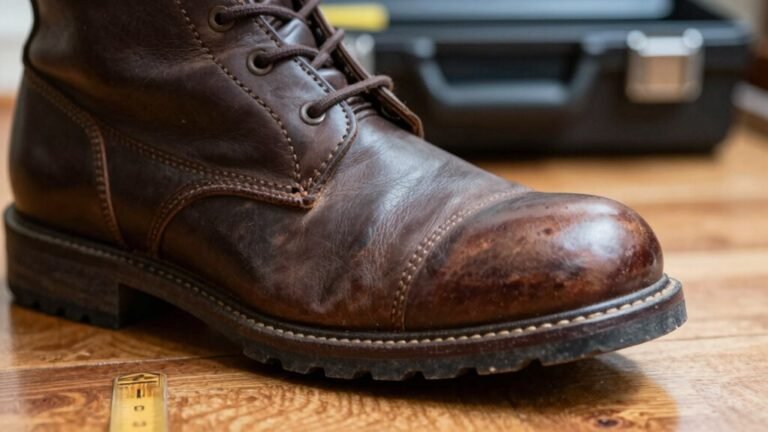
Check your toe room—aim for an inch past your longest toe, especially when hiking uphill, so you avoid blackened nails. This boot fit checklist ensures your toes have enough space to prevent injury on steep terrain.
Lock that heel snug with a surgeon’s knot to stop slippage and save your pinky toe. Make sure the ball of your foot isn’t squeezed, and your arch feels supported, not squished or dangling.
Break boots in on sidewalks first—yes, even in socks that match your hiking pair. Try them on different terrain, and you’ll soon discover what your feet have been begging for all along.
Check Toe Room When Going Uphill
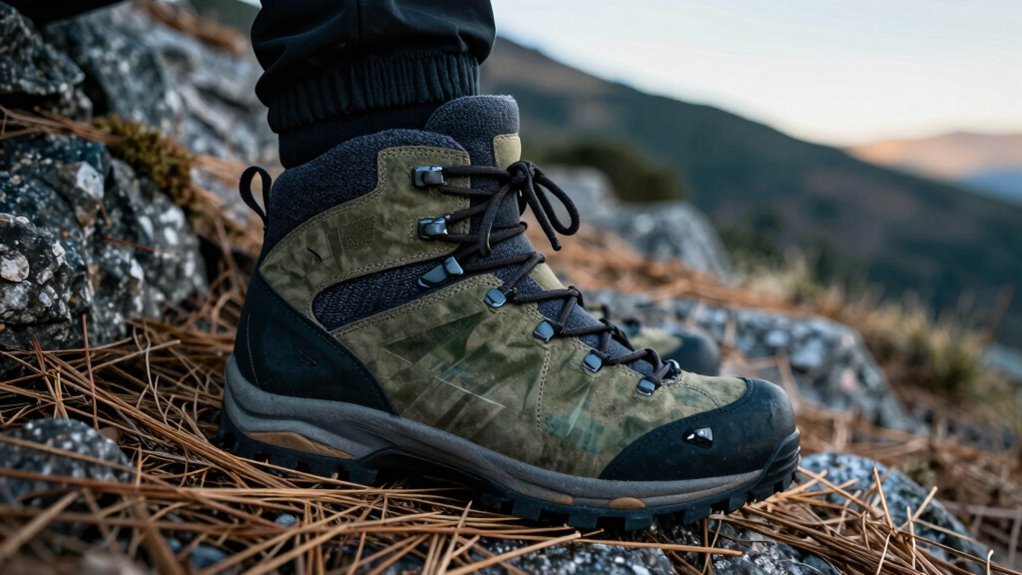
Ever wonder why your toes feel like they’re auditioning for a tap dance routine every time you climb a hill?
That’s your body yelling, “Hey, these boots are too small!”
When you hike uphill, your foot slides forward—especially with a loaded pack—so you need space.
Aim for about an inch of clearance or a thumb and a half past your longest toe.
Wear your hiking socks, lace up fully, and test on an incline for 30 minutes.
If your toes are tapping the front like a drum, they’re not happy.
That constant bumping leads to bruised nails, blisters, or even losing toenails—yikes!
Swelling and heavy loads make it worse.
Don’t guess—walk up a ramp, wiggle those toes, and make sure they’ve got room to breathe.
A good fit means snug heels, happy toes, and no uphill tap solos.
Save the dancing for the summit!
Two fingers of space at the front helps prevent discomfort and toenail damage during long ascents.
Ensure Heel Lock Without Slippage
How does your heel stay put when the trail turns steep and slick?
With a solid heel lock, you won’t be doing the cha-cha inside your boots.
Use the surgeon’s knot at the bottom lace hooks—wrap the laces twice to lock tension like a pro.
Pull tight and run them straight up, skipping criss-crosses, then thread one under the other and yank upward.
It’s like a pulley that hugs your heel down exactly where it should be.
Lace with your toe raised 45 degrees to nail the fit right where your foot curves up.
Keep it low—no one likes a tight ankle tourniquet.
This trick stops slippage, prevents blisters, and saves your pinky toe from rebel rebellion.
Whether you’re downhill bombing or your boots run slightly big, heel lock lacing keeps you stable, secure, and blister-free.
Now *that’s* something to stomp about.
It’s especially effective for hikers and walkers tackling tough terrain, making hiking boots a top choice for heel-lock use.
Test Width Across the Ball of the Foot
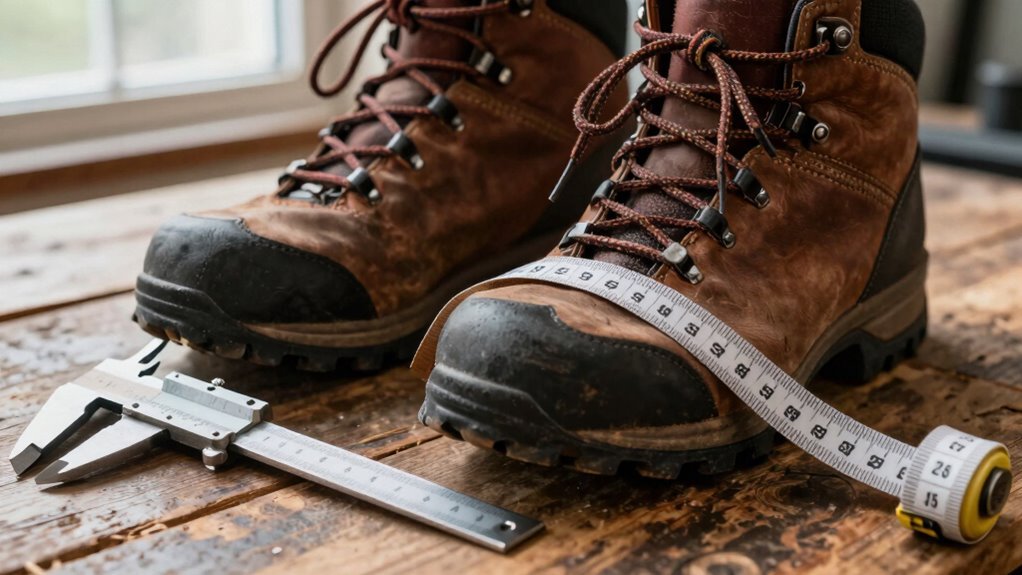
Now that your heel’s locked in tight and ready for action, let’s talk about what happens up front—right where your foot spreads out with every step.
Grab a piece of paper, sit and stand to trace both feet—you might be surprised one’s wider!
Measure the broadest part across the ball, then compare that number to brand charts.
Sizes vary: UK 7 wide is 10.3 cm, but some brands run narrow, others like Keen go bold with room.
When trying boots on, lace ‘em up snug—you shouldn’t feel pinching, just a comfy cradle.
Wiggle room side-to-side? Too loose.
Zero movement? Perfect.
Remember, boots stretch a little, so they should fit right now, not “maybe later.”
And skip the dress socks—measure and test in the hiking socks you’ll actually wear.
Your feet will thank you every mile down the trail.
Happy stomping!
Assess Arch Support Compatibility
Where’s the sweet spot for your arch when you’re tackling rocky trails or logging miles on rugged terrain?
It’s not just about comfort—it’s about keeping your feet happy and injury-free.
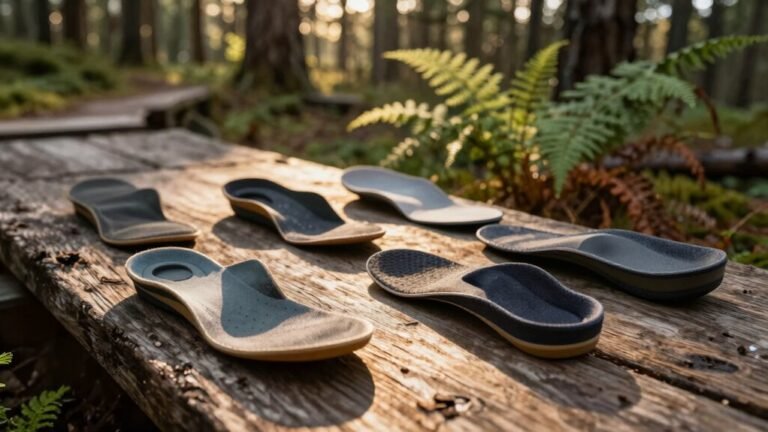
First, figure out your arch type: flat feet need firm support to stop that inward roll, high arches crave cushioning to make up for poor shock absorption, and medium arches? Lucky you—balanced support does the trick.
Don’t guess—check your footprint or see a podiatrist.
Then, match your boot’s insole to your arch.
Removable ones are great—you can swap in custom or trim-to-fit options.
Test them with your hiking socks; thick boots + thick socks = genius or disaster, depending on fit.
A well-supported arch means better alignment, less fatigue, and more fun.
Your feet aren’t begging for mercy? Now that’s a trail win.
Break Them In Before the Big Hike
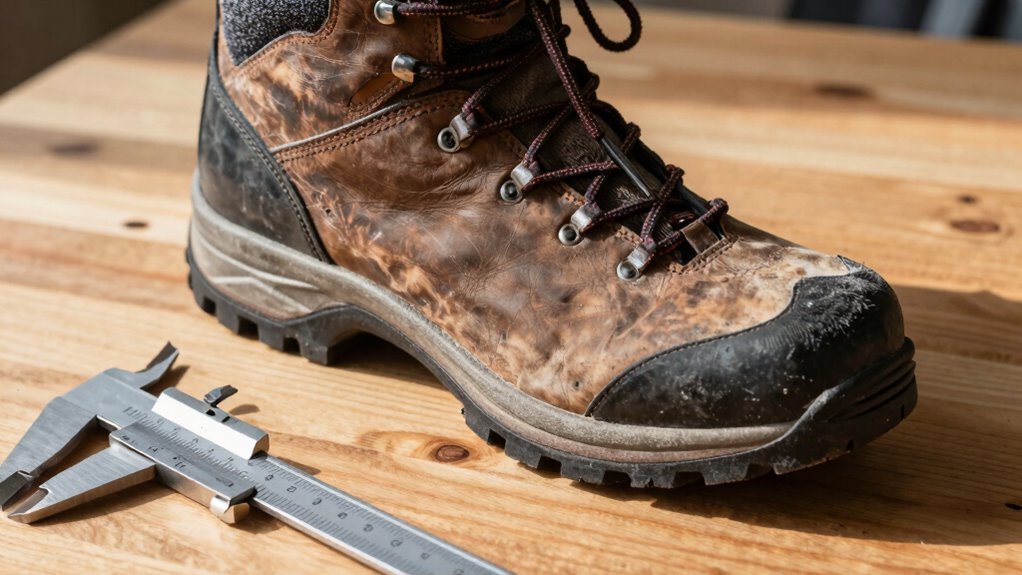
Even if your new boots look trail-ready straight out of the box, skipping the break-in phase is like eating a whole pizza before checking if it’s hot—sure, you might get lucky, but you’re probably walking into unnecessary pain.
Start easy: wear them around the house for a few hours each day, doing chores like cooking or folding laundry.
After a few days, hit sidewalks and gravel paths, slowly increasing from 15-minute strolls to full-hour walks.
Load up a light backpack to catch hotspots early.
In 1–3 weeks, depending on whether you’ve got synthetics or full-grain leather, move to short, easy day hikes with dirt, roots, and gentle hills.
Let the boots mold to your feet naturally—rushing means blisters, not badges of honor.
Aim to log about a dozen miles before your big adventure.
Trust us, your feet will thank you when you’re summiting, not limping.
Wear the Right Socks During Fitting
Slipping into the right socks is your first real step toward happy trails.
Don’t even think about trying on hiking boots barefoot—or worse, in cotton socks that turn soggy like a dishrag!
You’ll want the same socks you plan to hike in, because sock choice changes everything.
- Pick moisture-wicking materials like merino wool or synthetics—your feet will thank you.
- Choose the right height: crew-length for ankle protection, ankle-length for lighter boots.
- Go for a snug, glove-like fit—no wrinkles, no slipping, no “mystery blister surprise.”
- Match thickness to your hike: cushioned for long trails, lighter for hot days.
Your boot’s fit depends on your sock, so treat your feet right.
After all, nobody wants squishy, sweaty socks turning mile eight into misery.
Get this right, and you’re already one step closer to trail bliss.
Evaluate Ankle Support and Flexibility
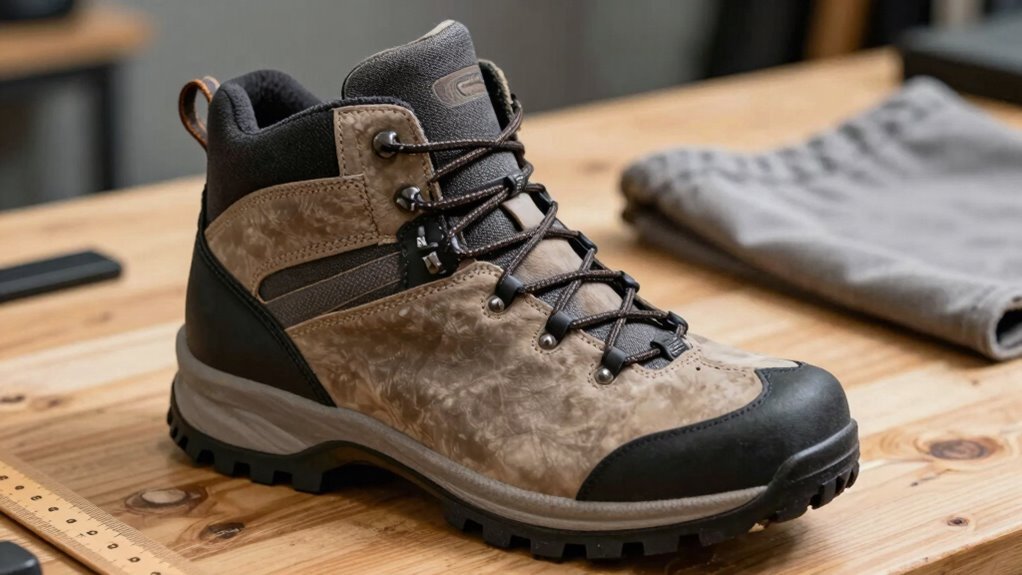
When you’re tackling rocky switchbacks or plodding through mud, your boots should have your back—especially your ankles. High-cut boots give extra support on rough trails, great if you’re hauling a heavy pack.
Mid-height styles, like the Oboz Bridger, strike a sweet balance—stable but not stiff.
Look for durable materials like full-grain leather or nubuck; they hold up well and keep your ankle steady.
A solid lacing system, like the one in KEEN Targhee III, locks your heel in place so your foot doesn’t slip.
But don’t go overboard—rigid boots can weaken ankles over time.
Flexibility matters: semiflexible soles let your foot move naturally while still protecting against twists.
Surprisingly, stronger ankles often come from using them, not locking them up like a fortress.
So choose support wisely—your boots should help, not hobble.
After all, nobody wants to hike like a robot!
Walk on Varied Terrain Before Finalizing
Before you commit to those shiny new boots, take them for a real-world test—they’ve gotta earn their spot in your pack.
Hit different trails and really put ‘em through the wringer.
Here’s how to keep it fun and smart:
- Walk up and down hills for 30 minutes—check for heel slip and make sure your toes have a thumb’s width of space, even when climbing.
- Strap on a loaded backpack to mimic real hiking weight; watch for foot sliding or pressure spots that’ll ruin your weekend.
- Test stability on loose rocks, muddy slopes, and slippery surfaces—lugged soles should grip like your morning coffee grip.
- Pay attention to blisters or hot spots; a happy foot is a blister-free foot, especially when it swells mid-hike.
Your boots should feel like trail partners, not punishment.
Frequently Asked Questions
How Often Should I Replace My Hiking Boots?
You should replace your hiking boots every 500 to 1,000 miles, or roughly every 1 to 3 years, depending on how tough your trails are.
If you’re stomping through mud, snow, or rocks weekly, you’ll wear them out faster.
Watch for smooth soles, cracks, or if your feet start complaining—your boots are begging for retirement.
And hey, don’t wait for a sole to flap like a fish—replace them before you slip!
Can I Use Orthotics With Hiking Boots?
You can absolutely use orthotics with hiking boots—many hikers do, and they swear by them.
Just grab boots with removable insoles and extra depth, pop your orthotics in, and make sure your heel stays put without pinching.
Think of it like giving your feet a cozy, supportive hug.
No more grumpy toes or sad arches.
Test the fit first, size up if needed, and boom—you’re trail-ready with happy feet!
Are Waterproof Boots Better for All Hikes?
Nope, waterproof boots aren’t better for every hike—you’d roast in the desert and sweat buckets on a summer trail.
They’re great when you’re splashing through streams or trudging in snow, but in dry heat, they turn into soggy greenhouses for your feet.
Go breathable when it’s hot, stay waterproof when it’s wet—your toes will thank you,
and hey, happy feet mean happy trails!
Should Hiking Boots Feel Tighter or Looser Over Time?
Your hiking boots shouldn’t feel looser over time—they should fit right from the start.
You’ll want them snug but not tight, ’cause feet swell as you hike and get tired.
If they’re loose now, they’ll be sloshy later, and hello, blisters!
Trust us, your toes’ll thank you when they’re not jamming uphill or sliding down.
A good fit stays good, no magic shrink or stretch—just happy feet all day long.
Do I Need Different Boots for Winter Hikes?
Yeah, you’ll want different boots for winter hikes—your regular ones might leave you with frosty socks and grumpy toes.
Trust me, soggy feet aren’t a fashion statement.
Snow boots keep warmth in and snow out, thanks to tall shafts, grippy soles, and cozy linings.
Think of them as parkas for your feet.
If you’re just strolling city sidewalks, winter boots work fine, but once snow piles up, go full snow-ready.
Your feet will thank you with happy dances.
Conclusion
You’ve crushed the checklist, conquered the hills, and outsmarted blisters before they even saw you coming. Your boots? Now they hug your feet like they were knit by your grandma and built by robots. Slippage? Gone. Blisters? Fled in terror. Hiking bliss? Oh, it’s real, and it’s *glorious*. Lace up, laugh loud, and stomp those trails like a legend—your feet will thank you every mile.
References
- https://outdooradept.com/how-much-toe-room-in-hiking-boots/
- https://jessebrowns.com/how-should-hiking-boots-fit-jfm/
- https://www.overlookboots.com/blogs/boots/how-should-hiking-boots-fit-breaking-in-hiking-boots
- https://www.rei.com/learn/expert-advice/hiking-boots.html
- https://backpackinglight.com/forums/topic/12552/
- https://www.ukclimbing.com/forums/expedition+alpine/mountaineering_boot_fitting_-_how_much_toe_space-770530
- https://www.blister-prevention.com/blogs/prevention/heel-lock-lacing-technique
- https://sectionhiker.com/hiking-boot-lacing-techniques/
- https://www.outdoors.org/resources/amc-outdoors/outdoor-resources/know-this-hiking-boot-lacing-technique-the-heel-lock/
- https://www.rei.com/learn/expert-advice/lacing-hiking-boots.html