How to Use Boot Fit the Right Way
You’ve got this! Match your boot to your foot shape—flat, neutral, or high arch—to ensure proper support and comfort on every adventure. Getting the right boot fit starts with understanding your foot’s unique structure.
Always size up correctly by trying boots on with the socks you plan to wear. Trace your feet to check both length and width, and make sure there’s about a thumb’s width of space at the toe for optimal boot fit.
Lace your boots snugly using techniques like criss-cross or heel-lock to secure your foot without pressure points. Adjust lacing based on terrain—tighter for descents, looser for uphill climbs.
Watch for warning signs like blisters or numbness, which mean your boot fit may need tweaking. Happy feet lead to fewer “ouch” moments and more “wow” views on the trail.
Understanding Your Foot Shape and Arch Type
Ever wonder why your feet feel great in some boots but turn into blocks of concrete in others?
That’s your arch type talking!
Most folks have one of three main foot shapes—flat (pes planus), neutral, or high arches (pes cavus).
If your arch collapses when you stand, you might’ve flexible flat feet; if it’s rigid and high, you’re likely a pes cavus pro.
Your medial arch—the bouncy, shock-absorbing one—works overtime if it’s too high or too flat.
Boots that ignore your arch type squash comfort fast.
Think of your foot as a car: wrong alignment, and the ride’s bumpy.
The lateral arch’s flatter and sturdier, while the transverse arch runs side-to-side, keeping things stable.
Match your boot to your foot shape, and boom—happy feet, happy you.
It’s not magic, just smart fit!
Understanding your arch type helps guide proper footwear choices for better biomechanics.
Measuring Your Feet for the Perfect Fit
How’s it feel to squeeze into boots that fight back?
Don’t let ill-fitting footwear win—take charge by measuring your feet the right way.
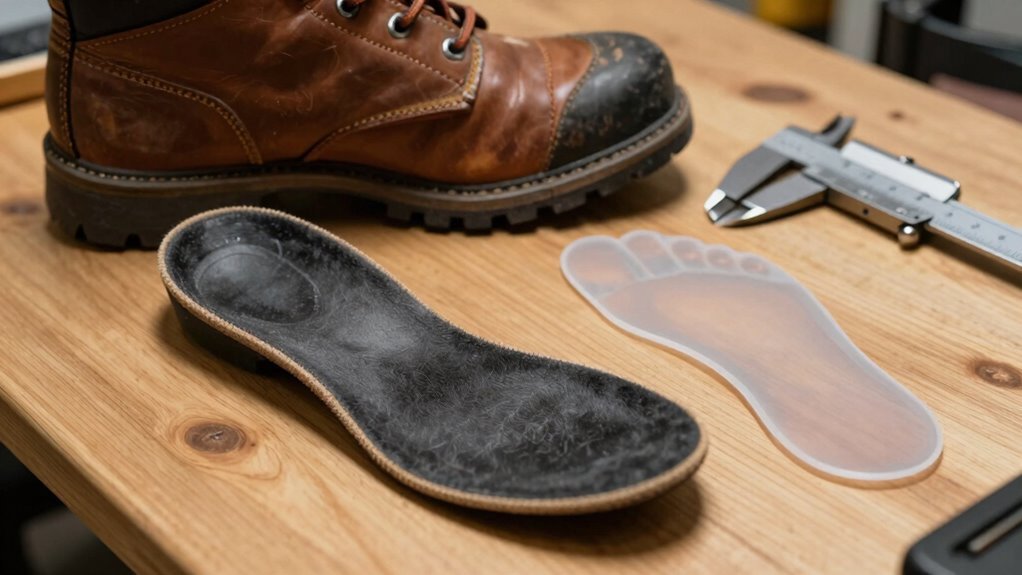
Grab a piece of paper, a pencil, and a ruler, then stand on the paper in the socks you’ll wear with your boots.
Trace your outline while standing straight, heel flat, and get someone to help mark your longest toe if you can.
Measure both feet—you might be surprised how different they are!
Use the inner edge of the trace to measure from heel to longest toe, then add 6mm (women) or 8mm (men) for wiggle room.
Check width at the ball of your foot, and don’t forget calf, instep, and ankle measurements.
The largest measurement always wins when picking your size..accuracy beats guesswork—your perfect boot match is closer than you think!
Proper fit supports long-term foot health and helps prevent blisters and soreness over time.
Choosing the Right Sock Pairing for Testing
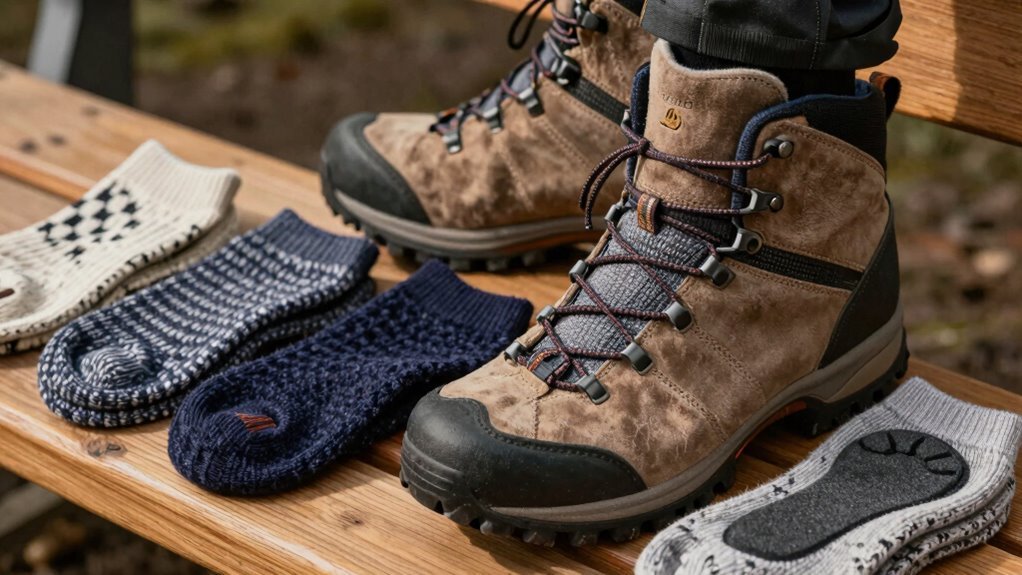
That perfect pair of boots deserves the right sock sidekick—don’t wing it when you’re lacing up for a fit check.
Match sock height to your boot: crew socks work great with mid-cuts, while tall boots need knee-highs for warmth and protection.
Hiking? Let your socks peek over the top by 1–2 inches to avoid slips and blisters.
For cushioning, go lightweight in summer, midweight in winter, and heavyweight when it’s freezing.
Pack extra padding in the heels and balls of your feet for long treks.
Choose merino wool blends—they wick sweat, fight stink, and keep temps just right.
Add synthetics like nylon for durability and stretch.
Seamless toes and snug heel grips are your blister-fighting best friends.
And hey, if your socks laugh at snow, you’re probably wearing the right ones.
Rotate pairs to keep everything fresh—your boots (and feet) will thank you!
Avoid cotton socks with waterproof boots to prevent moisture retention and swamp foot.
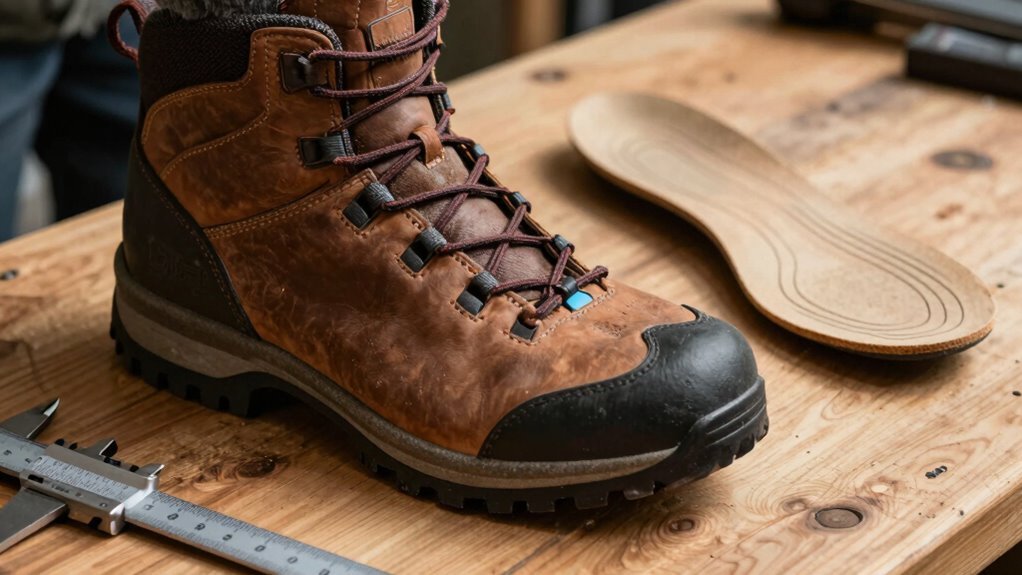
Breaking Down the Anatomy of a Hiking Boot
You’ve picked the perfect socks, laced ’em up, and now it’s time to get up close and personal with what really carries you through the wild—your hiking boots. Let’s break down the magic under your feet:
1. Outsole & Midsole: That grippy bottom? That’s the outsole, hugging trails with lugs like tiny bear claws.
The midsole cushions each step, trading shocks for comfort—EVA for softness, polyurethane for toughness.
2. Upper & Protection: The upper wraps your foot like a cozy fortress, often with waterproof Gore-Tex or tough leather.
Reinforced toe caps and rands shrug off rocks like, “Nice try.”
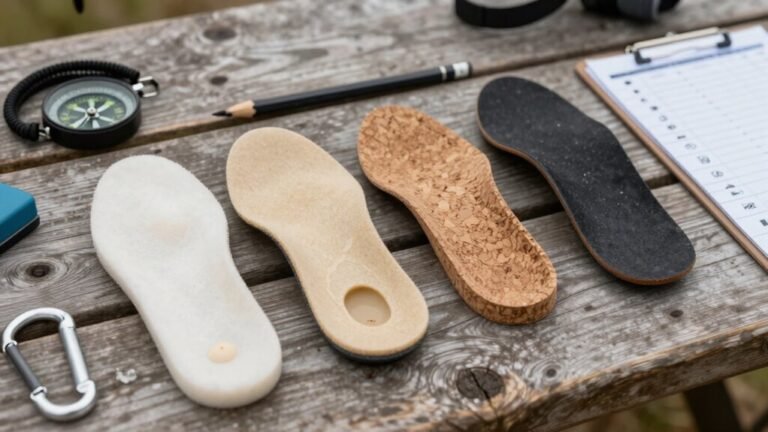
3. Insole & Collar: Your foot rests on a removable insole—like a mattress for your soles.
The padded collar and gusseted tongue keep debris out and blisters at bay.
Together, they don’t just walk—they *work*.
Testing Fit: What to Look for During a Trial
When you slip on a hiking boot, it’s not just about squeezing your foot into a box—it’s about finding a partner for every trail twist and turn ahead.
Start with your longer foot and push your toes to the front; there should be about a thumb’s width of space.
Kick the wall—no jamming, no sliding backward.
Lace up snugly: your heel should lock with less than a quarter-inch lift, and your foot shouldn’t slide side to side.
Wiggle room without pinching means a good width—boots stretch a little, but “snug” isn’t “ouch.”
Walk around, flex, rock on stairs.
Feel any hotspots, wrinkles, or seams digging in? Say goodbye.
Flex where your foot bends, support where you need it.
Try them on in the evening—feet swell, remember?
And hey, if your toes aren’t screaming, you’re golden.
Adjusting for Terrain and Pack Weight
While the trail mightn’t come with a warning label, your boots should be ready for whatever’s ahead—especially when the incline kicks up or your pack feels like it’s packing on the pounds.
You’ve got this, but only if you tweak your fit smartly. Don’t let terrain or weight turn your adventure into a comedy of errors—like hiking uphill in concrete blocks or downhill with your toes doing the cha-cha.
- Loosen your ankle laces uphill for better flex and less fatigue.
- Tighten the forefoot and lock your heel downhill to stop toe-jamming and slips.
- Adjust sock thickness and insoles to handle swelling and pressure from heavy loads.
A quick lace tweak now saves blister drama later. Your boots aren’t just footwear—they’re your trail ride-along. Treat them right, and they’ll carry you right.
Mastering Lacing Techniques for Comfort and Support
Ever wonder why your feet feel like they’re throwing a silent protest halfway through the trail?
It might be your lacing.
Criss-cross lacing is your go-to for even pressure and a snug fit—just thread diagonally and knot at the top.
If your heel slips or toes jam, try the surgeon’s knot: double-wrap the laces at key hooks to lock everything in place.
Feeling pinched on top?
Window lacing skips the criss-cross over hot spots, giving sore areas instant relief.
For downhill hikes, use heel lock lacing to pull your foot back and stop slippage.
And don’t forget overhand knots—they cinch tight at pressure points, keeping your foot stable.
With D-rings or double knots, you’ll boost support where you need it most.
These tricks aren’t magic, but they’re close.
Lace smart, hike happy!
Recognizing Warning Signs of an Improper Fit
What’s your boot trying to tell you? A lot, actually—if you’re willing to listen.
Don’t wait for a full-on foot rebellion; catch these three warning signs early:
- Uneven tread wear – If your sole’s wearing down more on the inside, you’re overpronating; more on the outside means you’re supinating. Both mess with your alignment and can wreck custom orthotics.
- Structural damage – Holes, separated soles (“talking boots”—yes, really), or cracked uppers aren’t just ugly; they’re safety hazards waiting to trip you up—literally.
- Foot SOS signals – Numbness, blisters, heel pain, or toes screaming in protest? That’s not toughing it out—that’s your body begging for better fit.
Your boots should work for you, not against you.
Pay attention, swap them out when needed, and keep every step safe—and *much* more comfortable.
Frequently Asked Questions
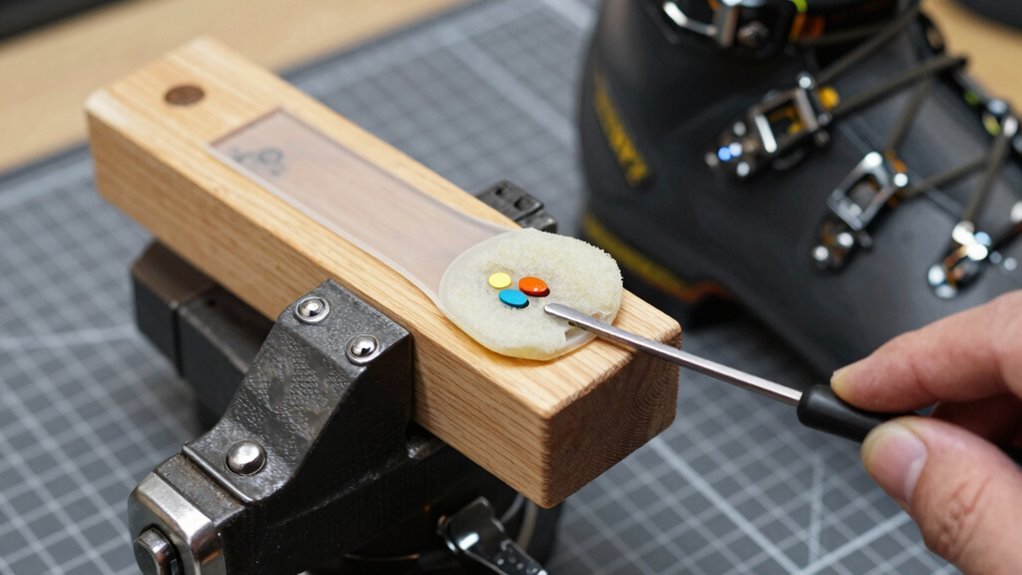
Can I Use Orthotics With Hiking Boots?
Yeah, you can totally use orthotics with hiking boots—pretty much a game-changer for comfy hikes.
Just make sure your boots have removable insoles and enough depth.
Pop your orthotic in, and check that your heel stays put without pinching.
You might need to size up, but that’s normal.
Trust us, your feet will thank you—and so will your knees (and your sense of adventure).
How Often Should I Replace My Hiking Boots?
You should replace your hiking boots every 500 to 1,000 miles, or roughly every 2 to 5 years, depending on how often you hit the trail.
If you’re tromping through mud like a mountain goat or carrying a pack heavier than your dog, you’ll wear them out faster.
Watch for slick soles, cracked leather, or sad, floppy support—your boots are screaming for retirement.
Give ‘em love, and they’ll last longer than your last relationship!
Do Waterproof Boots Need Special Care?
Yeah, waterproof boots do need some extra love to stay in top shape.
You can’t just huck ’em in a corner and forget it—clean ’em gently with mild soap, never harsh chemicals.
Always let ’em dry naturally, no hairdryers or radiators!
Pop in some paper to keep the shape, then condition and re-waterproof them regularly.
Think of it like skincare for your boots—nobody likes cracked leather, not even footwear!
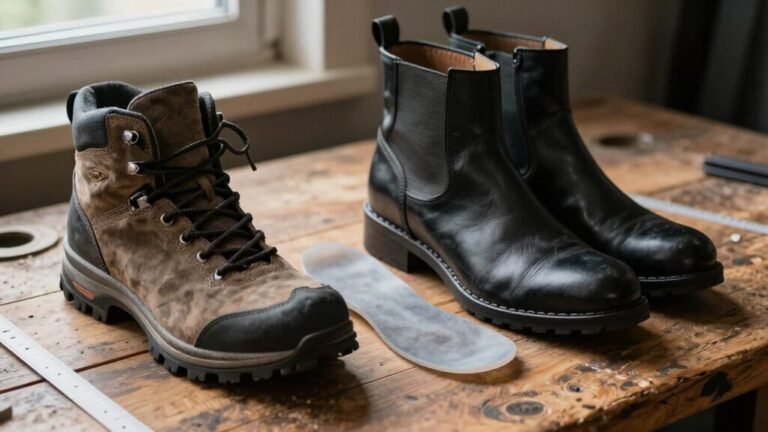
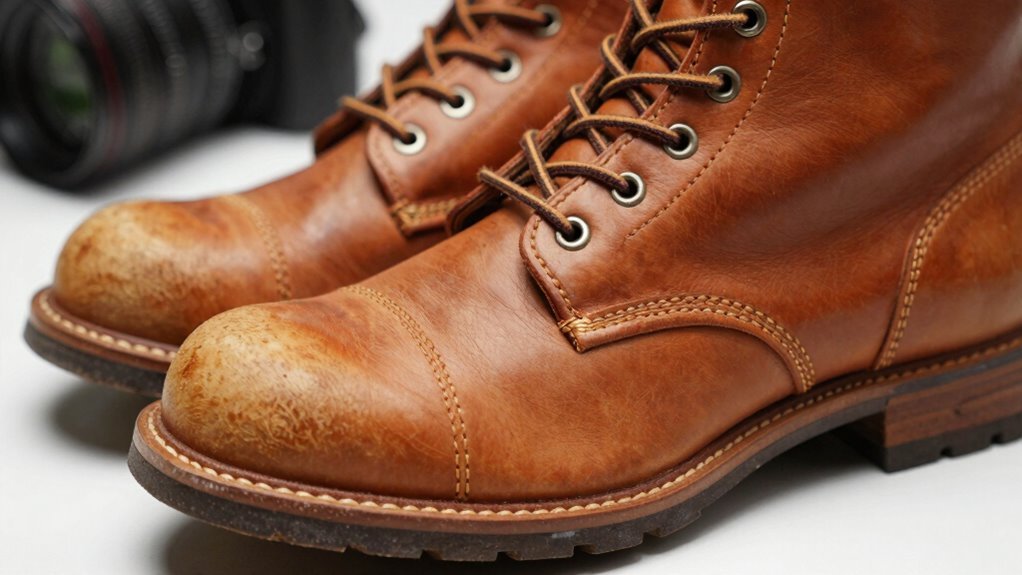
Are Leather Boots Better Than Synthetic?
Leather boots aren’t *automatically* better, but they sure do age like fine wine—durable, comfy over time, and they mold to your feet like a hug.
You’ll pay more and break them in slower, but they’ll last years.
Synthetics? Light, affordable, and ready to rock day one, though they won’t tough it out as long.
Pick leather if you want a loyal workhorse, synthetics if you love low fuss and fresh kicks often.
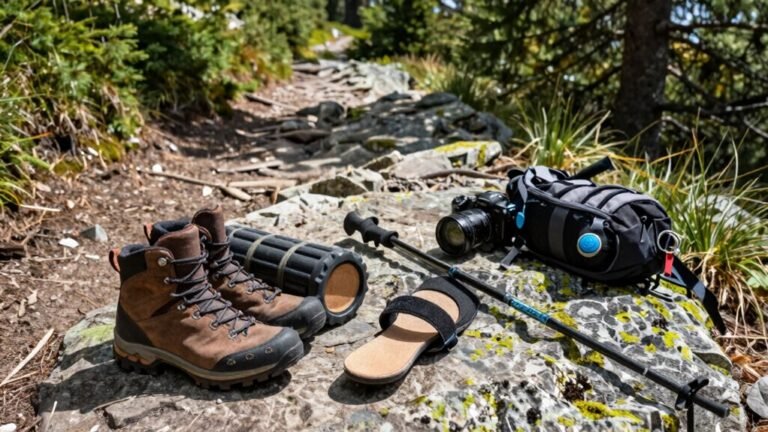
Can I Wear Hiking Boots for Everyday Use?
Yes, you can wear hiking boots every day, and you’ll love how they handle pavement, trails, and grocery runs with equal grit.
They’re tough, supportive, and ready for adventure—even if it’s just to the coffee shop.
Pick a lightweight pair, break them in gently, and your feet will thank you.
Just don’t expect them to moonlight as dance shoes—save the salsa for sneakers!
Conclusion
You’ve nailed it! Now your feet will laugh at blisters and dance through trails like they’re on a cloud-powered road trip. A perfect boot fit doesn’t just feel good—it turns rocky nightmares into easy strolls and makes steep climbs feel like gentle slopes. Lace up right, and your adventures will soar! Seriously, your soles will send thank-you cards. Keep hiking, oh glorious, blister-free hero!
References
- https://www.amputation.research.va.gov/limb_loss_prevention/Morphology_of_Foot_Types.asp
- https://balancehealth.com/resources/understanding-foot-arch-types-and-what-they-mean/advanced-foot-and-ankle-center/
- https://www.ncbi.nlm.nih.gov/books/NBK587361/
- https://www.physio-pedia.com/Arches_of_the_Foot
- https://freedomclinics.com/podiatry-chiropody/foot-types/
- https://www.mayoclinichealthsystem.org/hometown-health/speaking-of-health/how-to-determine-foot-arch-type
- https://correcttoes.com/blogs/blog/arch-height-vs-arch-function
- https://tohealthyfeet.com/blog/The+Different+Types+Of+Flat+Feet/108
- https://my.clevelandclinic.org/health/diseases/flat-feet-pes-planus
- https://teachmeanatomy.info/lower-limb/misc/foot-arches/