Layering for Hiking: Simple 3-Layer System

You’ve got this: start with a moisture-wicking base layer to keep sweat off your skin. This is the foundation of effective layering for hiking, helping you stay dry and comfortable from the start.
Add a cozy mid-layer like fleece or puffy insulation to trap warmth. This layer works to maintain body heat, especially during slower climbs or rest stops.
Top it off with a breathable outer shell that blocks wind and rain. Adjust as you go—zip, unzip, or swap layers to stay dry and comfy.
Think of your outfit as a team that’s got your back, especially when the trail throws surprises. There’s a little more to mastering the mountain vibe—keep rolling to discover the tricks that make all the difference.
Why Layering Matters on the Trail
Why does your clothing setup matter so much when you’re huffing up a trail?
Because your body’s working overtime—burning 500–700 calories an hour—and generating serious heat.
If you can’t manage that heat and moisture, you’ll be soaked, cold, or both by the time you stop.
Layering keeps you in control.
Mid-layers trap warm air like a cozy heat blanket, especially when you’re active and need efficient insulation.
When you pause, you tweak your layers to avoid that “sweaty chill” surprise.
Outer shells defend you from wind, rain, or surprise snow flurries—because nobody hikes for hypothermia.
And with full zips and breathable fabrics, you stay adaptable, not soggy.
You’re not just hiking; you’re micro-managing your personal climate zone.
Think of it as fashion, but for thermodynamics—stylish survival, really.
Layer right, and you stay warm, dry, and laughing, not shivering at the summit.
Moisture management is essential to prevent rapid heat loss and maintain energy levels.
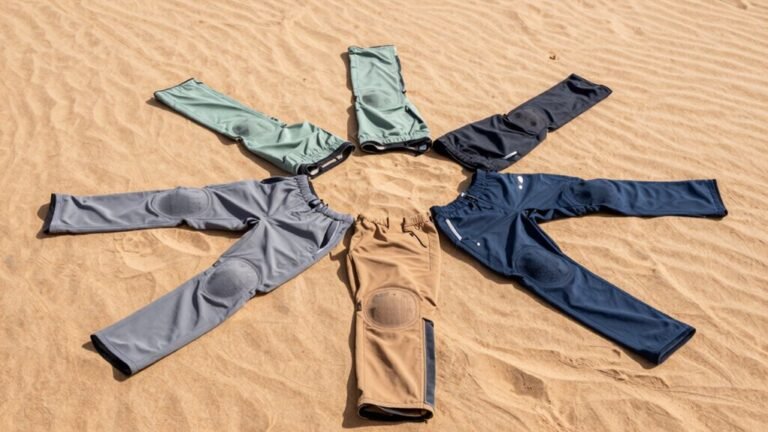
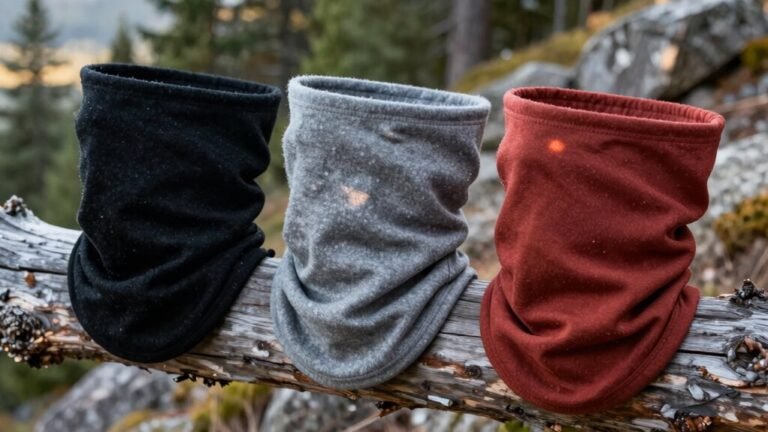
Choosing the Right Base Layer for Moisture Control
You’ve nailed the big picture of staying comfy on the trail—now let’s get up close and personal with your first line of defense: the base layer.
You want fabric that wicks sweat like a pro, so go for merino wool or synthetics like polyester—they pull moisture away fast.
Bamboo and hemp are great too, especially in summer, thanks to UV protection and breathability.
Tencel blends? Even better—they boost wicking and help regulate temperature.
Fit matters: snug is good—it helps move sweat through capillary action.
Seamless or flat-seamed designs cut chafing and keep you dry.
Long sleeves with stretch hug your body like a second skin.
Pit zips and vents? Fancy, but they help dumps moisture.
Skip cotton—it traps sweat and laughs at comfort.
Pick smart, stay dry, and let your base layer do the heavy sweating—literally.
Many effective base layers include Polygiene StayFresh technology to combat odor over extended wear.
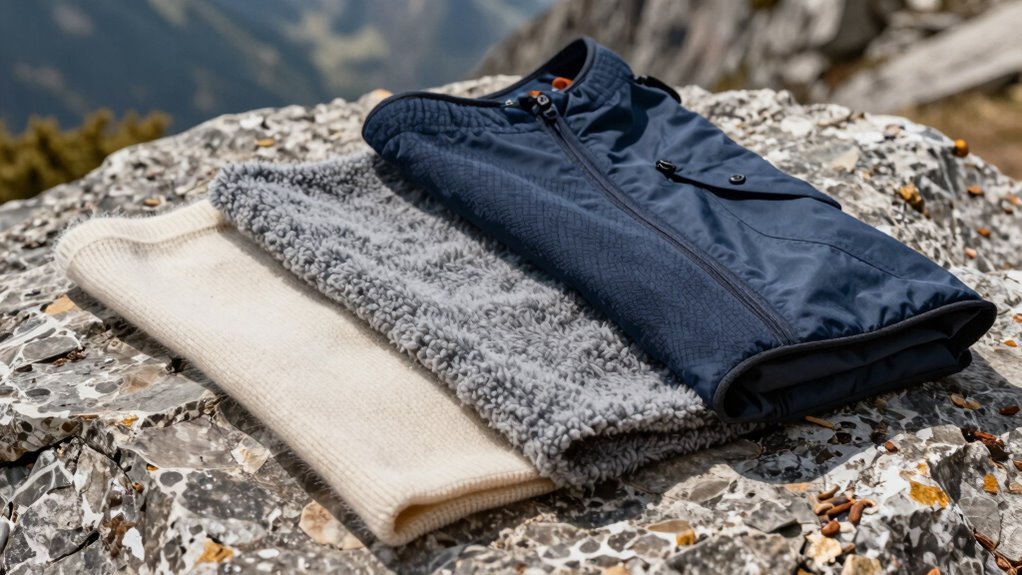
How to Pick a Mid-Layer That Keeps You Warm
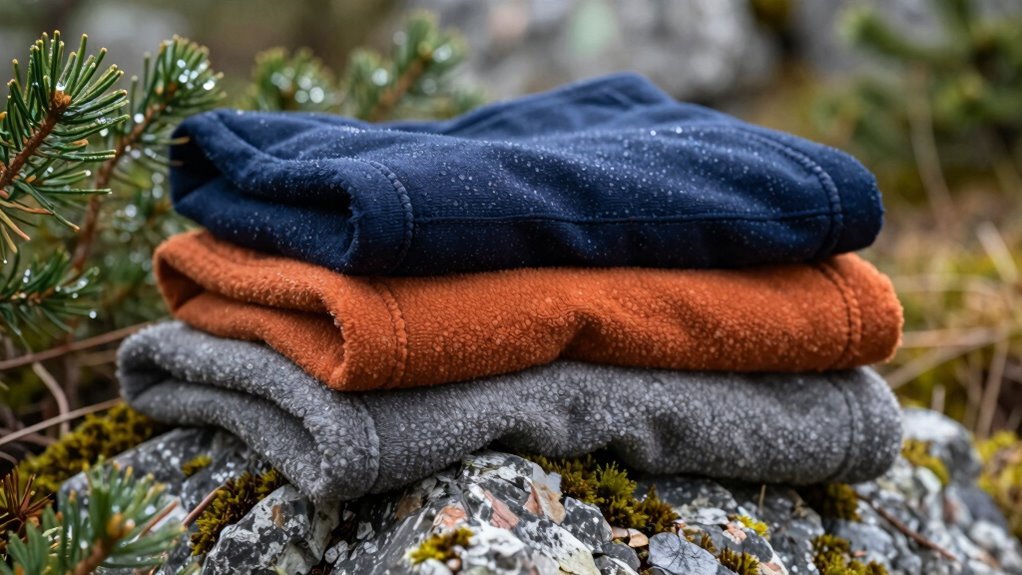
While your base layer hustles to keep you dry, it’s the mid-layer that steps up as your personal warmth wizard—trapping heat like a pro while letting sweat escape so you don’t end up cold and clammy at the summit.
Air is the real insulator, so choose a mid-layer with high loft to maximize warmth without bulk.
To pick the right one, keep these tips in mind:
- Choose the right insulation: Down’s warm and light but fails when wet—go synthetic or Primaloft for damp trails.
- Don’t squash the fluff: Wear a loose enough fit to trap air (that’s where the warmth lives!), and pick stretchy, smooth fabrics for easy layering.
- Match it to your mission: A lightweight fleece rocks on sunny fall hikes, while a hooded puffy shines on snowy peaks—test what works for your body’s thermostat.
Your mid-layer isn’t just warm—it’s smart, breathable, and ready to adapt. Think of it as your hiking jacket’s favorite snuggle buddy (with better sweat etiquette) high loft.
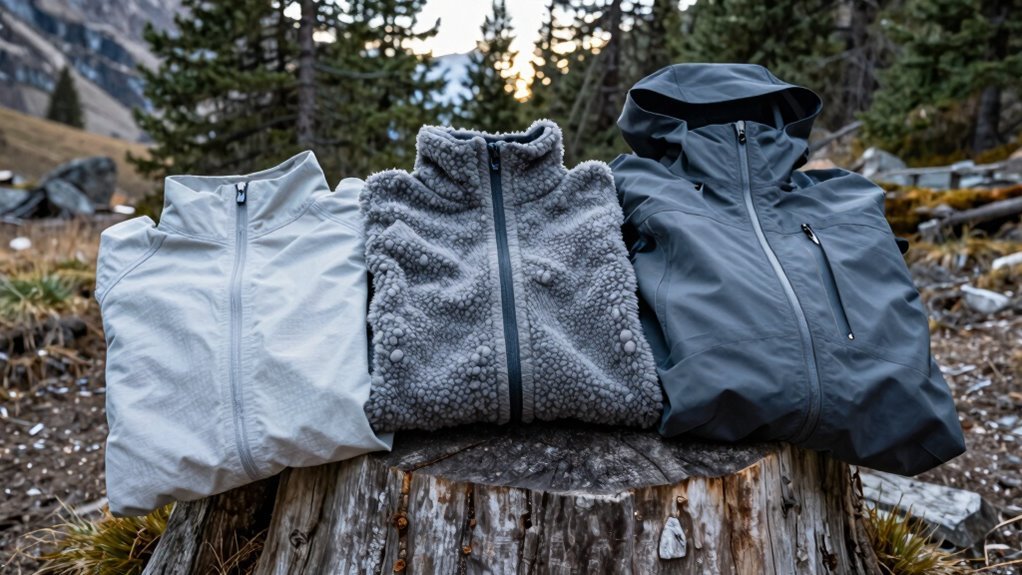
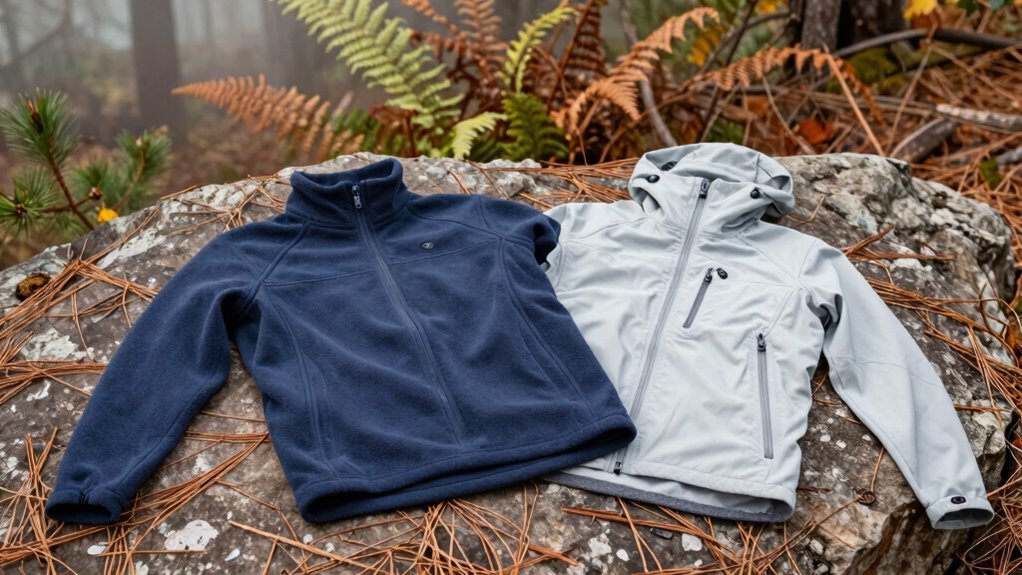
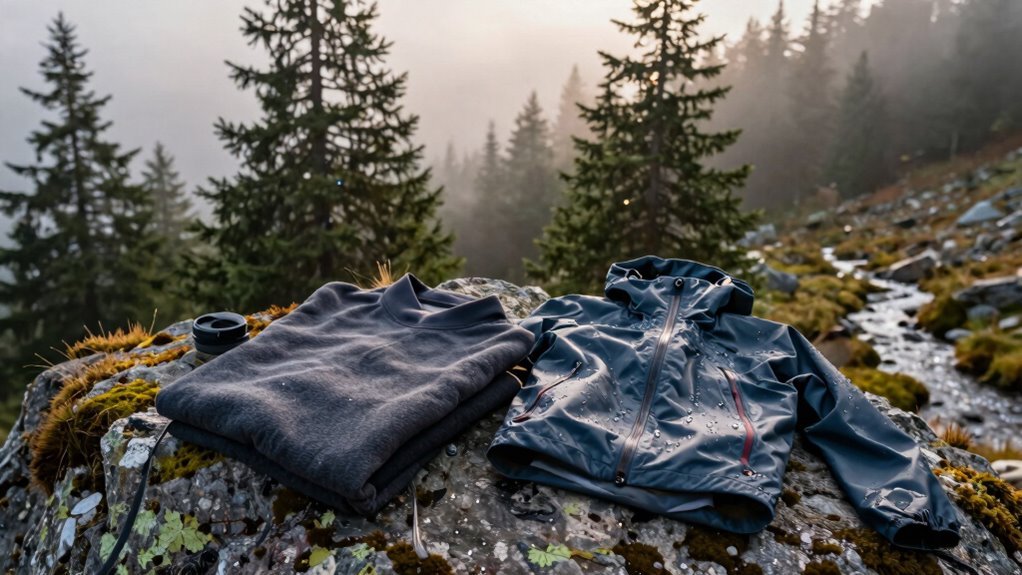
Top Considerations for Your Outer Layer
Now that your mid-layer’s got your back—keeping you toasty without turning you into a sweaty mess—it’s time to suit up with the outer layer, your all-weather sidekick. It blocks wind, rain, and snow like a pro, using waterproof materials and sealed seams to keep you dry.
But it’s not just a shell—it breathes, too, letting moisture escape so you don’t end up steaming like a boiled noodle. Pit zips? Yes, please—they’re your secret weapon for airflow.
Lightweight and packable, it squishes into your pack when skies clear. The DWR finish shrugs off light rain, while the roomy fit plays nice with all your layers underneath. No wrestling required.
Whether it’s drizzling or the wind’s howling, this jacket’s got your back—no drama, just dry comfort.
Think of it as your hiking superhero cape. Without it, you’re just hoping for good weather. And let’s be real—hope doesn’t cut it on the trail.
Avoiding Common Layering Mistakes
What if the secret to staying cozy on the trail isn’t piling on layers like a stuffed burrito but dodging a few sneaky mistakes everyone makes?
You’ve got this system down, but small slip-ups can leave you soaked or shivering. Avoid these top three blunders:
- Overdressing at the start – throwing on too much at the trailhead means you’ll sweat buckets before you even break a real sweat.
- Choosing a heavyweight base layer – thick isn’t better; it traps moisture, making you clammy fast.
- Picking a non-breathable midlayer – if it can’t vent, sweat builds up, and boom: you’re a chilled, soggy mess.
Stay smart, start cool, and skip the drama. Your body will thank you when you’re warm, dry, and grinning at the summit.
Adjusting Layers Based on Weather Conditions
You’ve dodged the layering blunders that turn hikes into sweaty struggles, so now let’s talk about the fun part—playing fashion detective with your outfit based on the weather.
When it’s cold, throw on a warm mid-layer, maybe even a second one, and top it with a thick, wind-blocking shell—you’ll stay toasty without turning into a steamy mess.
Hot outside? Ditch the extras and stick to a wicking base layer and shorts, peeling off more if the sun gets sassy.
Rain rolling in? Suit up with a waterproof shell that laughs at downpours, complete with pants to save your legs.
Windy? A snug windproof shell keeps gusts from stealing your warmth.
And when Mother Nature can’t make up her mind, stay nimble—add, shed, or zip up as needed.
With the right tweaks, you’ll stay comfy, dry, and looking smart—no weather forecast required.
Materials That Work Best for Each Layer
Ever wonder why some hikers stay cozy and dry while others end up cold and clammy?
Your layering materials make all the difference! Here’s what works best:
- Base Layer: Go for merino wool or polyester—both wick moisture fast, but merino fights stink better, while poly dries quicker.
- Mid Layer: Choose fleece or synthetic high-loft for warmth that breathes; merino blends add natural comfort if you don’t mind the cost.
- Outer Layer: Pick Gore-Tex or a high-breathability shell like Vertice—you stay dry without turning into a sweaty mess.
Synthetics are tough and affordable, but organics like alpaca insulate better when damp. Blends? They’re the ultimate trail hack—best of both worlds. Just don’t wear cotton—unless you *enjoy* being chilled to the bone!
Managing Ventilation During High-Exertion Climbs
How does it feel when your hike turns into a sweaty steam room halfway up the trail? Not fun, right? But you’ve got tricks up your sleeve—literally.
Roll up those sleeves, unbutton your shirt, or unzip your hoodie to let heat escape fast.
Loose-fitting clothes hang away from your skin, letting air sneak in and cool you down with every step.
Mesh underarms, vented backs, and gusseted crotches aren’t just fancy features—they’re your body’s best friends on steep climbs.
Pit zips on jackets? Gold.
A quick pull dumps heat before you even slow down.
Skip stopping to strip—just open vents, loosen layers, and keep moving.
Your clothes work *with* you, not against you.
Think of it like driving a cool convertible with the top down—wind in your face, sweat evaporating, rhythm flowing.
Smart venting keeps you dry, comfy, and grinning all the way to the summit.
Layering Strategies for Cold vs. Wet Environments
When the air turns sharp and the trail throws cold or wet surprises your way, your layering game has to level up—no more just unzipping to catch a breeze like on warm climbs.
1. In cold, dry weather, start with a merino or synthetic base layer, add a fleece or lightweight puffy, and top with a wind-resistant shell.
Just don’t bring down insulation if it might get wet, or you’ll be a shivering popsicle.
2. For damp hikes, go with quick-drying base layers, a waterproof-breathable shell, and throw in pit zips like secret vents for steam.
Because soggy socks and swampy insides are *not* part of the adventure.
3. In chilly-wet limbo (30–40°F), where comfort goes to die, layer smart: base + vest + shell gives warmth without sweat, so you stay cozy, not clammy.
So you stay cozy, not clammy.
Stay dry, stay warm, and keep the trail treats comin’!
Essential Layering Tips for Different Seasons
Why let unpredictable weather catch you off guard?
Spring throws surprise chills, so start with a moisture-wicking base—merino wool keeps you fresh even on back-to-back hikes.
Add a fleece mid layer and a breathable softshell; you’ll stay comfy as temps swing from chilly mornings to sunny afternoons.
Summer’s heat calls for light, quick-drying layers—think synthetic or merino long sleeves with zip necks for easy venting.
Skip the insulation, but stash a packable windbreaker—storms creep up fast!
Fall means cozy fleeces and light insulated jackets, like a Nano-Air Hoody, with a hardshell ready for sudden rain.
Always tweak layers at rest stops to avoid sweating buckets.
And hey, nobody wants to hike like a soggy sandwich—vent zippers and smart layering keep you feeling fresh, not flustered!
Frequently Asked Questions
Can I Wear Cotton as a Base Layer?
Nope, you shouldn’t wear cotton as a base layer—it’s like bringing a wet blanket on a hike!
It soaks up sweat and won’t let go, leaving you cold, clammy, and chafing in no time.
Swap it for merino wool or polyester; they wick moisture like magic and keep you comfy.
Your future self will high-five you when you’re warm, dry, and blister-free on the trail—trust us, cotton’s better at home on the couch!
How Many Layers Should I Pack?
You should pack just four key pieces—think of them like your hiking Avengers, each with a superpower.
Grab a moisture-wicking base layer, a cozy mid-layer, an insulating jacket for cold stops, and a tough shell for rain or wind.
That’s it!
You’re not auditioning for a backpacking reality show with 17 layers.
Keep it simple, stay dry, and let your gear do the heavy lifting—so you can enjoy the trail, not your closet.
Should I Layer in Hot Weather?
You bet you should layer in hot weather—just keep it smart and light.
Skip the bulk, but don’t go full onion-mode.
A single moisture-wicking base layer does heavy lifting, and yes, that means no sweaty cotton tees—your body will thank you.
Toss on a breezy, airy shell if the sun blazes or bugs swarm.
Use zips to vent heat like a pro.
Stay cool, stay dry, and hike happy—no swampy back required!
Do I Need Different Layers for Downhill Hiking?
Yes, you do—downhill hiking totally changes the game.
You’re moving slower, sweating less, and that breeze? It’s out to get you.
Swap your puffy for a cozy fleece, keep your base layer, and maybe zip on a windproof shell if the wind’s howling.
Ditch cotton like it’s yesterday’s news, and don’t forget arm sleeves for bonus warmth—because chilly arms make even snack breaks sad.
Stay smart, stay comfy, and keep grinning!
Can I Reuse Layers on Multi-Day Hikes?
You absolutely can reuse layers on multi-day hikes—most backpackers do!
Just hang them to dry each night, give ’em a quick wash away from streams, and you’re good to go.
Merino wool smells way better longer, trust me—even after sweating buckets.
Synthetic? Also great and dries fast.
Just air them out, toss ‘em on, and stay light.
Less laundry, more trail.
Who needs a closet when your backpack’s got one outfit doing triple duty?
Conclusion
Pack smart, stay snug, and savor every step. Your three-layer system stops sweat, shields from storms, and spreads smiles. No more shivering in soggy shirts or sweltering like a simmering stew. With base, mid, and shell, you’re set for sun, snow, or surprise showers. Layering’s like love—get it right, and everything feels lighter. Now go, get out there and let the trails thrill you!
References
- https://www.finetrackglobal.com/en_US/the-importance-of-proper-layering-for-hiking-in-cold-weather/the-importance-of-proper-layering-for-hiking-in-cold-weather.html
- https://shetreks.co/trip-resources/layering-systems
- https://www.thebmc.co.uk/en/a-guide-to-hill-walking-clothing-layers
- https://backpackinglight.com/layering-strategies-ultralight-backpackers-dirt-catwalk/
- https://www.iheartpacificnorthwest.com/blog_post/how-to-layer-hiking-clothing-outerwear/
- https://www.rei.com/learn/expert-advice/layering-basics.html
- https://pmc.ncbi.nlm.nih.gov/articles/PMC6993091/
- https://www.backpacker.com/gear-reviews/a-brief-history-of-layering/
- https://polygiene.com/news/resources/hiking-base-layers/
- https://myoutdoorbasecamp.com/base-layer-materials/