How to Waterproof Boots at Home
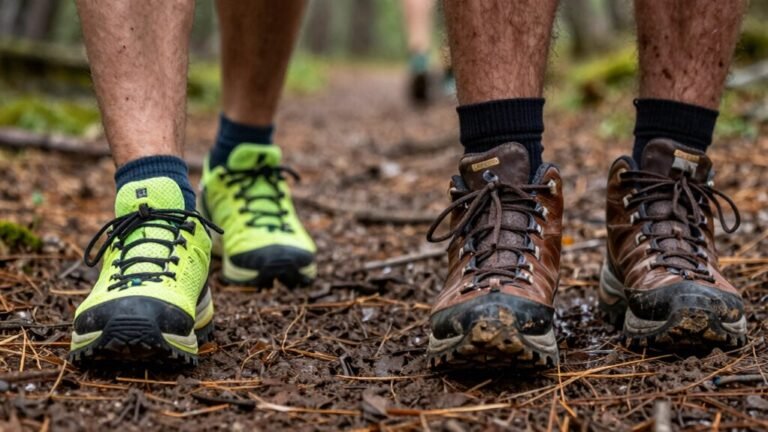
First, figure out your boot material—this is key to choosing the right waterproofing method. Leather boots work best with wax, synthetics prefer a waterproofing spray, and Gore-Tex materials require gentle, compatible treatments to maintain breathability.
Clean your boots thoroughly to remove dirt and debris, then let them dry naturally—never use direct heat. Once dry, apply a waterproofing product suited to the material, ensuring even coverage for long-lasting protection.
Don’t skip the seams; they’re common entry points for water, so seal them carefully. Reapply the waterproof treatment every few months or as needed, especially after heavy use, to keep your boots ready for wet conditions.
Identify the Type of Boot Material
Ever wonder why some boots shrug off rain like a duck while others soak through in a light drizzle?
That’s because not all boots are built the same—knowing your material is your first step to success.
If your boots are full-grain leather, they’re tough and naturally water-resistant, but still need a little help from waxes or H2O sprays.
Rocking synthetics like Chemtech?
They’re vegan, sleek, and love a quick waterproof spray for backup.
For muck-loving rubber or polyurethane boots, congrats—you’re already 100% waterproof, even if your feet might stage a sweat revolt.
Membranes like Gore-Tex?
Brilliant tech that breathes while blocking water, but only if you keep them clean.
And hybrids?
The best of all worlds—just check the labels.
Spot the material first, and you’ll skip the soggy surprises later.
Proper care helps maintain both waterproofing and breathability over time.
Your future dry feet will thank you—no puddle-jumping regrets!
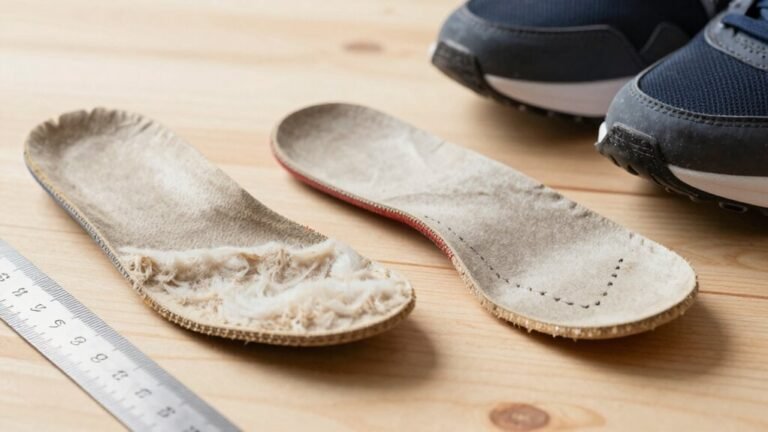
Clean Your Boots Thoroughly
Grab your brush and roll up your sleeves—your boots are about to get the spa treatment they’ve been dreaming of.
Start by yanking out the laces and insoles so you can reach every hidden nook.
Give your boots a good shake to kick out loose dirt, then rinse the outside with water—sink, hose, or bucket, your call.
Use a boot brush or old toothbrush to scrub the uppers, soles, and toe caps with a dab of specialized cleaner or mild dish soap—skip the bar soap, it’s a no-go.
Tackle grime in the treads; those trapped pebbles aren’t hitchhiking for fun.
Rinse well and wipe down with a microfiber cloth.
Need to kill mold? Mix water and vinegar.
Let everything air dry naturally—no hairdryers, no radiators, we’re not cooking boots here. For stubborn stains, apply Waterproof Leather Cleaner with a cloth or brush before rinsing.
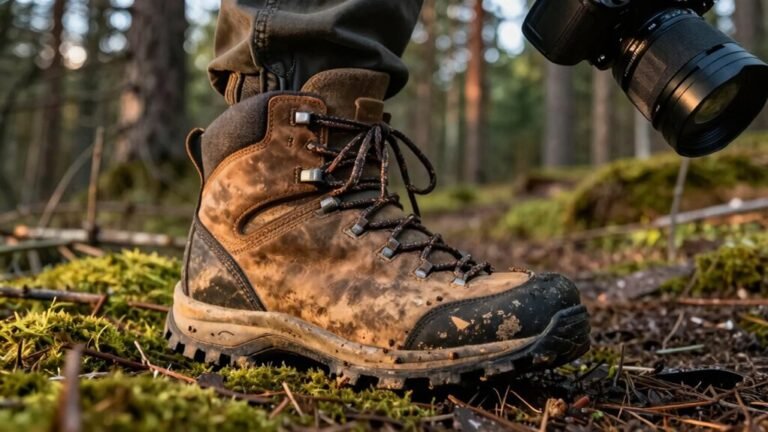
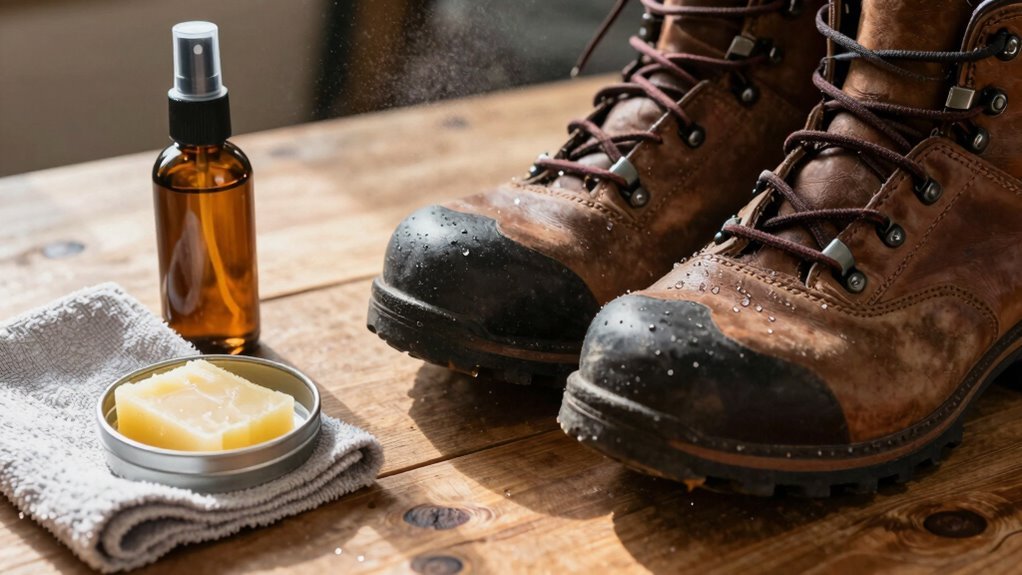
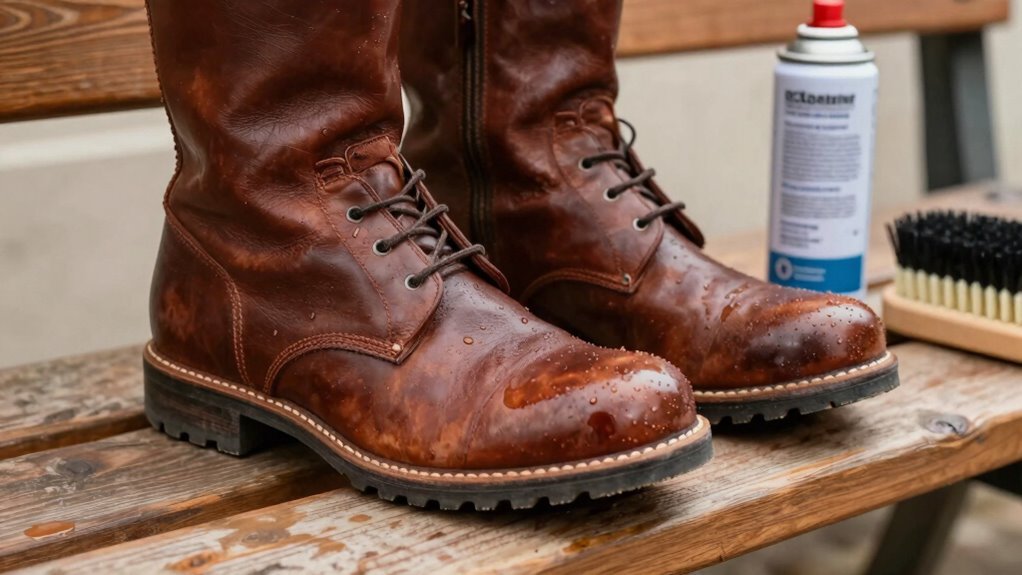
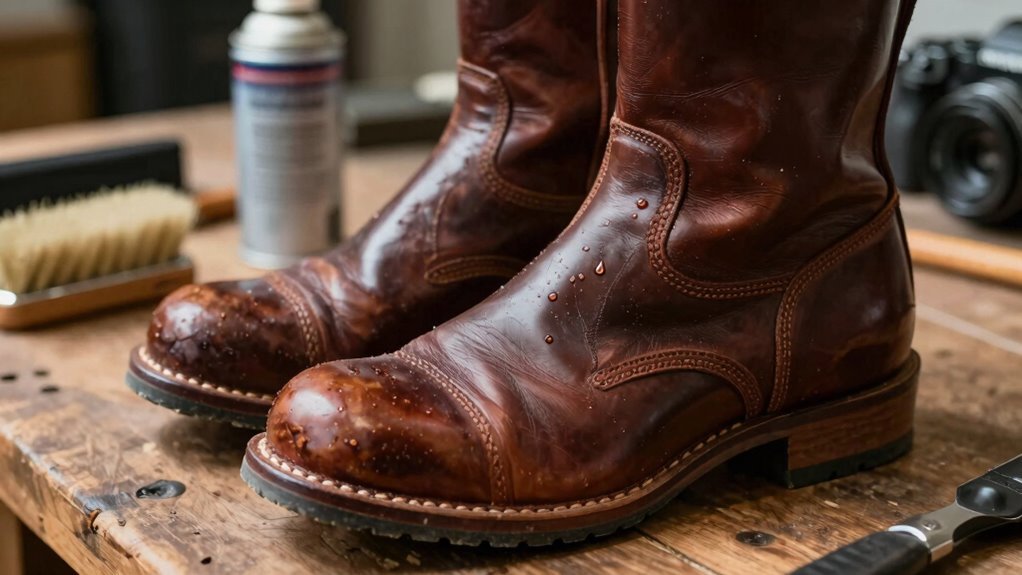
Apply a Waterproofing Treatment
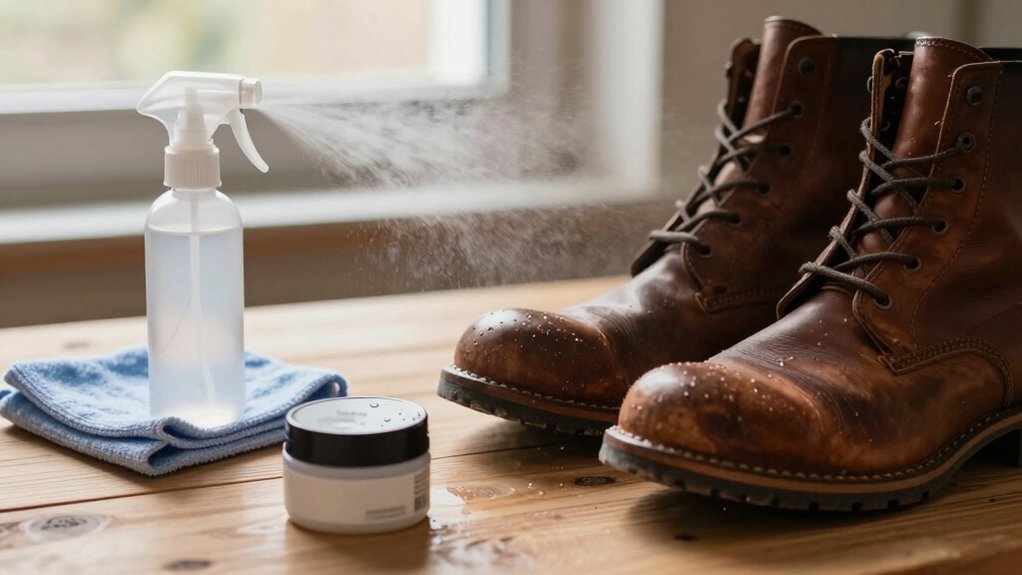
Now that your boots are clean and completely dry, it’s time to suit them up with some serious rain-ready armor.
Grab a dubbin wax, spray, cream, or oil—your weapon of choice against soggy socks.
If you’re using wax, rub a small amount on a cloth and spread it in thin, even layers so your boots don’t stiffen up like old robots.
Sprays? Hold the can 6–15 cm away and sweep it smoothly, giving extra love to toes, heels, and fabric spots.
Creams and oils go on with a soft cloth or your fingers—just massage them in like a mini spa treatment.
Let everything soak in (20–60 minutes, depending), then buff off the extras.
No drips, no mess—just happy, water-resistant boots ready to laugh in the face of puddles.
You’ve got this!
Make sure to choose the right product for your boot material—using the wrong one can lead to stiffness or discolouration.
Seal Seams and Stitching
Sealing those tiny stitched lines is your secret weapon against surprise wet socks, so don’t skip this step—think of it as giving your boots a force field where they need it most.
- Feel the pride of outsmarting puddles with a simple brush of seam sealant
- Sleep easy knowing your boots won’t betray you in a downpour
- Save your hard-earned cash by fixing weak spots instead of buying new boots
- Enjoy that “aha!” moment when water beads right off the seams you sealed
- Flex your DIY muscles and say, “I waterproofed these myself—how cool is that?”
Use a toothpick for precision, go for two thin coats, and let it cure overnight—your future dry feet will thank you. Just don’t rush it; nobody likes sticky boots or loose glue.
Maintain Waterproofing Over Time
A little TLC between adventures keeps your boots ready for anything, rain or shine, so don’t wait until they’re soaked to think about waterproofing.
Clean them regularly with a damp cloth and mild soap, brushing off dirt and removing laces and insoles—yes, even those stinky ones.
Let everything air dry naturally, far from radiators or fireplaces (no baking boots, please!).
Once dry, check if water still beads on the surface; if not, it’s reapplication time.
Re-treat every few months or after a solid cleaning, ideally while the leather’s slightly damp for better soak-in.
Use conditioners for full-grain leather, sprays for even coverage, and waxes to seal in protection without sacrificing breathability.
Store your boots in a dry spot with boot trees or stuffed with newspaper to keep their shape happy and mold-free.
Tighten the laces when storing—fashion isn’t just for foot outings!
Frequently Asked Questions
Can I Use Household Items to Waterproof My Boots?
Yeah, you can absolutely use household items to waterproof your boots!
Grab a candle or beeswax and rub it all over your clean, dry boots—it’s cheap, easy, and kinda fun, like giving your boots a spa treatment.
Use a hair dryer to melt it in, then flex those toes to seal the deal.
Petroleum jelly works in a pinch too.
Just don’t expect them to survive a rainforest downpour, okay?
How Long Does Waterproofing Last Under Heavy Rain?
It lasts a solid 6 to 12 months under heavy rain, depending on how often you’re out splashing through puddles like a kid.
Quality boots with sealed seams laugh at storms for ages, while DIY waterproofing? Maybe a few downpours before they tap out.
Reapply treatments regularly, and you’ll stay dry, happy, and ready for anything—even surprise monsoons in your backyard.
Keep ’em cared for, and they’ll have your back, no galoshes needed!
Is It Safe to Waterproof Suede Boots at Home?
Yes, you can safely waterproof suede boots at home—if you pick the right product, it’s smooth sailing.
Choose a suede-specific, non-darkening spray like Nikwax; it’s like giving your boots a raincoat without the mess.
Avoid waxes, follow prep steps, and always patch-test.
Too much goo and you’ll invite trouble, but done right? Your boots stay dry, stylish, and breathing easy—because nobody likes soggy, stiff footwear!
Can I Speed up Drying After Waterproofing Treatment?
Yes, you can speed up drying after waterproofing—just don’t rush it with heat!
Stuff your boots with crumpled newspaper to pull out moisture fast, and swap it every few hours.
Point a fan at them for steady airflow, and kick back with your feet up—let gravity help!
Remove insoles and laces for quicker results.
It’s like a spa day for your boots, but with more jazz hands.
Should I Waterproof New Boots Immediately After Purchase?
Nope, you don’t need to waterproof your new boots right away—phew!
Most come with a factory DWR coating that’s already got your back.
Think of it like built-in rain armor.
Just let those bad boys flex their natural skills first.
Wait until water stops beading on the surface, usually after a few months.
Jumping in too soon could mess with the breathability.
Save the spray for later, not day one!
Conclusion
You’ve got this! Now your boots can laugh in the face of puddles. Did you know that properly waterproofed boots can repel up to 90% of moisture? That’s like giving your feet tiny raincoats! With a little care, they’ll stay dry, comfy, and ready for anything—mud, slush, even surprise downpours. Keep up the good work, rain warrior, and let those boots march on, come drizzle or shine!
References
- https://chinookfootwear.com/blogs/news/ultimate-guide-to-waterproof-work-boots
- https://stcfootwear.com/blogs/news/safety-footwear-water-repellent-leather-or-waterproof-membrane-which-one-to-choose
- https://www.overlookboots.com/blogs/boots/waterproofing-boots
- https://www.performancedays.com/news/detail/footwear-forum-theme-footwear-complexity-and-waterproofing-key-insights.html
- https://blog.gritroutdoors.com/a-guide-to-choosing-the-perfect-waterproof-boots/
- https://sqtotoe.com/blogs/news/materials-that-make-boots-weather-resistant
- https://nicksboots.com/blogs/blog/boot-construction-and-waterproofing-work-boots-how-theyre-made-matters
- https://bprimal.com.au/blogs/shoe-care/how-to-waterproof-different-types-of-shoe-materials
- https://www.timberland.com/en-ch/blog/inspiration/a-practical-guide-to-waterproofing-in-style
- https://www.danner.com/danner-care/waterproofing