Downhill Knee Pain Fixes for Older Hikers
Downhill knee pain is a common challenge for older hikers, but simple technique adjustments can make a big difference. Shorten your steps and ease into a slower pace to reduce impact and let your quads work more efficiently.
Tilt your body slightly forward and use trekking poles to absorb shock and take pressure off your knees. These small changes in form can significantly reduce downhill knee pain over time.
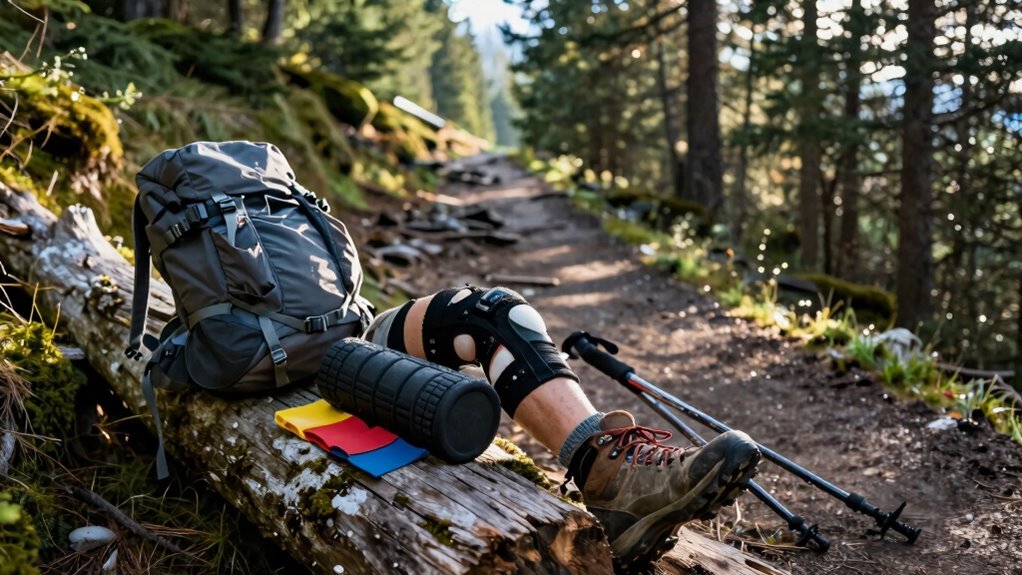
Strengthening key muscles also plays a crucial role in knee protection. Incorporate simple exercises like wall squats and step-ups to build up your glutes and quads.
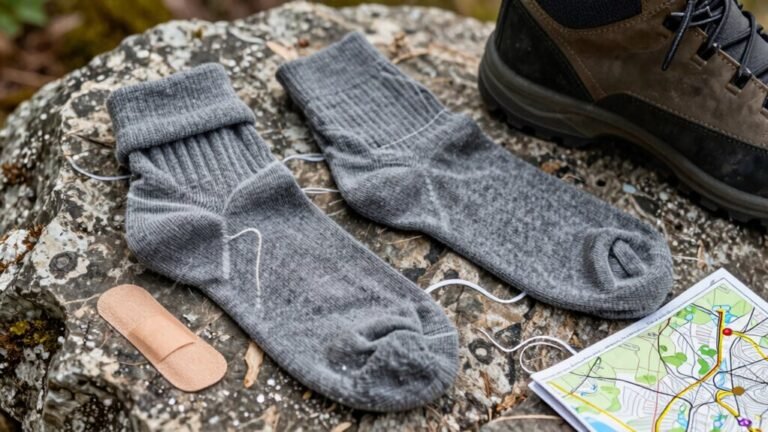
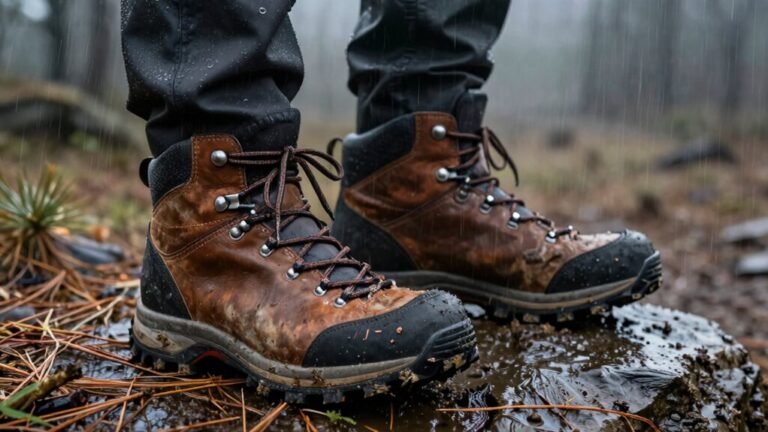
Don’t overlook the importance of proper footwear and mindful movement. Good shoes combined with a light, quiet footfall—like walking like a ninja—can further ease stress on your joints.
Why Downhill Hiking Puts Extra Stress on Your Knees
Ever wonder why your knees scream “no more” every time you hit a downhill stretch?
That’s gravity yanking you forward, turning your legs into shock absorbers on overdrive.
The steeper the slope, the harder your knees have to work—bearing up to 25% more force than on flat ground.
As your body leans forward, pressure piles onto the kneecap and the joint below it, squishing cartilage with each step.
Your quads fire hard, eccentrically braking your descent like overworked pistons.
On a 25-degree decline, compressive and shear forces spike, especially if the trail’s rocky or uneven.
Without trekking poles or solid muscle control, every downhill mile grinds on your patellofemoral joint.
Proper form and technique can significantly reduce this strain by optimizing alignment and movement efficiency.
It’s no wonder hikers wince—your knees aren’t just sore, they’re surviving a daily demolition derby!
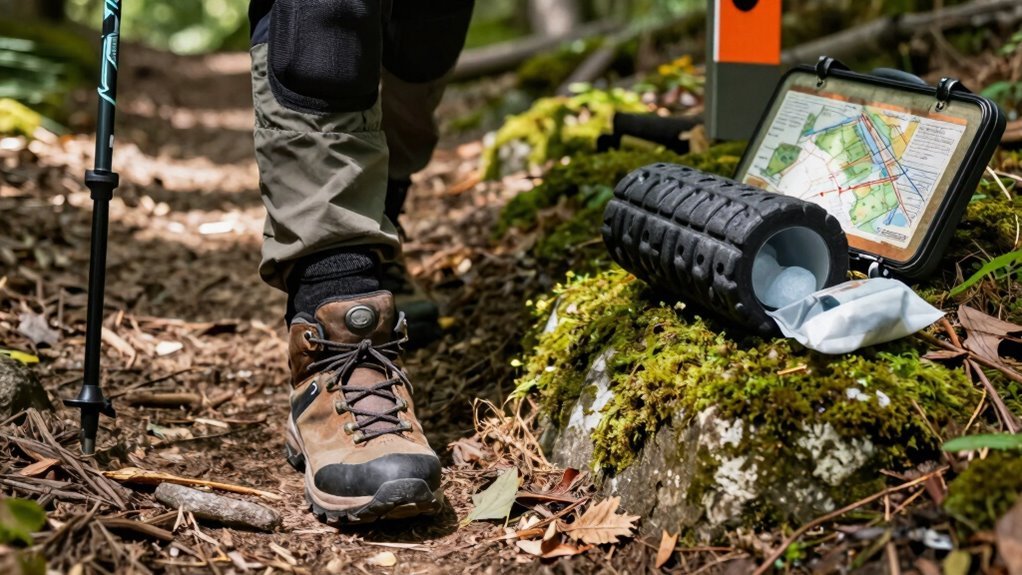
Adjust Your Stride to Reduce Joint Impact
When you’re barreling down a trail and your knees start staging a protest, it’s not too late to shift gears—literally.
Shorten your steps by about 15%—it slashes knee forces and brings softer foot strikes.
Think tiny ninja steps, not giant leaps.
Pair that with a quicker cadence to keep up speed without the strain.
More steps, smaller ones—it’s like dancing down the hill instead of stomping.
Tilt your body slightly forward, not hunched, just a gentle lean, like you’re reaching for a panoramic view.
This keeps your weight balanced and eases pressure on your knees.
Slow down, too; rushing downhill turns your joints into shock absorbers for your whole body.
On rocky or uneven ground, short steps keep you nimble and in control.
Less overstriding means less quad burn and fewer “why did I agree to this?” moments.
Weak quadriceps can strain the patellofemoral joint, especially during prolonged descents when muscles fatigue.
Strengthen the Muscles That Support Your Knees
While your knees do the heavy lifting on the trail, they’re not meant to go it alone—strong supporting muscles are your secret weapon for pain-free hikes.
Start with glutes: clams, side leg raises, and fire hydrants fire up your hips like a trail-ready engine.
Hamstrings? Try leg curls and shoulder bridges—they’ve got your back (and knees) on steep descents.
For quads, wall squats with a ball and step-ups build power without punishment.
Don’t skip single-leg moves—lunges, calf raises, and leg lifts boost balance and banish wobbles.
Do 2–3 sets of 10 reps, keep tempo smooth (think 4-1-2: slow down, hold, lift), then speed it up as you get stronger.
Add dumbbells or bands when it feels too easy—your knees won’t know what hit ’em (in the best way).
Addressing muscle imbalances early can prevent long-term knee pain, especially since chronic issues often stem from weakness and tightness rather than injury.
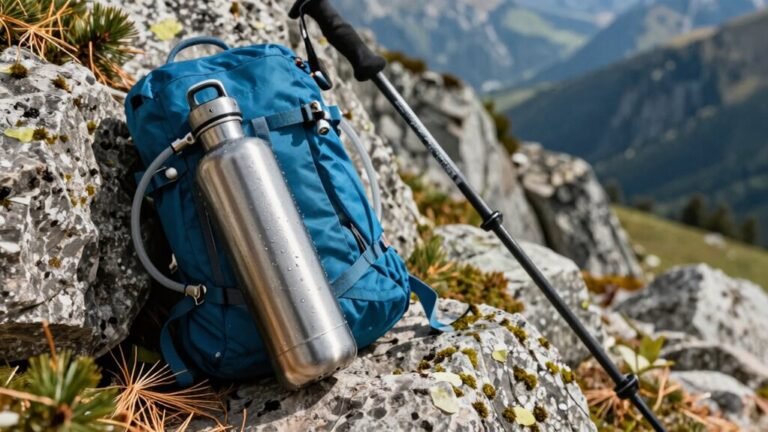
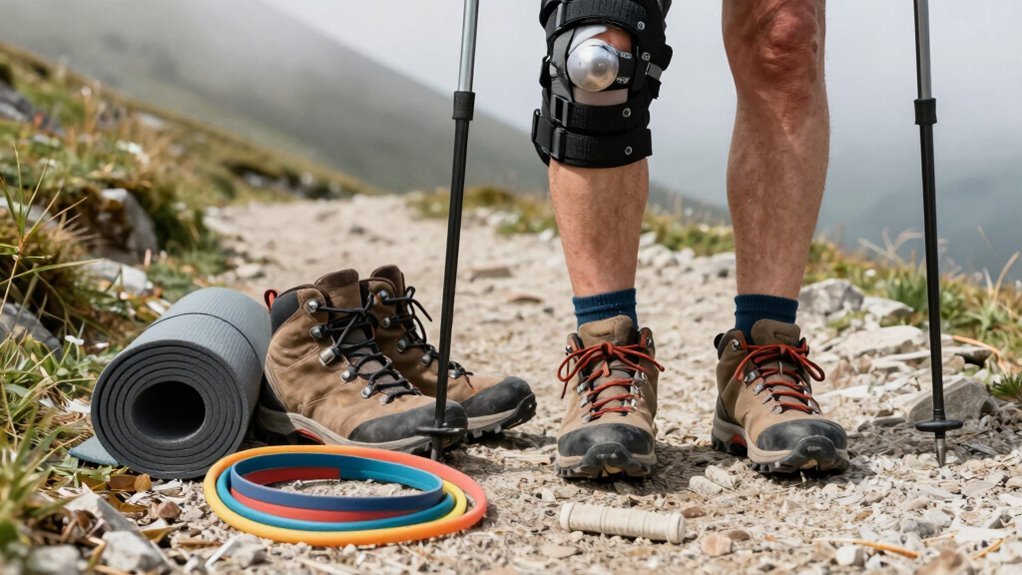
Use Trekking Poles for Better Stability and Less Pressure
What if you could give your knees a break without slowing down your stride? Trekking poles let you do just that. They reduce knee joint stress by up to 25%, especially on downhill hikes, so you’ll feel less ache and fatigue.
With poles, you’ll stabilize your body on tricky terrain, improving balance and slashing fall risks. They even lower markers of cartilage damage and muscle soreness—meaning you’ll bounce back faster.
Studies show 91% of older hikers had less pain in just one week.
Poles redistribute the workload, engaging your upper body so your legs don’t take all the punishment. Think of them as tiny bodyguards for your knees, fighting off strain while you enjoy the trail.
You’ll walk farther, recover quicker, and likely smile more—because let’s face it, nobody likes waddling like a penguin after a steep descent.
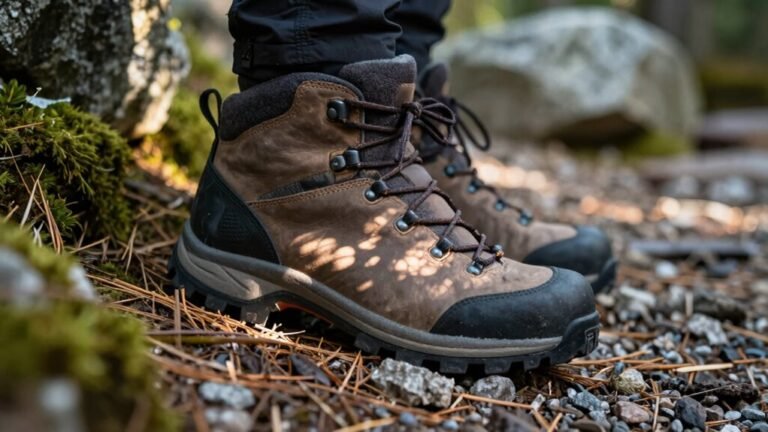
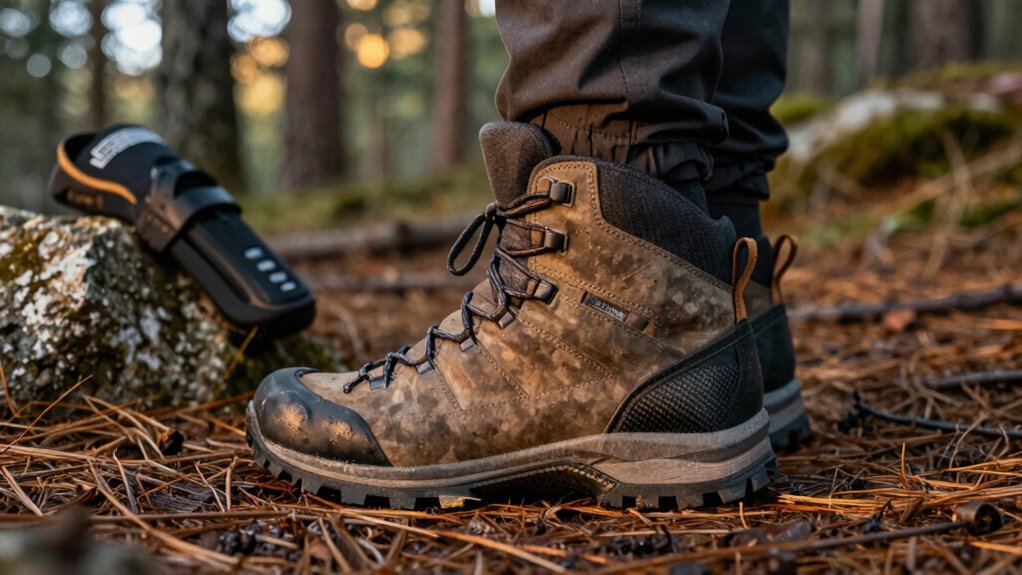
Choose the Right Footwear for Trail Conditions
You’re already lightening the load on your knees with trekking poles—now let’s talk about what’s underfoot, because your shoes are doing way more than just holding up your feet.
If you’re tackling rocky, muddy, or uneven trails, hiking boots with deep 4mm+ lugs and Vibram soles, like the Moab 3 GTX, give you grip and ankle support that keeps your stride steady.
They’re also your best bet in cold, wet weather thanks to waterproof Gore-Tex liners.
For dry, flat paths, trail runners are light and breathable—perfect when the only thing slippery is your own sweat.
Just don’t wear them on scree or slick roots, unless you enjoy surprise impromptu yoga poses.
Waterproof boots with rock plates protect your feet on jagged terrain, while cushy models like the On Cloudrock keep you comfortable mile after mile.
Pick the shoe that matches your trail—and your fun.
Master Proper Descent Techniques
When you’re heading downhill, gravity’s got a sneaky way of turning a peaceful hike into a knee-pounding sprint—unless you know how to stay in control.
Slow down, shorten your steps, and keep your knees bent like you’re hovering over a squat.
Lead with your heel, not your toes, and let your arch roll through smoothly.
Keep your weight back—think “tush out”—to fight gravity without slamming your joints.
Use trekking poles lightly for balance, not crutches, and stay light on your feet like you’re tiptoeing through a nap zone.
- Adopt a heel-lead step to absorb shock like a snow plunge
- Bend knees continuously to reduce impact on downhill strides
- Take small, slow steps to boost precision and protect joints
- Use poles for subtle stability, not brute support, on tricky drops
Incorporate Low-Impact Cross-Training Into Your Routine
Ever wonder how to keep your knees happy while still building serious trail grit? Of course you do—your joints are begging for mercy!
Swap hard pavement runs for long, low-intensity bike rides that still get your lungs pumping but spare your knees. Aim for 180 minutes weekly in Zone 2 to build that hiking-endurance engine.
Try 20-minute HIIT sessions with standing punches or low-impact bursts—yes, you can rage against the clock without jumping.
Toss on a weighted vest and march on the treadmill to mimic packed trails.
Two strength days weekly with glute bridges and box squats, plus calf raises, keep everything solid.
Walk with your loaded pack two weeks out and wow, your knees will thank you.
Cross-training isn’t a vacation—it’s stealthy trail prep with less drama and way smarter results.
Who knew being kind to your knees could feel this powerful?
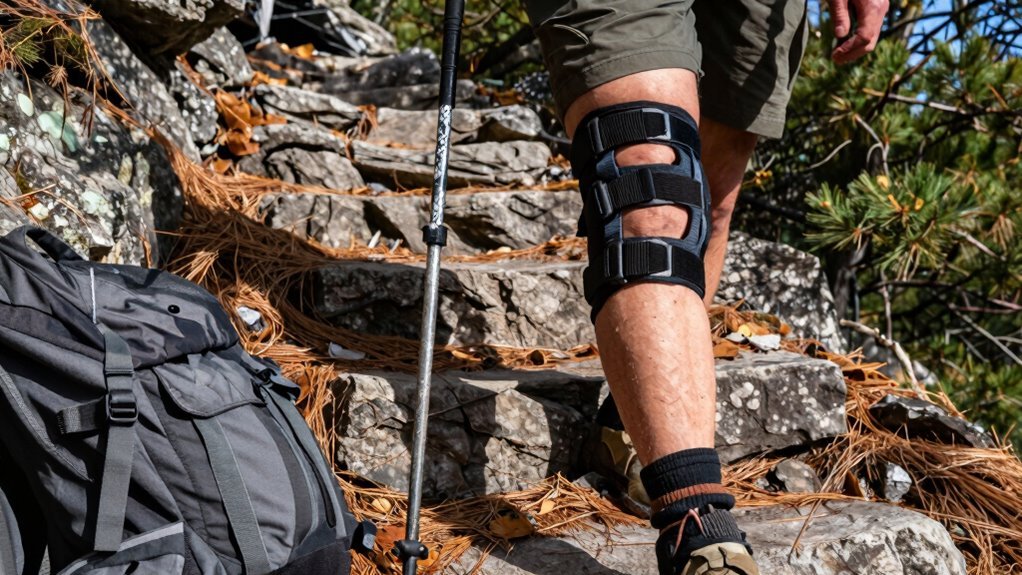
Know When to Rest and Seek Professional Advice
How’s your knee feeling—like a well-oiled hinge or more like a creaky screen door?
If downhill hikes leave your knee angry, throbbing, or acting up during daily tasks, it’s time to hit pause. Don’t tough it out—some signals mean you need rest or a pro’s eye.
- Sharp pain shooting above or below your knee? That’s likely tendinitis yelling for a break.
- Swelling, warmth, and tenderness on the inner side? Bursitis might be crashing the hike party.
- Pain that lingers after rest or worsens on stairs? Osteoarthritis could be sneaking in.
- Does your back ache too, with knee pain that mimics injury? Nerves might be the sneaky culprit.
Listen to your body—it’s not being dramatic, just honest. When in doubt, see a doctor. Early help keeps you on the trail longer!
Frequently Asked Questions
Can Knee Pain While Hiking Be a Sign of Arthritis?
Yeah, knee pain while hiking can definitely be a sign of arthritis, especially if you’re over 50.
You mightn’t feel it on flat trails, but downhill stretches can flare things up.
Since half of ACL or meniscus injuries lead to osteoarthritis, that ache could be your knee quietly protesting old wear and tear—like a rusty hinge saying, “Hey, I need some TLC!”
Are There Supplements That Help With Hiking-Related Knee Pain?
Yep, some supplements really do help with hiking-related knee pain—think of them as your knees’ personal pit crew from the future.
You take turmeric with fats for less swelling, fish oil to calm joints, and collagen to patch things up.
Glucosamine and boswellia join the squad to keep you moving freely.
Pop ‘em daily, stay trail-ready, and laugh as your knees forget they ever complained.
Nature’s got your back—well, your knees, anyway.
How Long Should I Wait Before Hiking After Knee Surgery?
You’ll typically wait 6 to 12 weeks before hitting the trail after knee surgery, depending on your type of procedure and recovery speed.
If you’ve had a partial replacement, you might be hiking in as little as 3–4 weeks—awesome, right?
Just get your doctor’s thumbs-up first, start easy on flat paths, and let your knee tell you when it’s ready.
You’ve got this!
Is Downhill Hiking Bad for Knee Replacements?
Downhill hiking isn’t off-limits, but it’s like dancing with a cactus—thrilling yet tricky for knee replacements.
You’ll face higher joint stress, so go slow and lean into hiking poles; they’re your new best friends.
Early training’s actually safe and helpful, just don’t rush.
Pair trails with rest, mix in cycling, and keep your doc in the loop—your knees will thank you with every happy step.
Can Losing Weight Really Reduce Knee Pain When Hiking?
Yeah, losing weight really does ease knee pain when hiking—it’s like giving your knees a power-up!
Drop just 5% of your weight and you’ll likely feel noticeably better, especially with walking or downhill stretches.
Every pound you lose takes 3–4 pounds of pressure off your knees with each step.
Hit 10–20% weight loss and you’re not just hiking easier, you’re future-proofing those joints—hello, summit views without the grimace!
Conclusion
So, your knees might whisper a few complaints on the way down, but hey, nobody said trail tales were drama-free. Tweak your stride, grab those trekking poles like trusty sidekicks, and give your legs some love with smart moves and proper shoes. Think of it as trail maintenance—for your body. Mix in fun cross-training, listen when your knees tap out, and remember: even mountains weren’t rushed. You’ve got this, trailblazer!
References
- https://pubmed.ncbi.nlm.nih.gov/10622357/
- https://sportsmedrockies.com/how-to-avoid-knee-injuries-while-hiking-and-running-in-the-rockies/
- https://www.hingehealth.com/resources/articles/hiking-knee-pain/
- https://www.central-health.com/resources/blog/hiking-downhill-guide-gravity/
- https://www.thehealthyhiker.com/post/length-matters-how-stride-length-affects-knee-pain
- https://earthtrekgear.com/blogs/walking-health/how-to-minimize-knee-pain-while-hiking-essential-tips-for-adventurers
- https://backpackerspantry.com/blogs/news/how-to-protect-your-knees-when-hiking-downhill
- https://sacorthosports.com/prevent-orthopedic-injuris-while-hiking/
- https://www.jacorehab.com/blog/knee-pain-hiking-downhill/
- https://www.backpacker.com/skills/knee-pain-preventing-and-treating-it-on-the-trail/