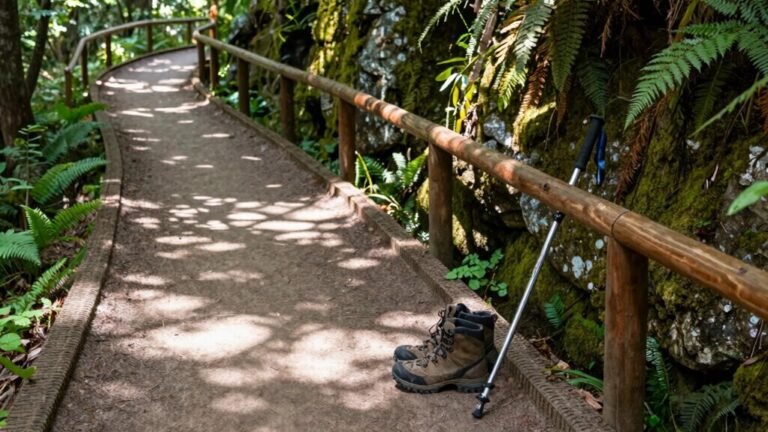
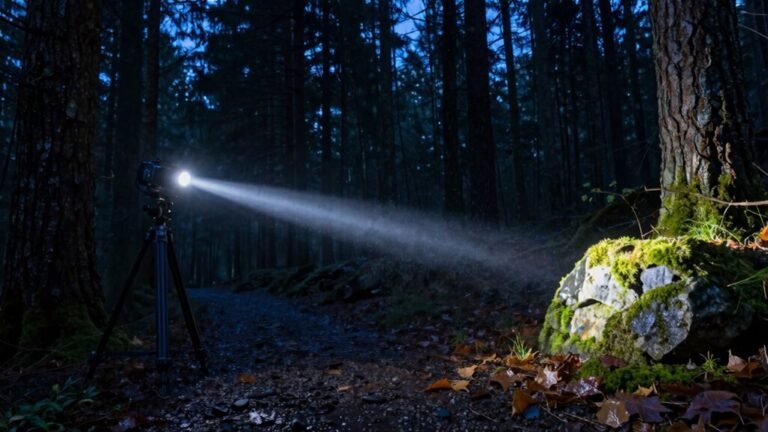
Basic Map and Compass Skills in 15 Minutes
You’ve got this! Basic map and compass skills can be mastered in just 15 minutes, letting you confidently navigate the wild.
Spot green forests, blue rivers, and squiggly contour lines that reveal hills and valleys. Remember—close together means steep; far apart means an easy stroll.
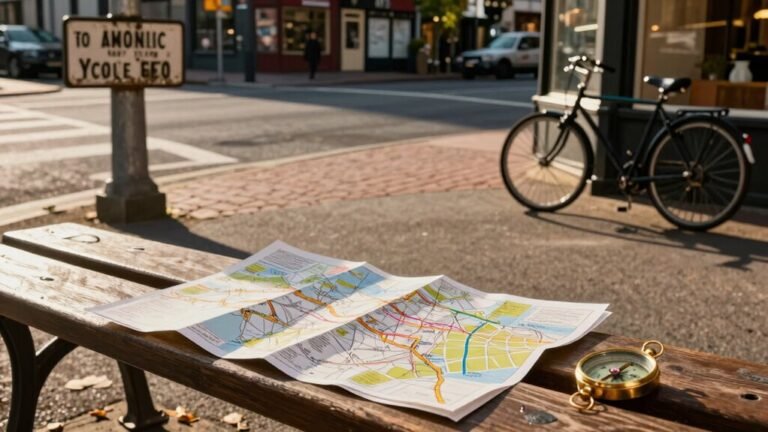
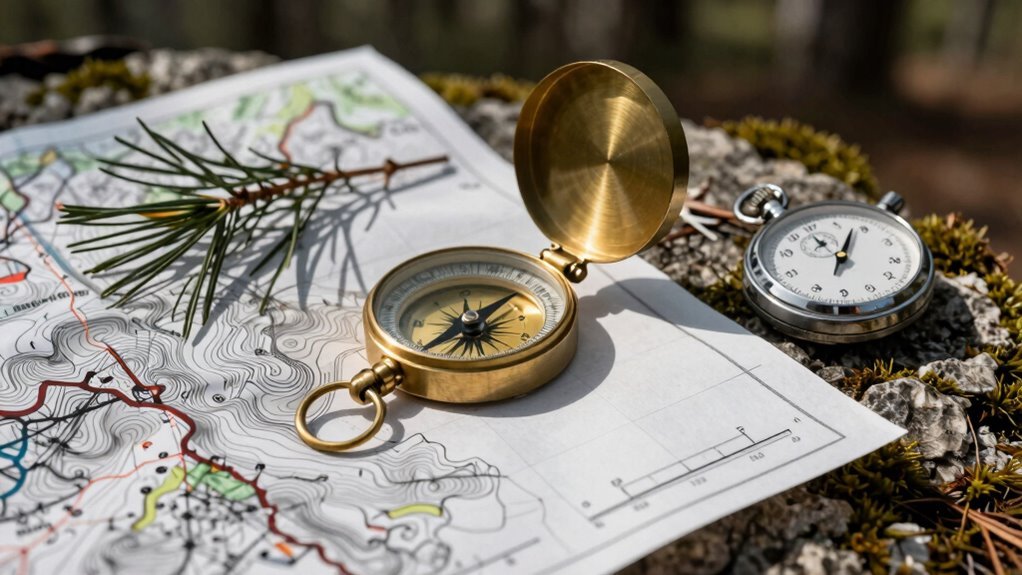
Lay your map flat, align it with your compass, and spin until “red’s in the shed” to orient your view with the terrain. This simple step is key to solid basic map and compass skills.
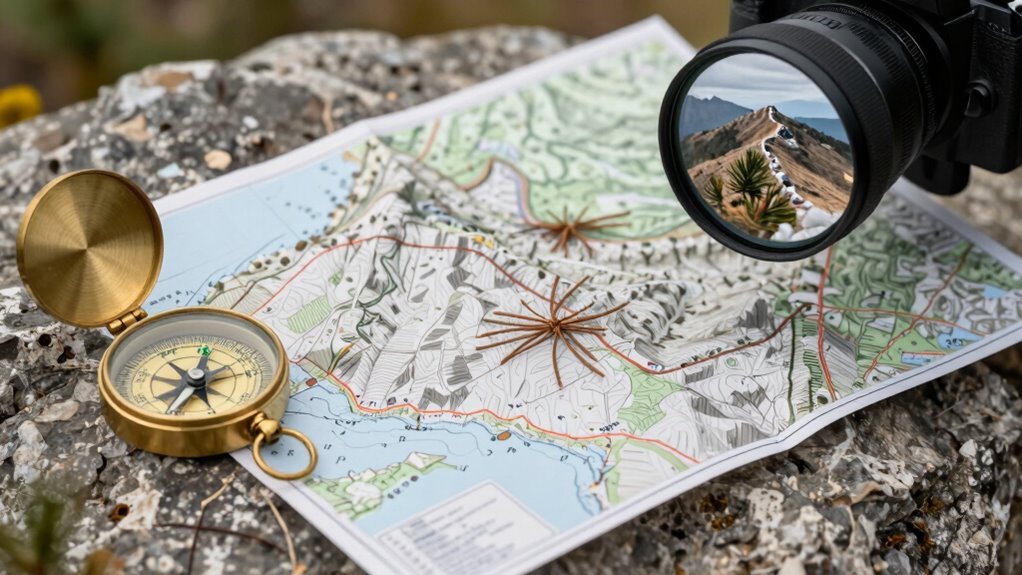
Plot your route, grab a bearing, and follow that little arrow like it’s pointing to snacks. Use trails or rivers as handrails to stay on track without stress.
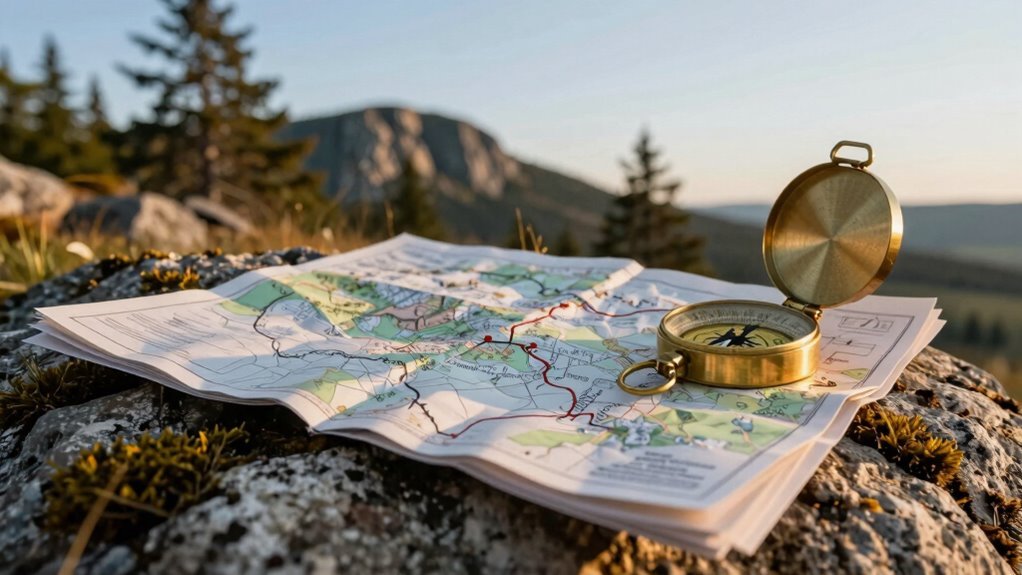
If you’re aiming for camp by a stream, miss slightly on purpose—no panic, just pivot when you hit water. There’s more where that came from.
Understanding Topographic Map Basics

While you’re out hiking and staring at a bunchy lines on paper, don’t panic—those aren’t doodles from someone bored in math class.
You’re holding a topographic map, your 2D window into the real-world hills, valleys, and ridges all around you.
It turns mountains and rivers into something you can actually plan with.
You’ll spot blue for lakes and rivers, green for forests, and red or gray for towns—like a color-coded adventure guide.
Trails, roads, even power lines? All there.
These maps are packed with symbols, but the legend’s got your back.
They’re usually large-scale, like 1:50,000 in Canada, so everything’s detailed without being overwhelming.
Think of each sheet as one piece of a giant outdoor puzzle.
With this map, you’re finding your way, staying safe, and having way more fun while you’re at it.
These squiggly lines represent contour lines, which connect points of equal elevation above sea level.
How to Read Contour Lines and Elevation
You’ve already got the lay of the land with those colorful topo symbols, so now let’s tackle the real magic trick: reading contour lines like a pro who’s been hiking in secret since fifth grade.
These squiggly lines connect points at the same elevation, kind of like nature’s stairs.
Thick index lines, labeled with numbers, pop up every fifth line—start there.
The thinner intermediate lines between? Each jumps by the contour interval, usually 40 or 50 feet.
If you see lines hugging close, watch out—it’s steep! Spread-out lines mean an easy stroll.
Need elevation? Find the nearest labeled line and add or subtract the interval.
Near a stream? Contours bend upstream—like a tiny arrow pointing uphill.
And in flatlands, dashed lines whisper subtle changes.
With this, you’ll “see” hills, valleys, and ridges in 2D—no magic, just map genius.
Contour lines form concentric closed circles around hills, peaks, and depressions, helping you visualize high and low points at a glance.
Orienting Your Map With a Compass
Getting your map and compass on the same page isn’t just smart—it’s like teaching two old friends to talk again, only better because they’ve never argued over directions. Here’s how to nail it fast:
- Lay your map flat, align the compass edge with north-south grid lines, then rotate the whole setup until “red’s in the shed” (that’s the needle snug in the orienting arrow).
- Adjust for declination: if your compass lets you, dial it in—if not, cheat the needle east or west like you’re playing map detective.
- Double-check that your direction-of-travel arrow points to map north and the lines inside the compass match the grid.
- Once aligned, you can confidently identify real-world landmarks because an oriented map aligns features with reality.
Boom! Your map now mirrors the real world.
No more “wait, which hill are we on?”—just confidence, clarity, and fewer wrong turns.
You’ve got this.
Taking a Bearing From the Map
What if you could turn your map into a secret navigation weapon?
Start by placing your compass on the map with the baseplate edge connecting your current spot (A) to your goal (B).
Point the direction-of-travel arrow toward B—don’t wing it, precision matters!
Now, keep the baseplate still and rotate the compass housing until the orienting lines run parallel to the map’s north-south grid lines.
Double-check: the red orienting arrow must point north, not south—unless you enjoy walking backward.
Once aligned, read the bearing at the index line on the housing.
That number? It’s your grid bearing, based on Grid North.
Remember, it’s not ready for the wild yet—magnetic adjustment comes later.
But for now, high five: you’ve just pulled precise direction straight from paper.
Maps just got a serious upgrade, right?
Following a Bearing in the Field
Now that you’ve pulled a bearing straight from your map like a navigation ninja, it’s time to take that number and make it work for you in the real world.
Hold your compass level, turn your body until the needle lines up with the orienting arrow, and follow that direction-of-travel arrow like it’s pointing to buried treasure—because hey, maybe it is.
Stay on track with a few smart tricks:
- Pick a distant landmark in line with your bearing and walk to it—fewer stops, smoother sailing.
- Use handrails like streams or ridges to keep yourself guided without staring at the compass all day.
- Check your bearing often—realignment keeps you accurate, especially after dodging trees, boulders, or that curious deer.
Avoid obstacles by skirting quickly and resuming your original path.
Share your bearing with a buddy for backup, and every few minutes, glance at your map.
You’re not just walking—you’re finding your way with confidence, one precise step at a time.
Identifying Your Location Using Terrain Association
When you’re out there with map in hand and the woods closing in, knowing where you’re isn’t magic—it’s terrain detective work, and you’ve got the tools to crack the case.
Grab your map and start matching what’s around you—hills, valleys, ridges—with squiggly contour lines.
Closer lines? That’s a steep slope.
Spread out? You’re on flat ground.
Hold up your hand—fist as a hill, fingers as ridges—to feel the land in 3D.
Spot a saddle or a depression? Match it to the map like a puzzle piece.
Use lakes, rivers, or a lone church as checkpoints; they’re nature’s breadcrumbs.
In hilly areas, rotate your map so the terrain ahead lines up—no compass needed!
Practice with Google Earth or CalTopo, then trust your gut.
You’re not lost—you’re just finding your way with a little land-sleuthing charm.
Staying on Course With Handrails and Aiming off

Even if you’re not born with a built-in GPS, you can still move through the wild like a pro—just let the land guide you.
Handrails are your best friends out there: think creeks, ridges, or trails that run alongside your route, keeping you on track without constantly checking your compass.
You don’t need perfect precision—just a general direction and the confidence to keep moving.
And when you’re aiming for a small target, like a campsite by a river, purposely “aim off” to one side so you know which way to turn when you hit the handrail.
- Follow a winding trail like it’s nature’s guardrail—safe and straightforward
- Hit a river on purpose? Nope, aim slightly left or right so you know where to go
- Use roads, fences, or even cliff edges as your backup breadcrumbs—because getting lost is solast season
Frequently Asked Questions
How Often Should I Check My Compass While Hiking?
You check your compass often when you’re off-trail, especially in fog or thick woods—every few minutes keeps you honest.
In open terrain with clear landmarks, you can skip it.
On familiar paths, you’ll hardly need it.
But if you’re lost or tech fails, you’ll thank yourself for checking it more.
Think of it like texting: too much is annoying, but missing one could mean walking to Canada by mistake.
Stay curious, stay on track.
Can I Use a Smartphone Instead of a Map and Compass?
You can use a smartphone instead of a map and compass, but it’s like bringing a laptop to write a grocery list—overkill and risky.
I once saw a hiker panic when his phone died after two hours, no backup. Apps are awesome for planning and tracking, sure, but don’t ditch the old-school duo. Pair them. That way, you’re smart *and* safe, not stranded staring at a blank screen.
What Do I Do if My Compass Stops Working?
You stay calm and check for obvious issues first—you might just be near your keys or a rock with metal.
Move away, let the needle settle for 10 seconds, and see if it works.
If it’s still off, trust your GPS or use landmarks to keep on track.
And hey, this is why you packed a backup compass, right?
Always have a plan B when nature throws a curveball!
Are Map and Compass Skills Necessary in the Age of GPS?
Yes, you absolutely need map and compass skills—don’t put all your trust in a gadget that can die mid-hike!
GPS fails, batteries drain, and signals vanish like squirrels with secrets.
But a map and compass?
They’re your loyal sidekicks, always ready.
Mastering them sharpens your brain, boosts confidence, and keeps you safe when tech throws a tantrum.
Think of it as outdoor insurance—smart, simple, and seriously satisfying.
How Do I Update My Map for Current Terrain Changes?
you update your map by comparing today’s satellite images with older ones, spotting new roads or changes automatically—no guesswork needed.
use tools that detect differences, then apply digital terrain models to fix distortions from hills or camera angles.
toss in some ground photos or historical shots for extra clarity.
it’s like time-traveling with tech, minus the messy hair from a vortex.
voilà—your map stays sharp, current, and totally reliable!
Conclusion
You just learned skills people have used for centuries—and get this: 88% of search and rescue calls happen because hikers lack basic map and compass knowledge. Yikes! But not you. Now you can navigate like a pro, stay found, and impress your friends with actual direction sense. So grab your gear, hit the trail, and remember: nature’s GPS-free zone is way more fun when you know your way around. Happy wayfinding!
References
- https://study.com/learn/lesson/topography-topographic-maps.html
- https://libguides.northwestern.edu/NorthwesternMapLibrary/NULMaps
- https://en.wikipedia.org/wiki/Topographic_map
- http://www.wvgs.wvnet.edu/www/maps/topomapsymbols_mapx1b.pdf
- https://www.gore-tex.com/blog/how-to-read-topographic-maps
- https://equatorstudios.com/blog/topographic-map-features/
- https://www.hunter-ed.com/pennsylvania/studyGuide/Reading-a-Topographic-Map/20103901_88685/
- https://natural-resources.canada.ca/sites/nrcan/files/earthsciences/pdf/topo101/pdf/mapping_basics_e.pdf
- https://support.esri.com/en-us/gis-dictionary/topographic-map
- https://apxnproperty.com/how-to-read-a-topo-map/